Hicks House

From Builder Basic to Beautiful


3 Comments

Relax it Away with Stonington Gray

I apologize in advance if you’re sick of the painting posts. Since the beginning of the year it’s been our main house priority. Especially being in New England and the wicked weather we’ve had this year we are pretty much stuck indoors.

As I mentioned in this post the color we chose for our guest room was Stonington Gray. It’s one swatch down on the same color strip as the Coventry Gray we used in the dining room.

If you are looking for a little refresher on where we last were with the guest room we were here:

shot of them both

shot of them both

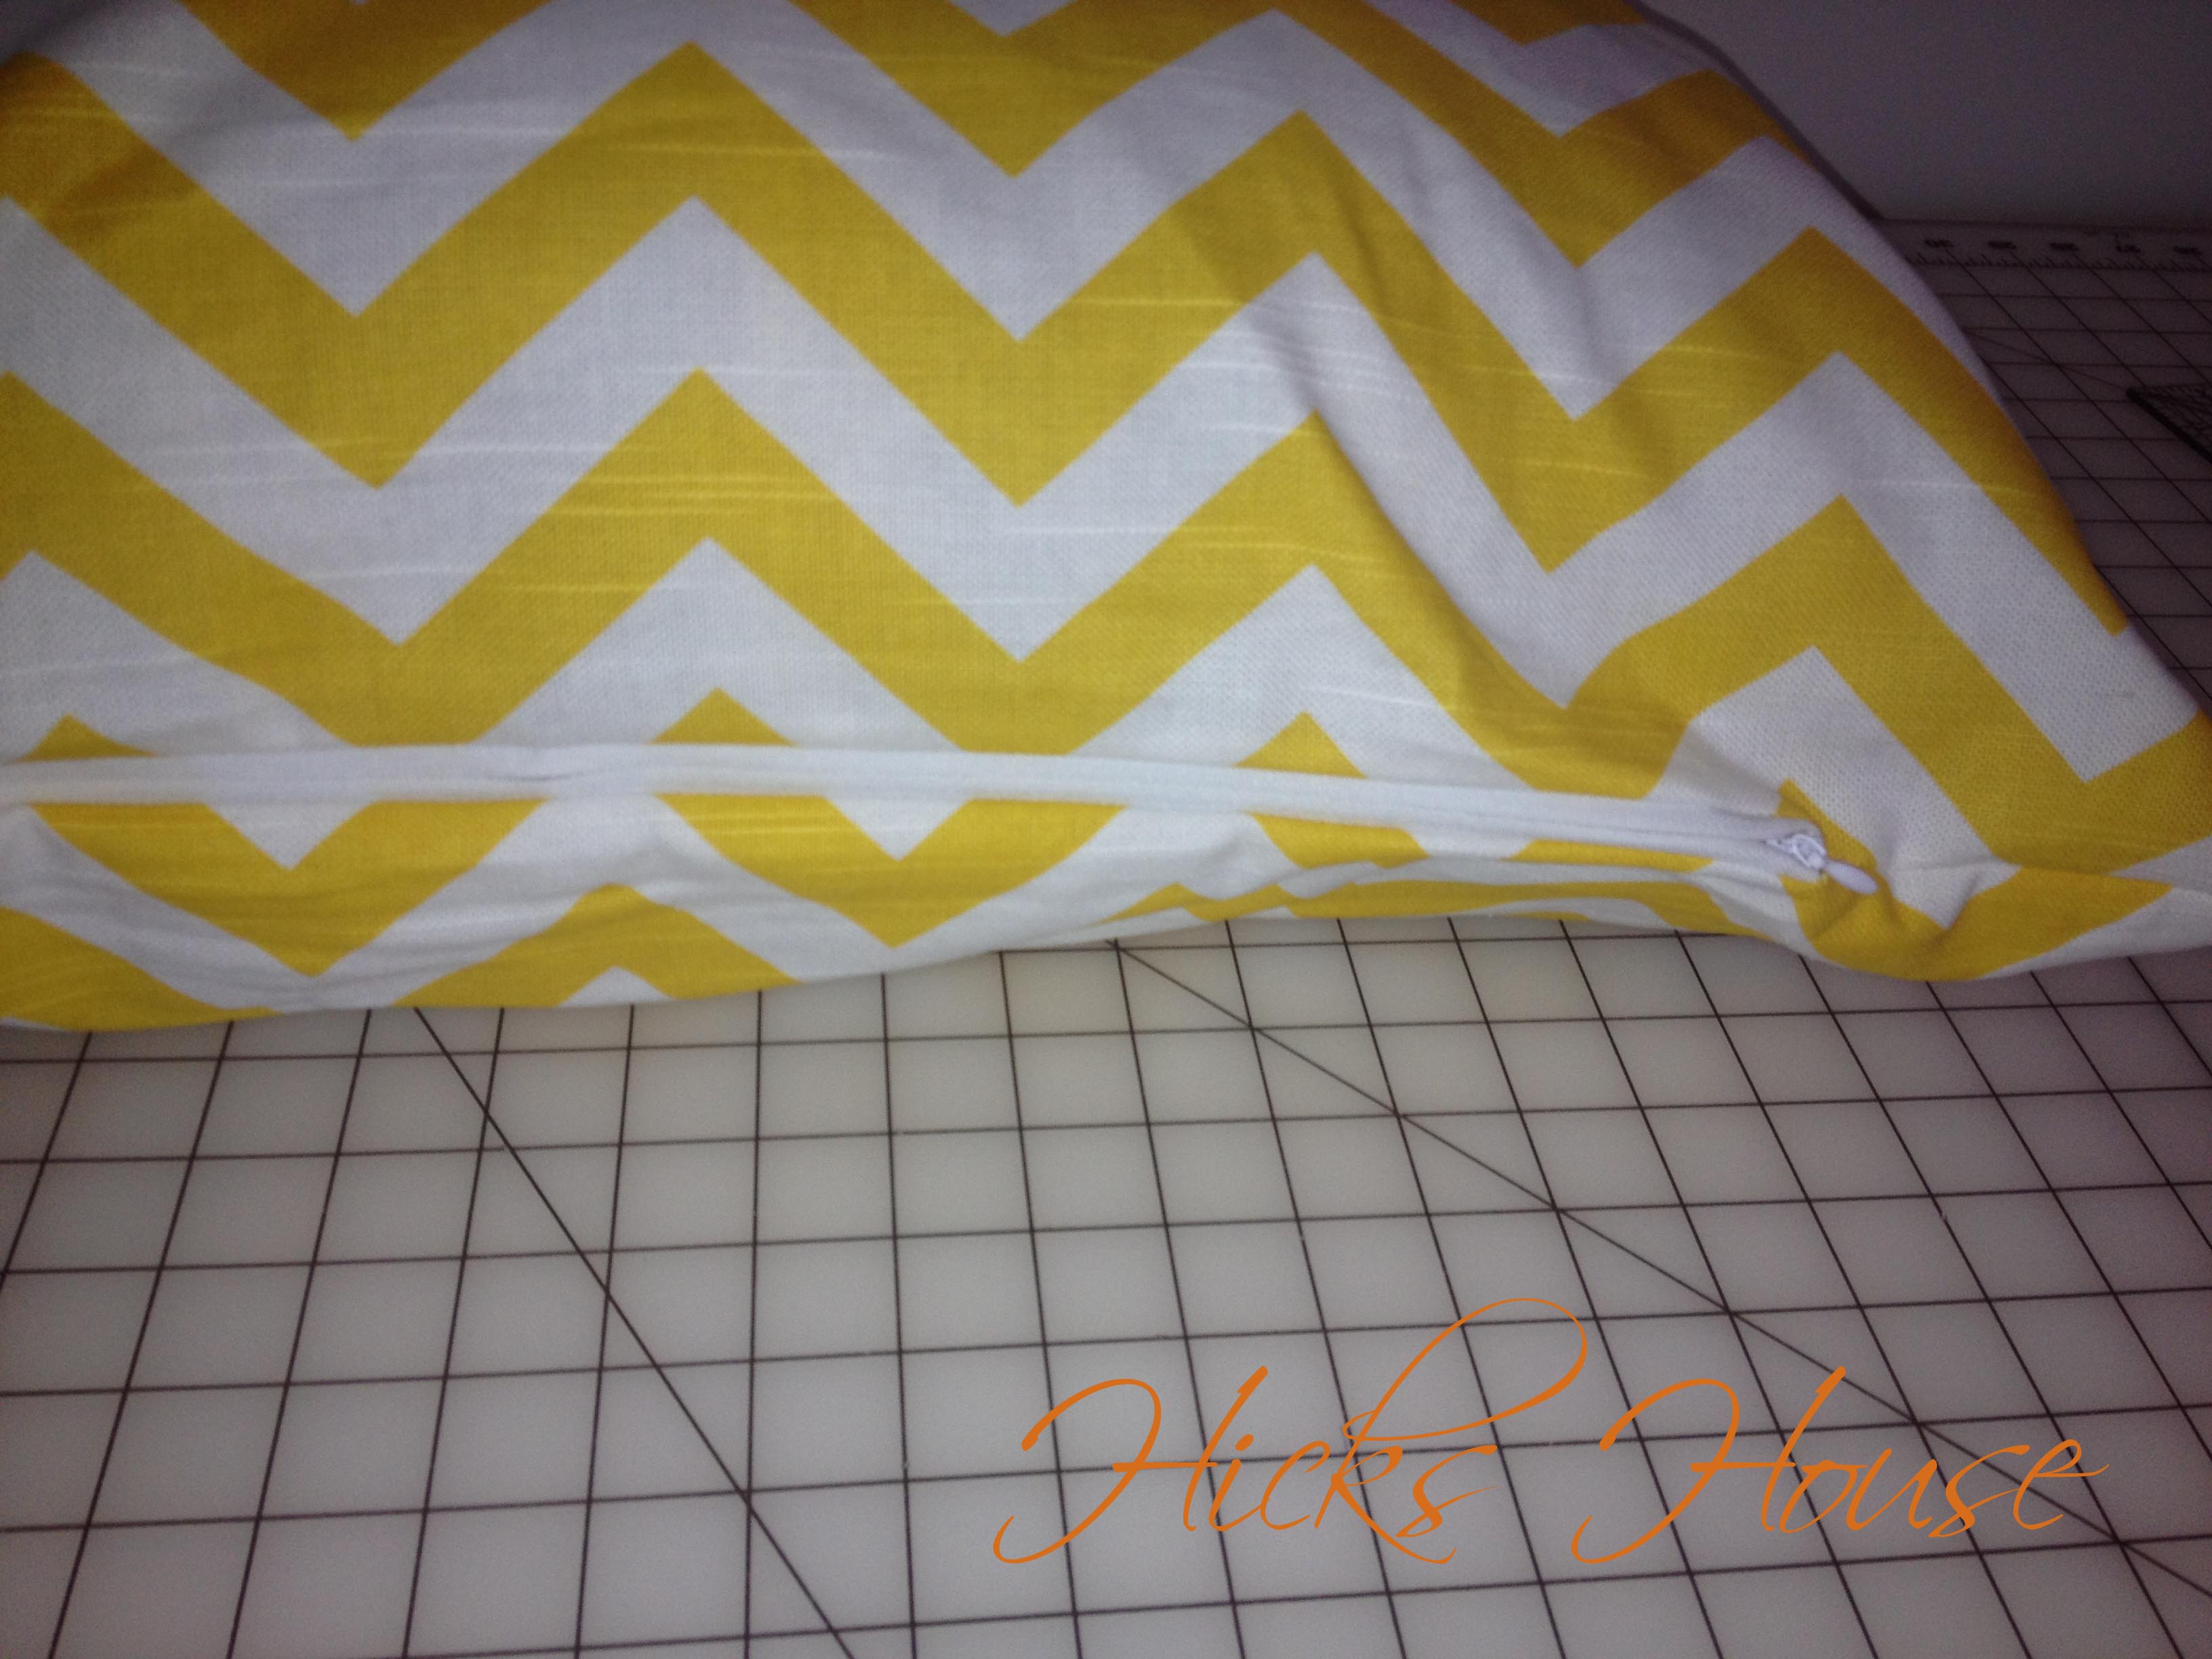
I had also created the custom pillows to put on the bed with the intention of eventually altering some curtains to match.
zippered pillow case (15)

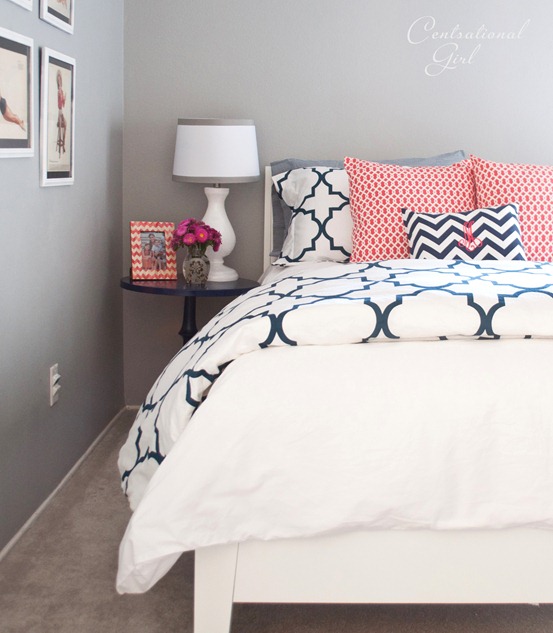
Here is the inspiration room we are kind of “modeling” the style of the room after.

getting closer to the inspiration room...

getting closer to the inspiration room…

So far I think we’ve got the bedding nailed. 😉 I actually like my pillows better – I’m not a huge fan of pink.  We followed the same painting technique we’ve done in the other rooms we’ve painted so far which is I cut in the ceiling with Ken following behind taping off the baseboards and side of the doors and windows. The taping generally takes less time than the cutting in so Ken then moves on to rolling the walls while I follow behind getting all the top of the baseboards and next to all the window and door frames.

In the end we’re left with this:
Hicks House | Stonington Gray Guest Room
Hicks House | Guest Room Stonington Gray

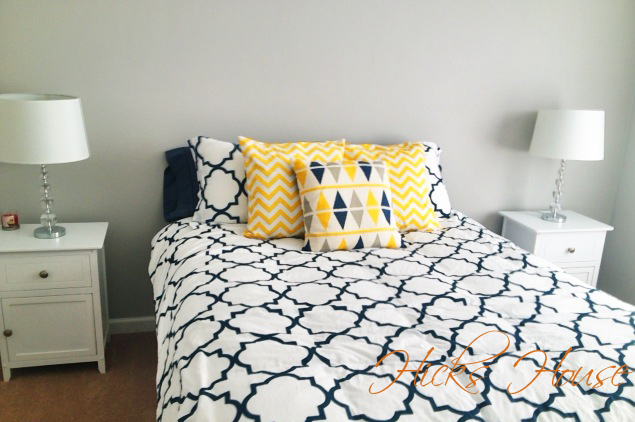
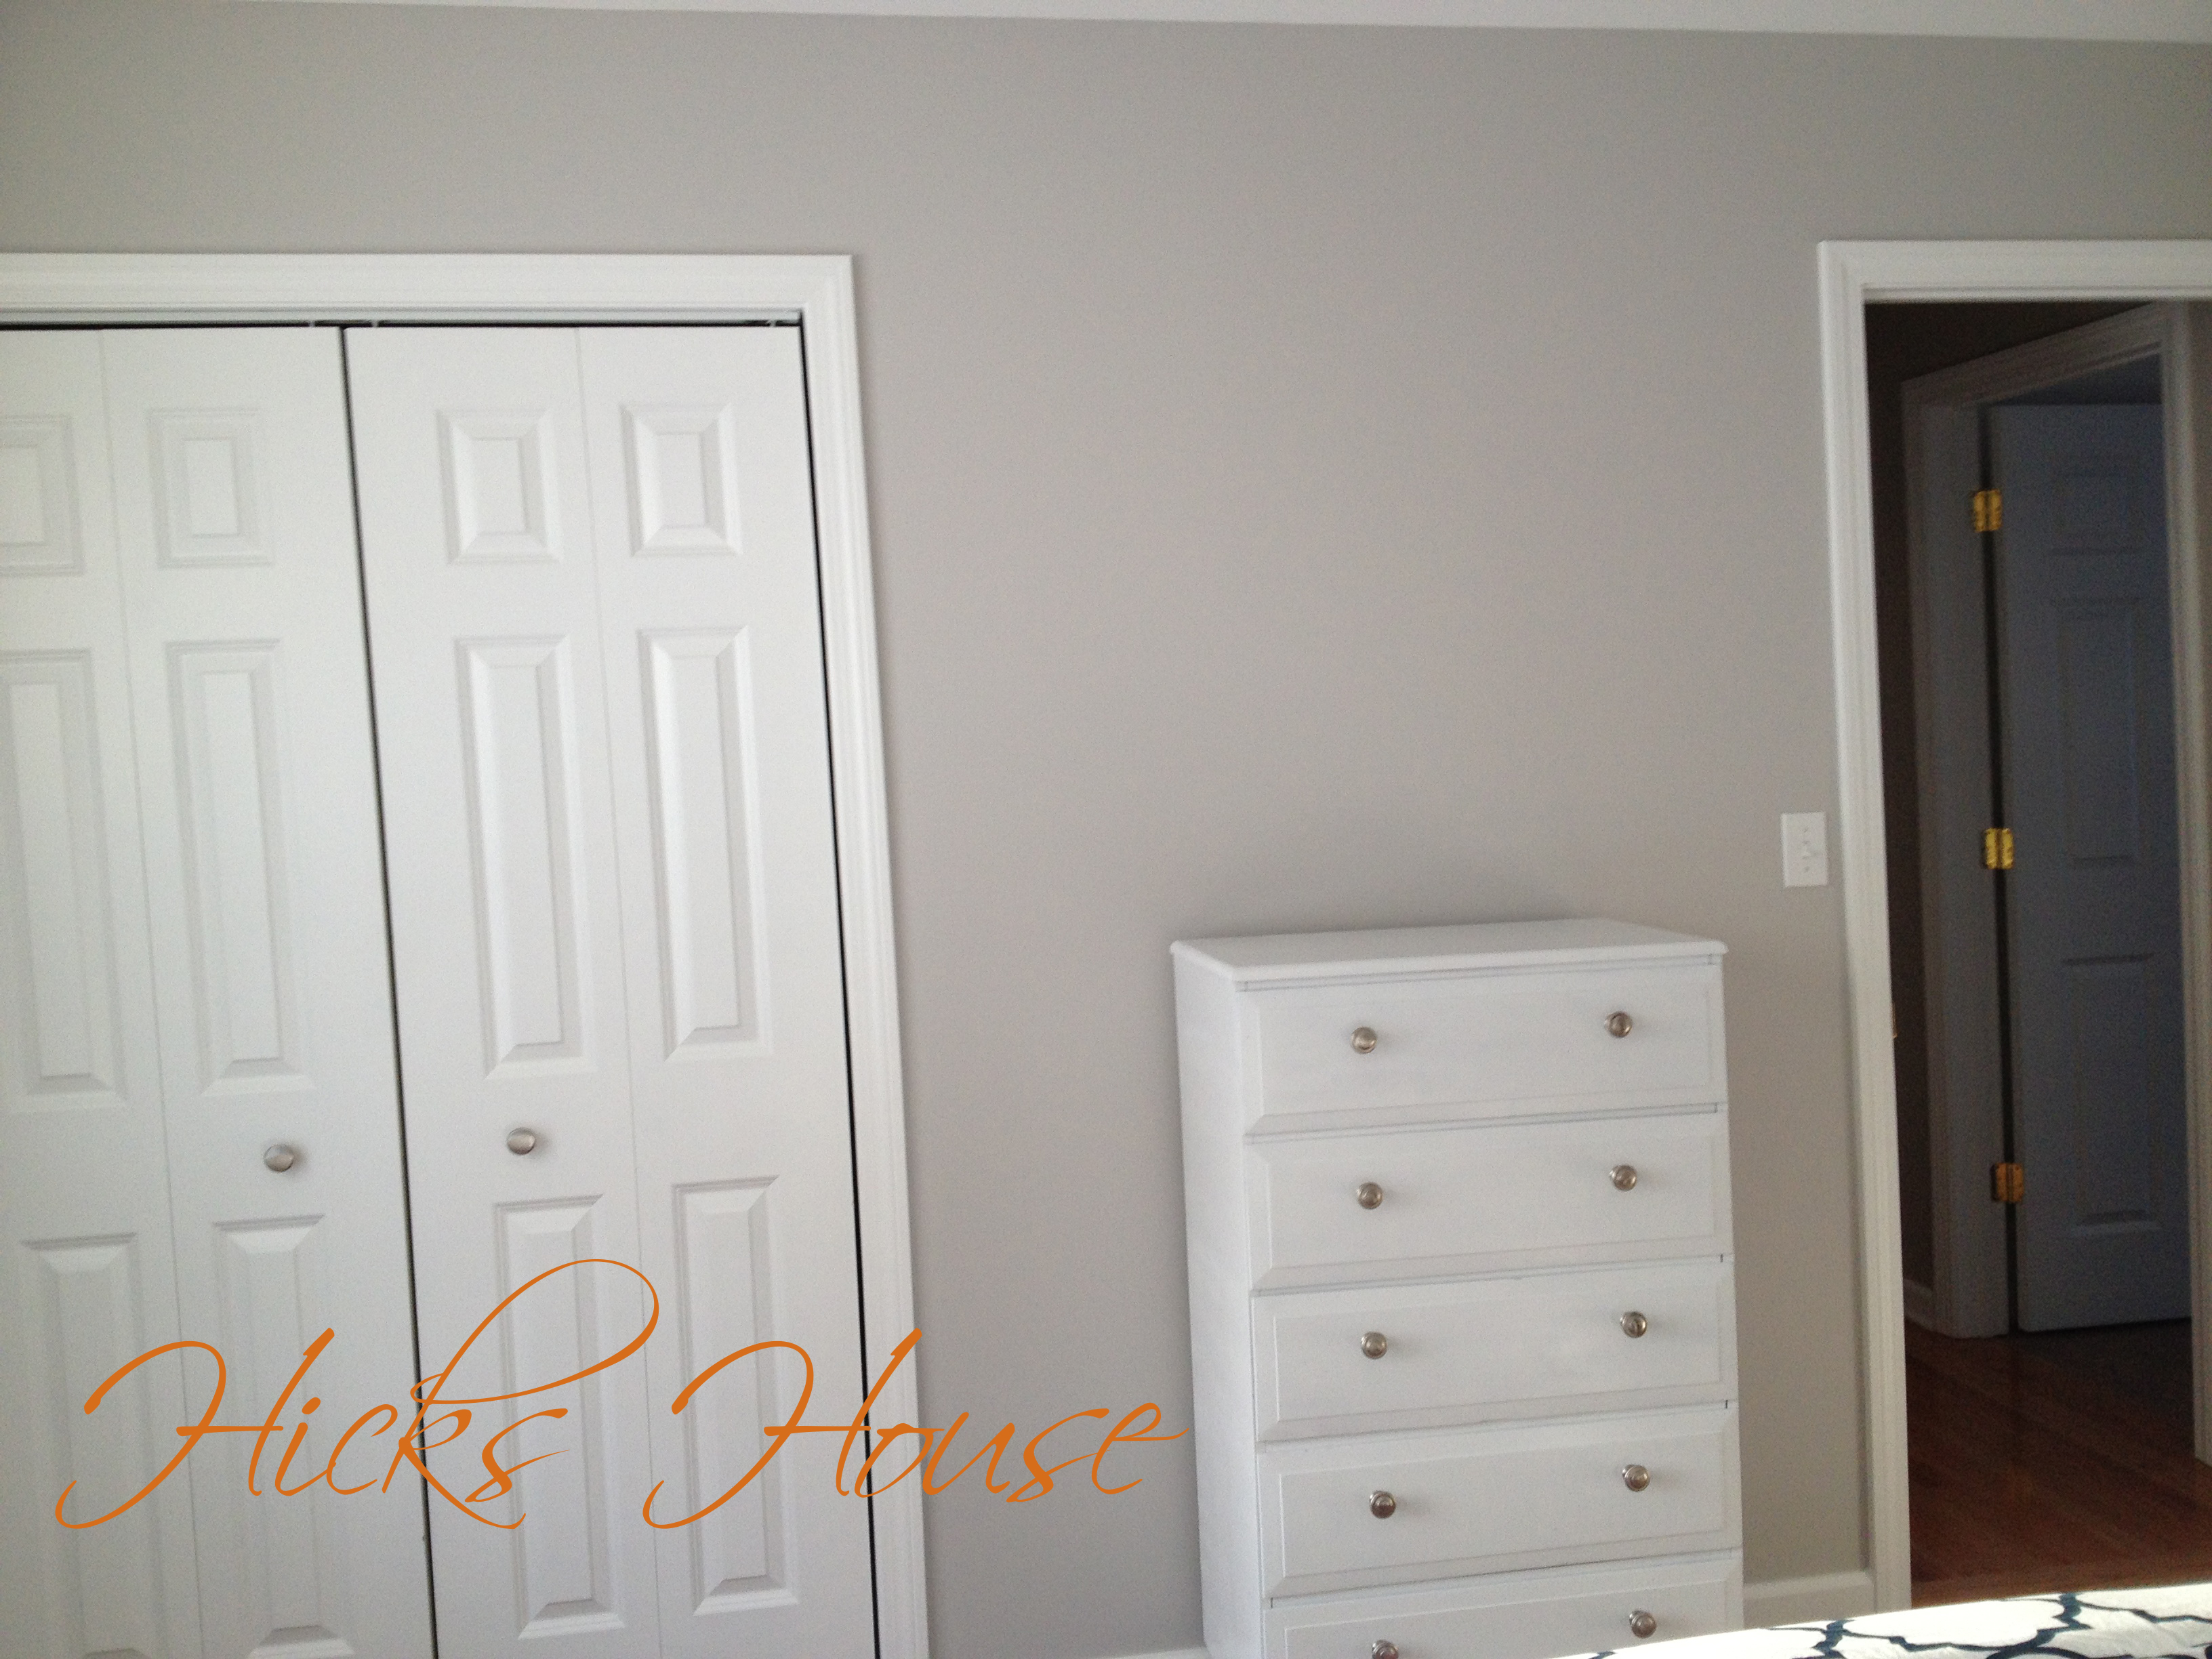
What do you think? I love that the gray in the walls makes the white nightstands, dresser and trim POP. It’s still a little too much white though so here’s what’s still left to do.

  • Get pretty bedding
  • Create custom pillow covers
  • Get and assemble nightstands
  • Spray paint the old hand-me down dresser white
  • Paint the walls
  • Make a custom painting for the wall
  • Hang the awesome mirror I found at Khols above the dresser (you’ll have to wait to see it – but it’s perfect for this room
  • Hang curtain rods
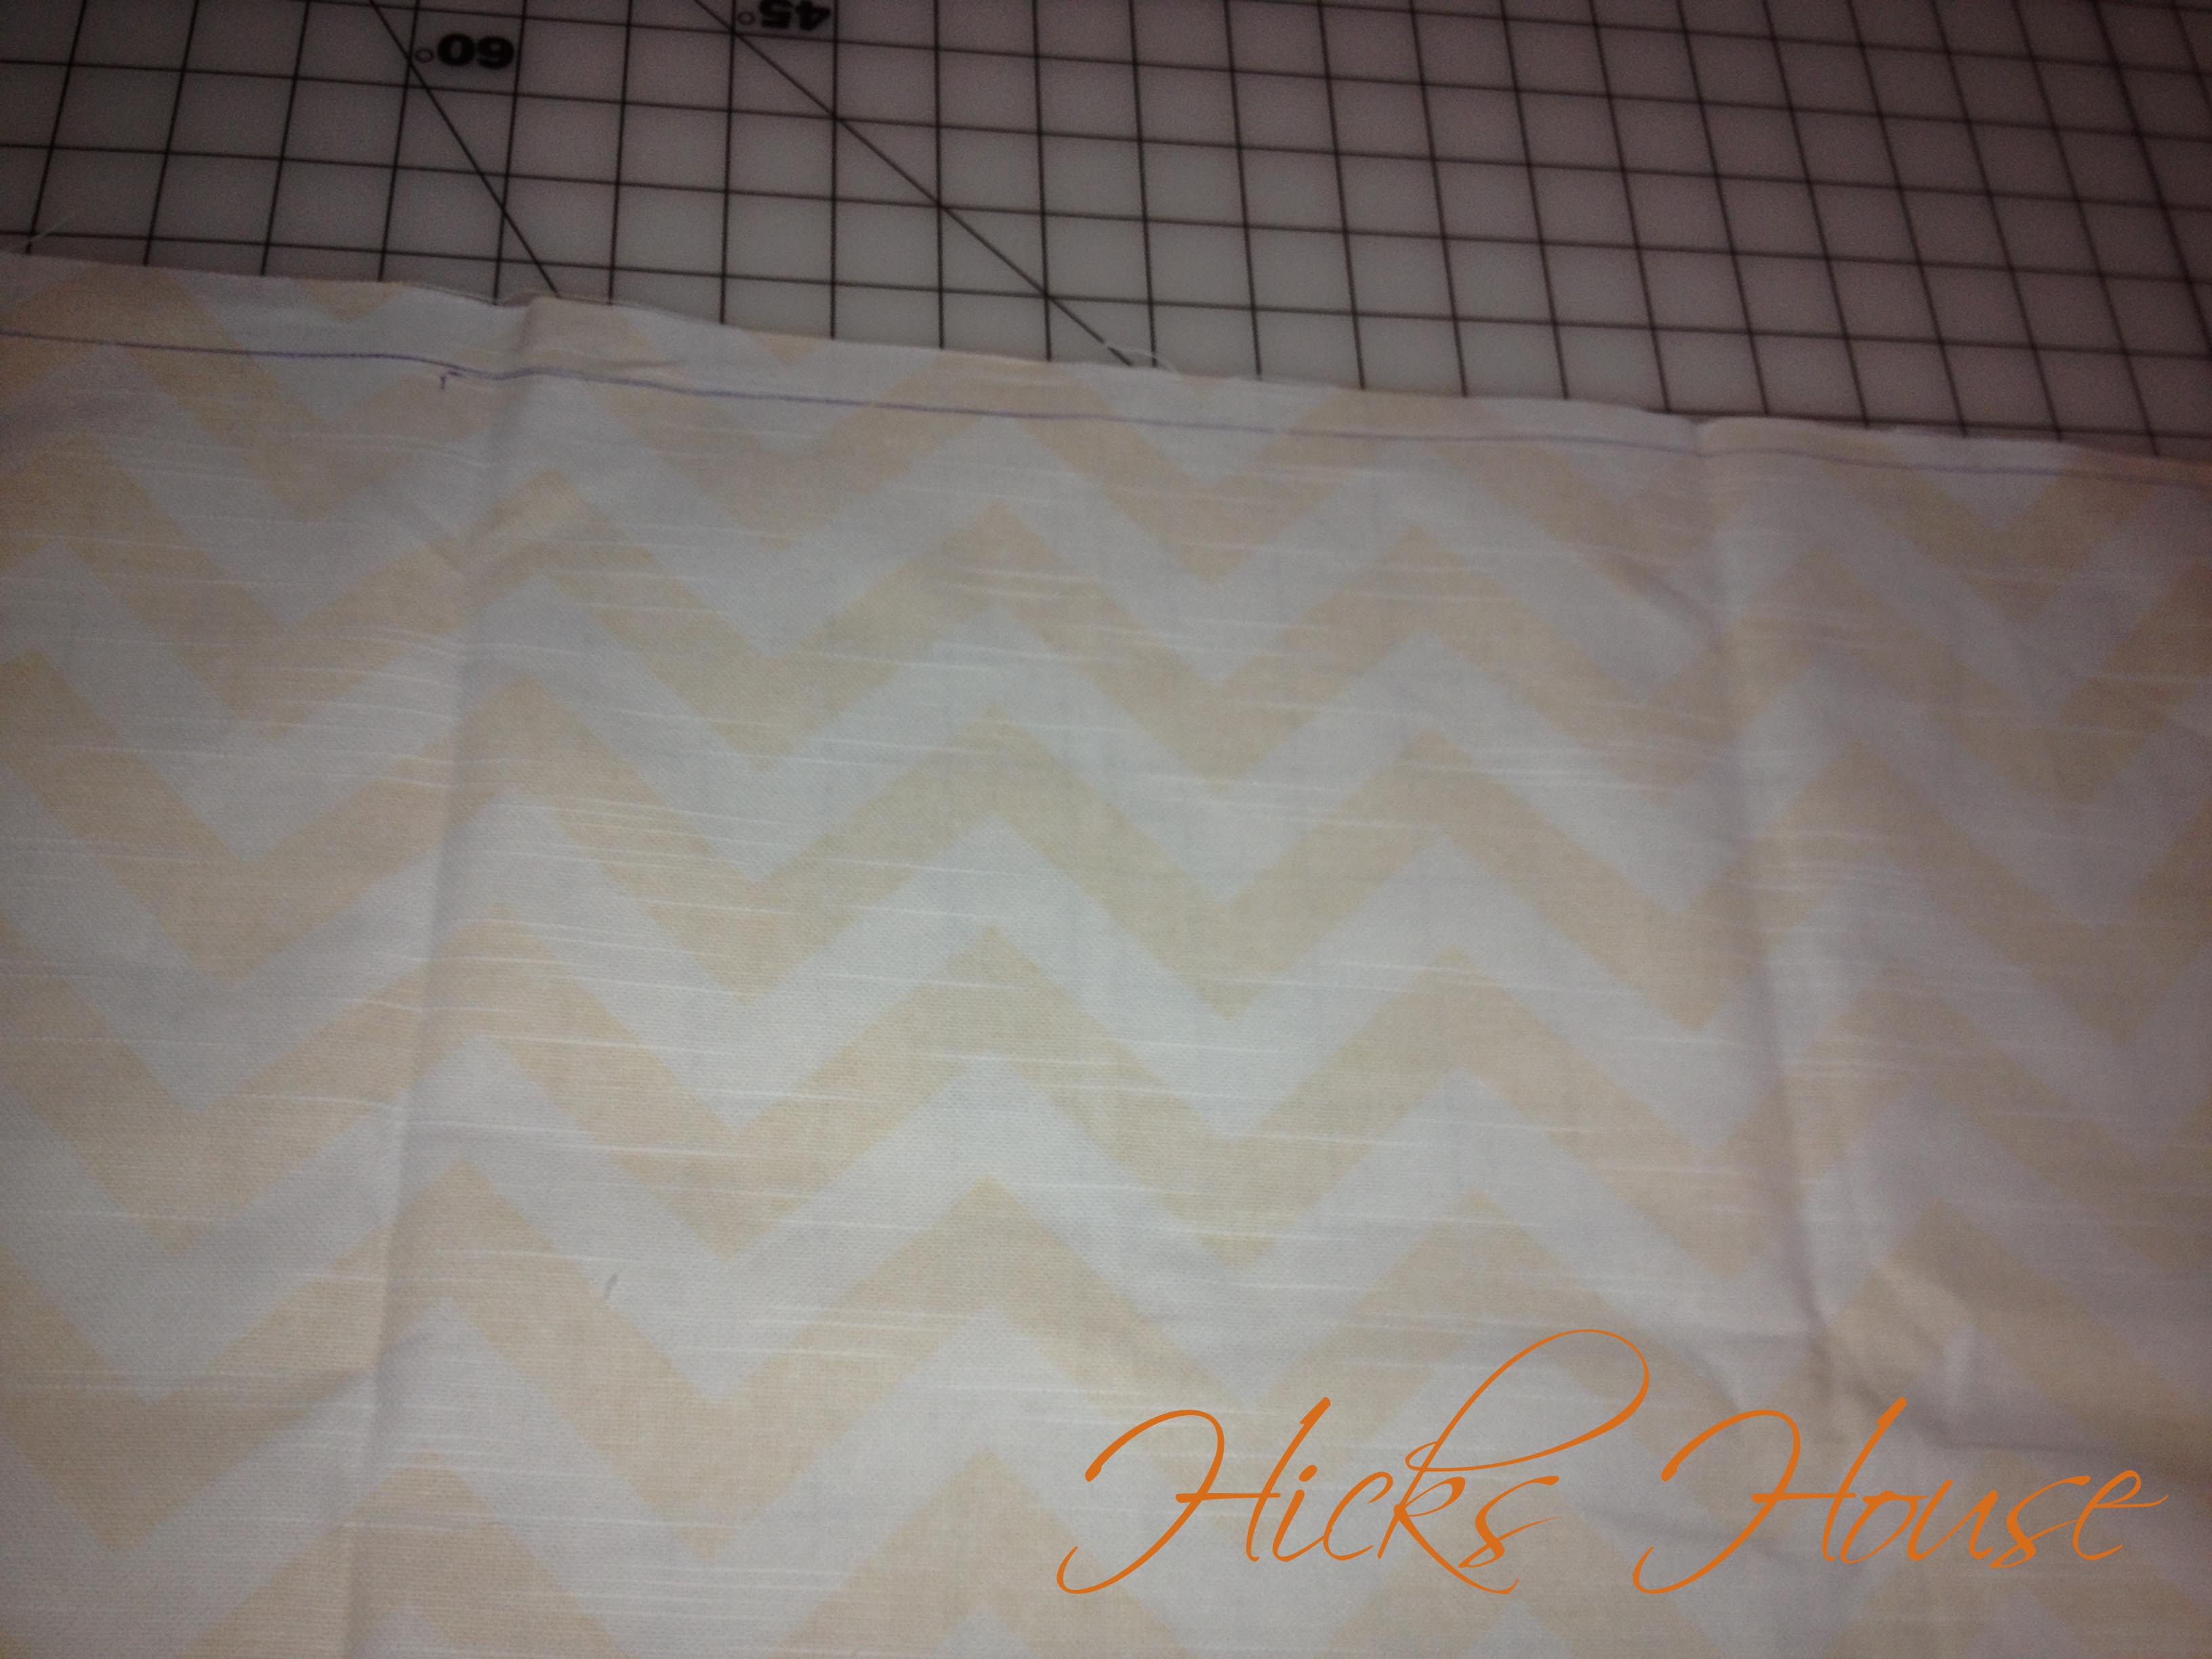
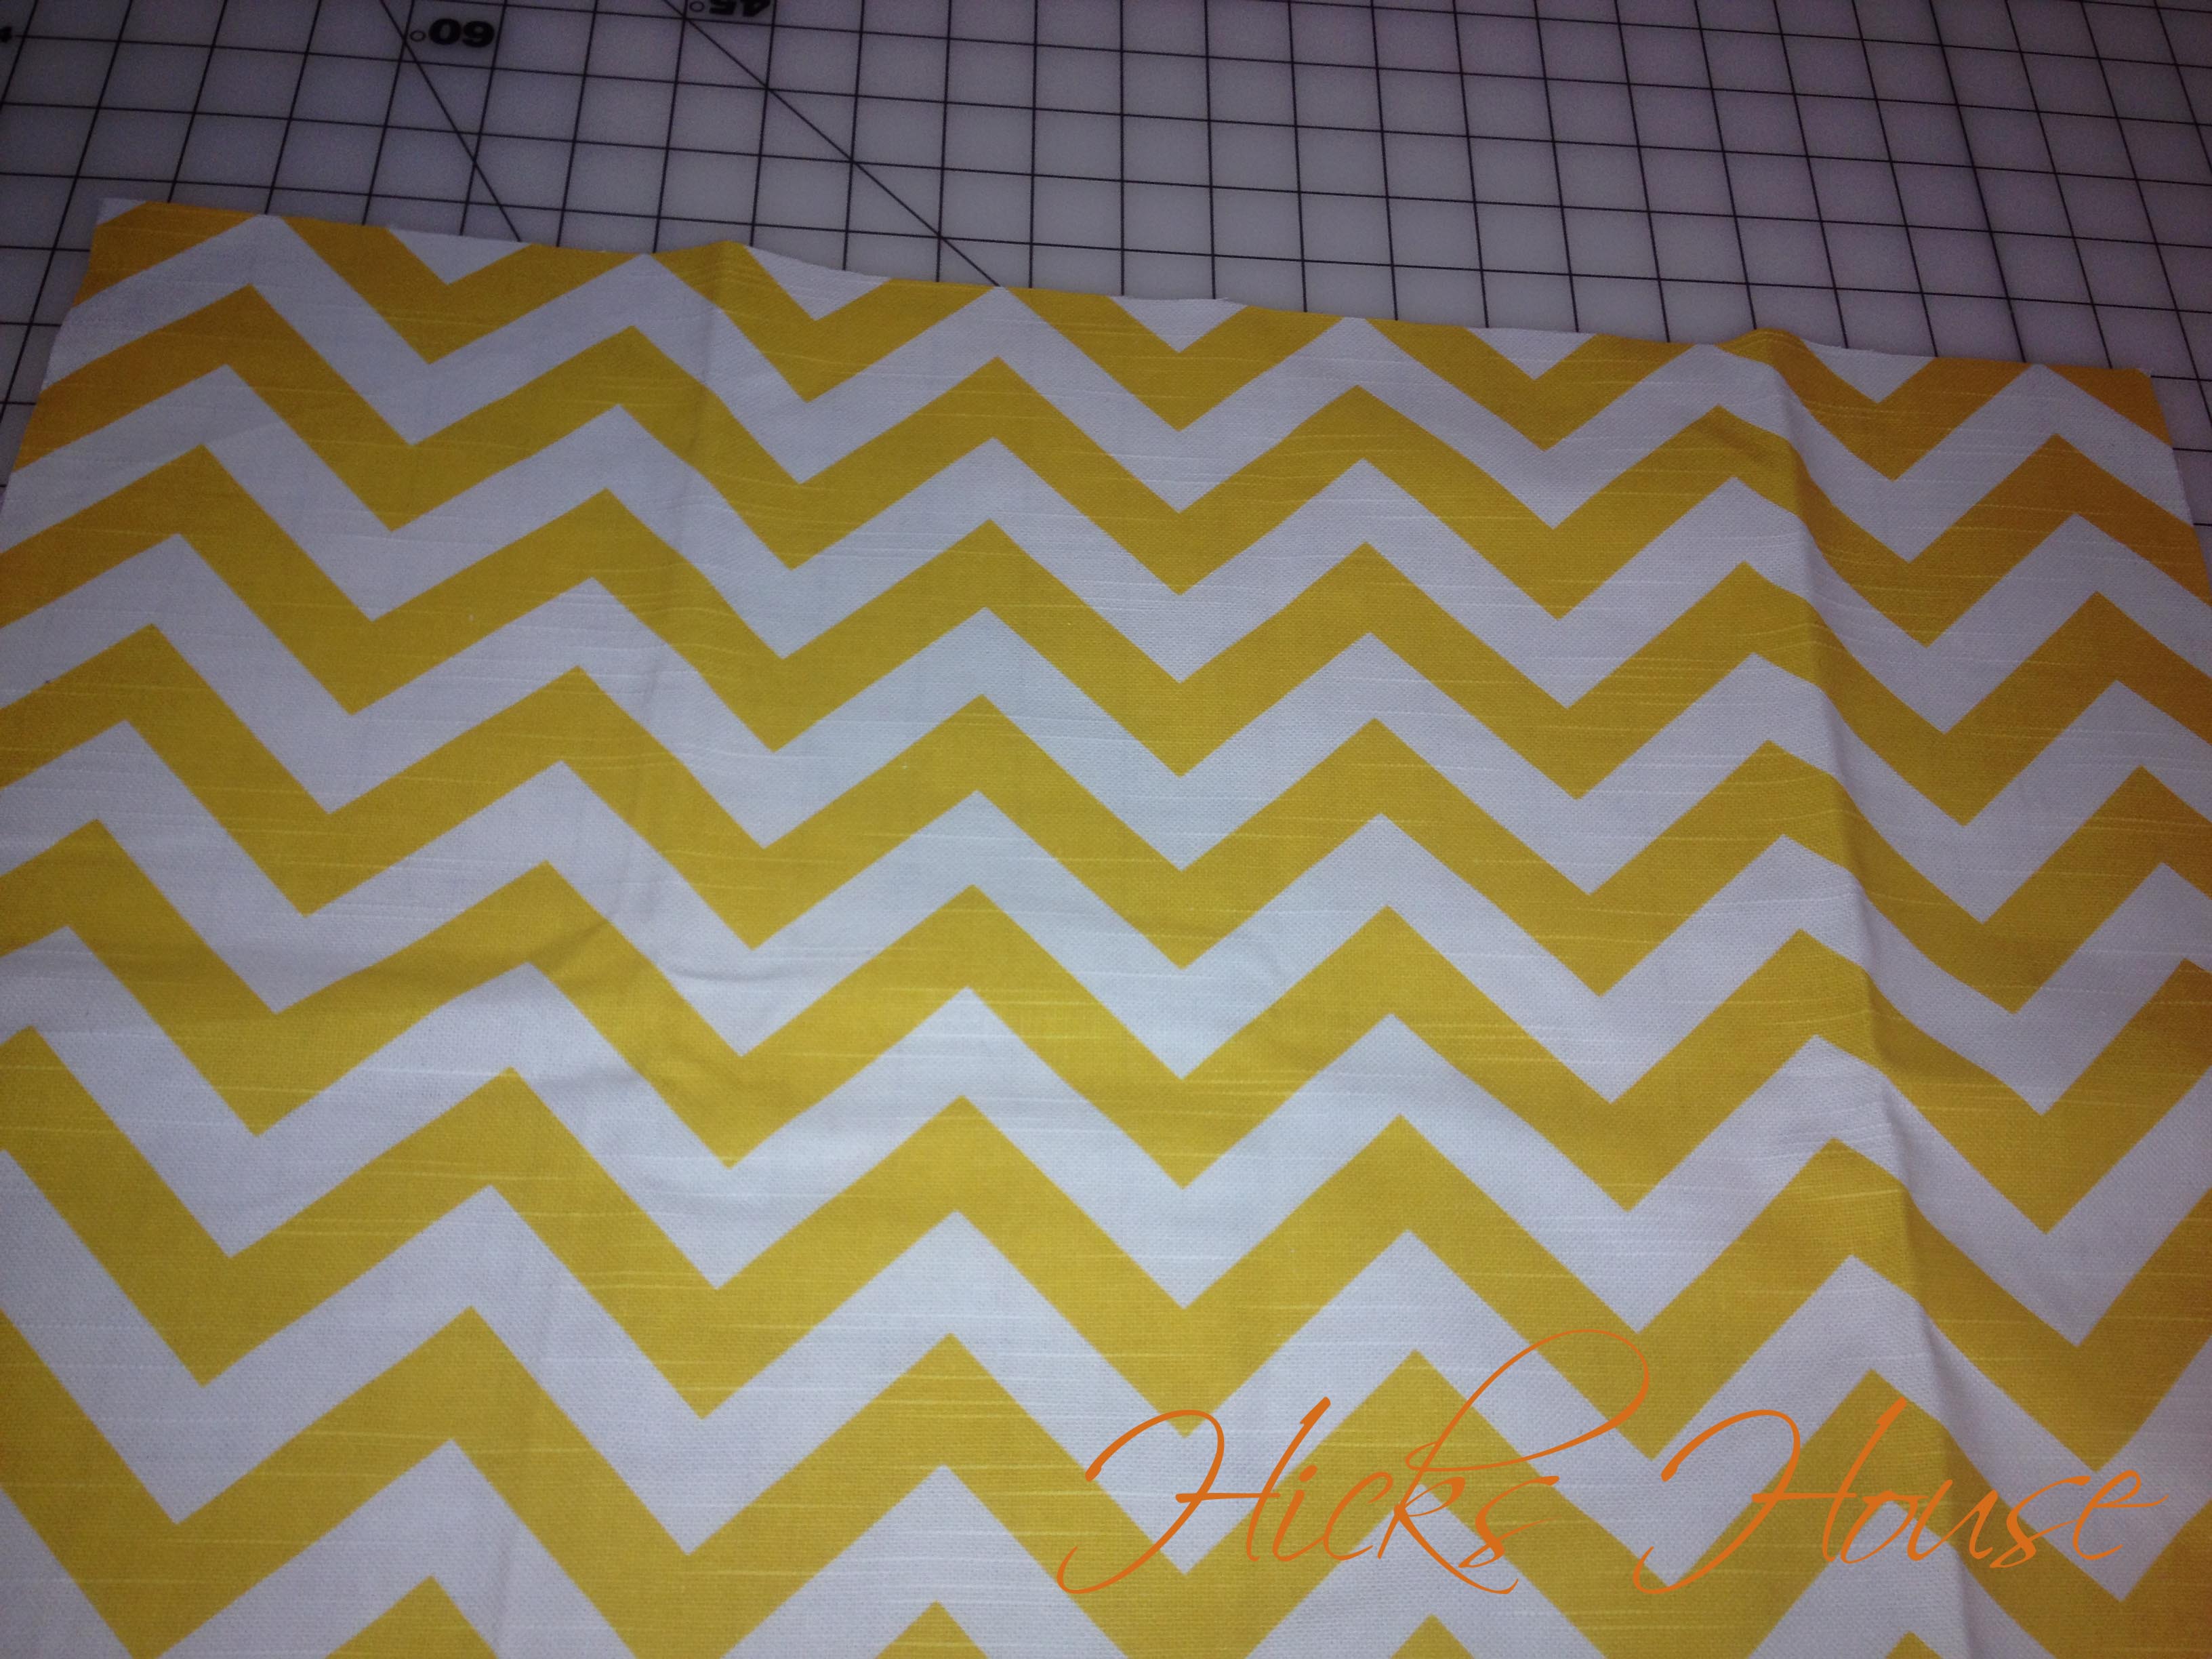
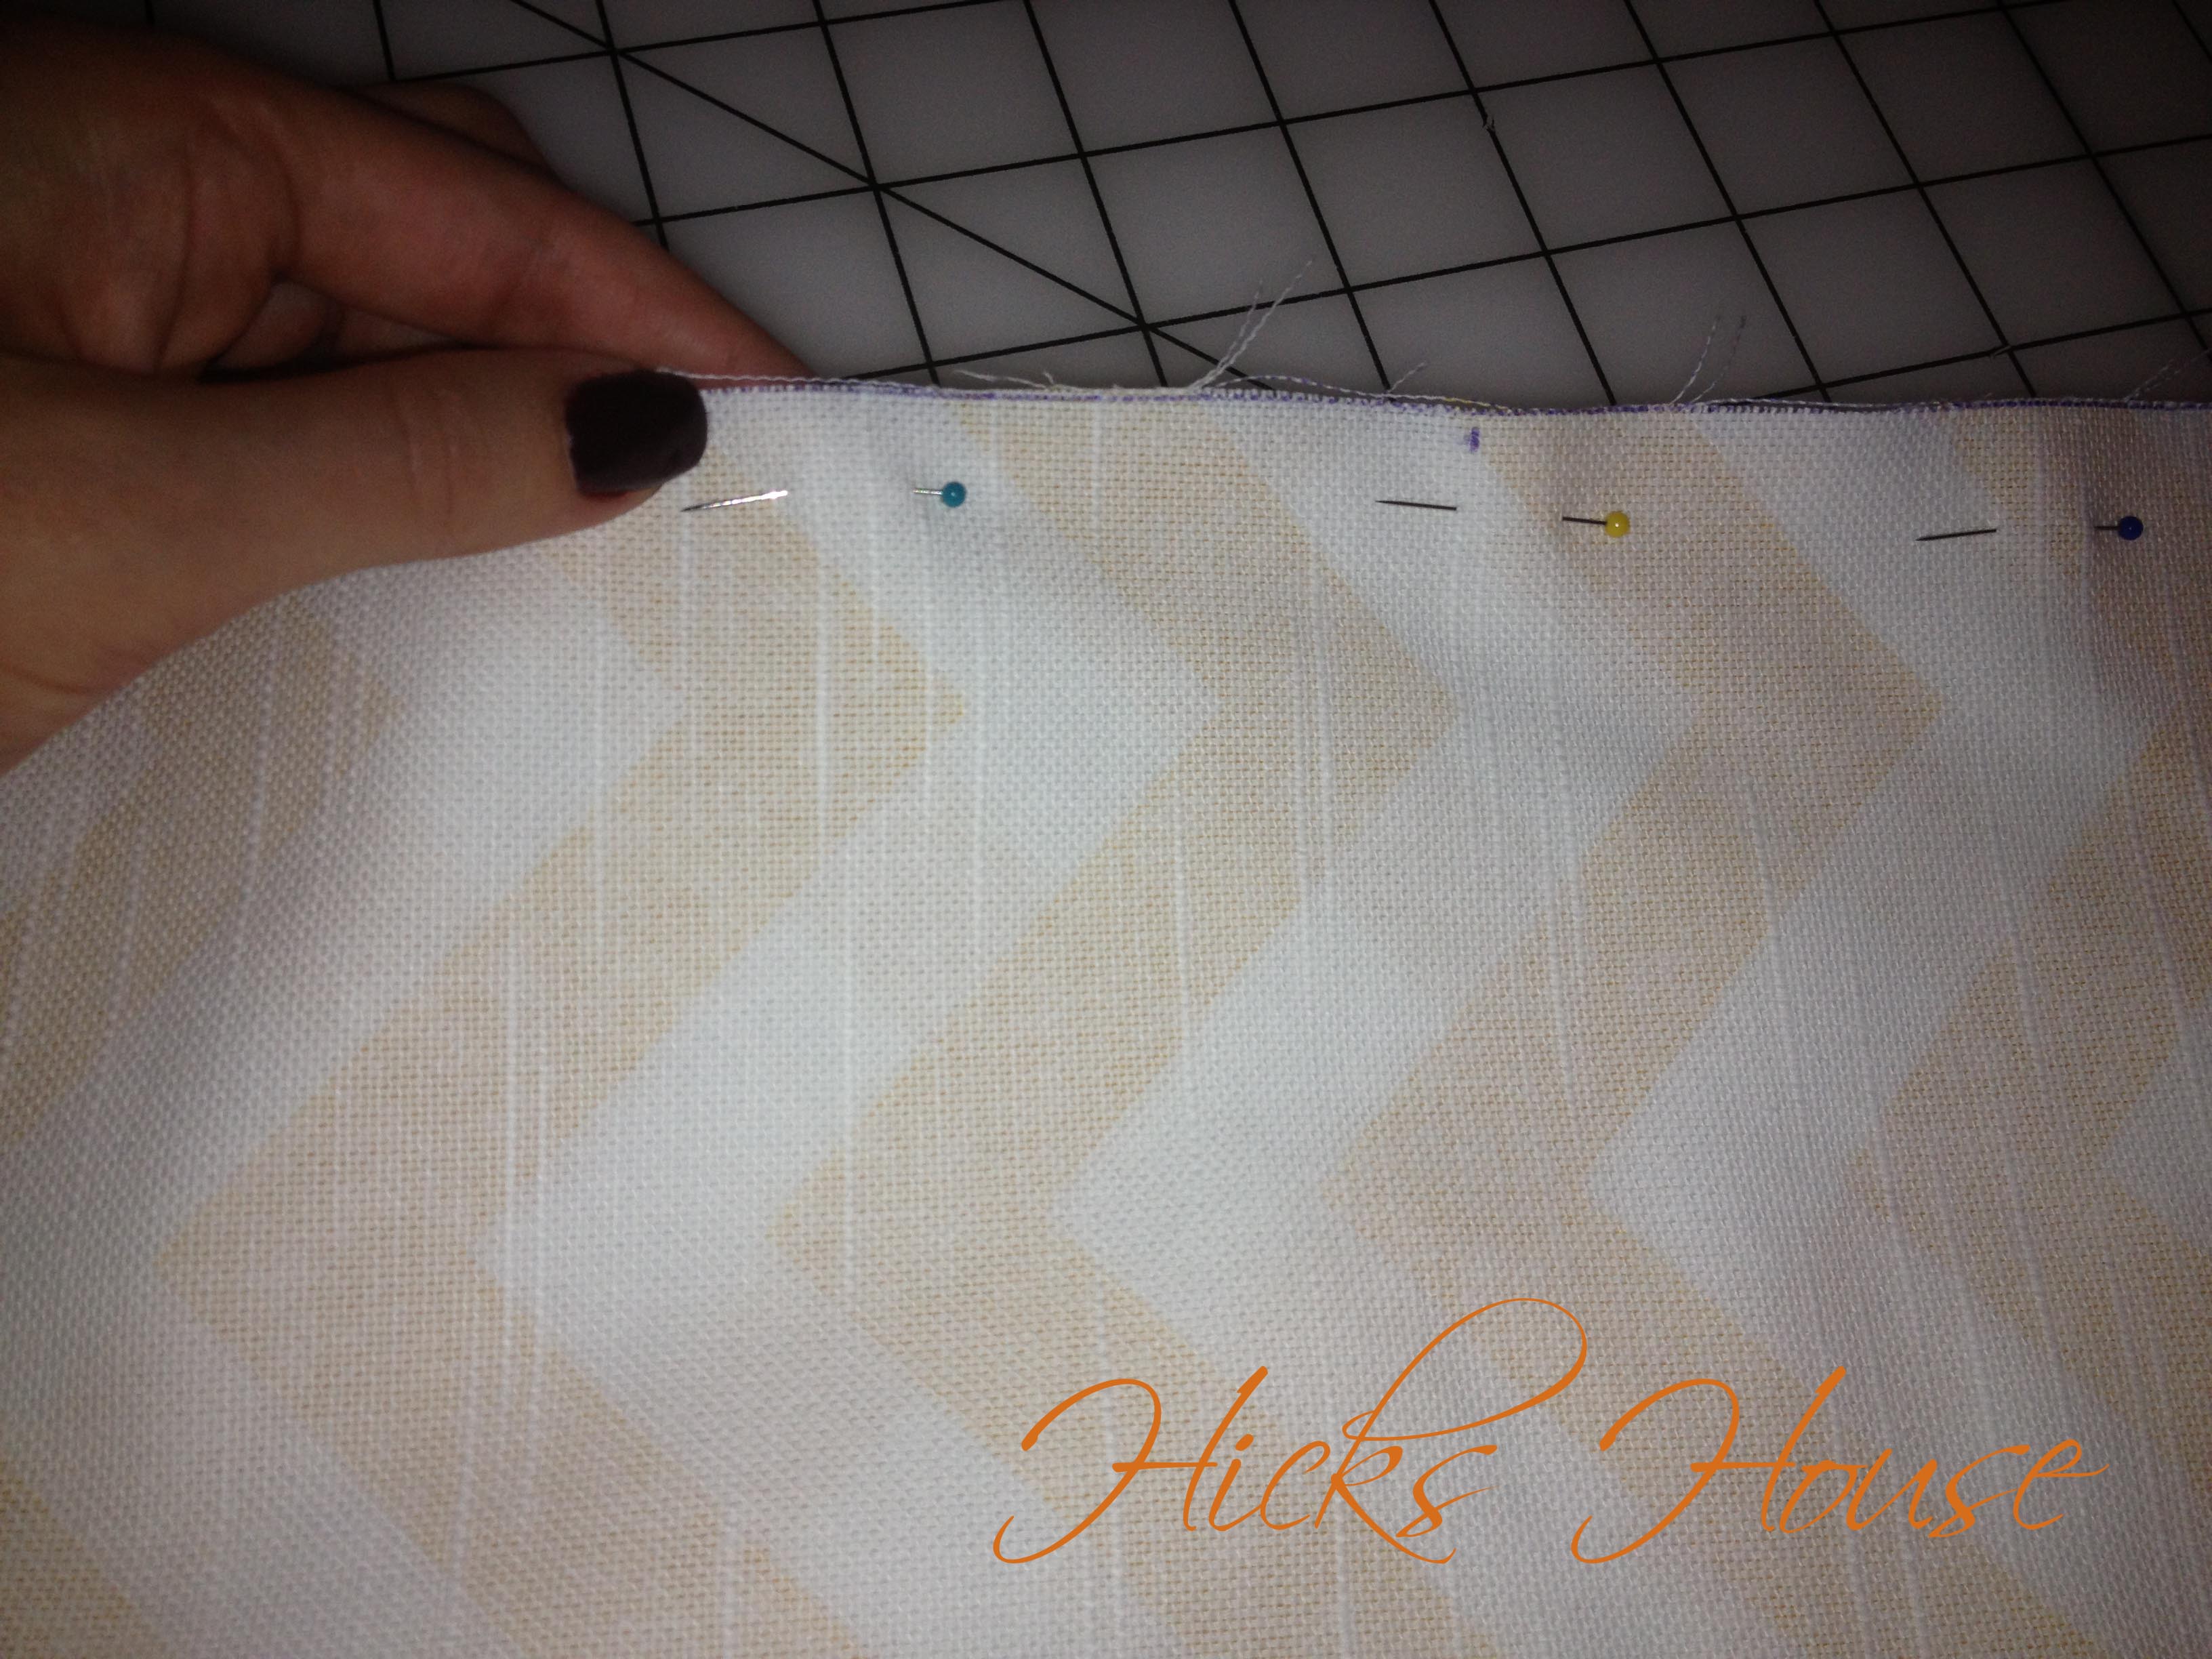
  • Create custom removable “bottoms” to much too short white Target curtains we already own
  • Make second set of pillow covers and curtain bottoms – so we can switch it up whenever we want

So that’s the current progress. What do you think?
Hicks House


10 Comments

Zippered Pillow Covers

We’ve done a lot of work in the Guest Room since moving into our new house. The original room inspiration and all the work can be seen here, here and here. It’s coming along :-).

I really wanted some throw pillows for the bed (I LOVE throw pillows) however neither of us could decide if we wanted the accent color to be light blue or yellow – so we decided to make it changeable so depending on the season or our mood we could change it up. I started with the yellow accent pillows and added a zipper to my homemade pillow covers to that I could re-use the pillow insert.

here's how it's done

here’s how it’s done

I started with the pillow insert I was going to use and measured the entire width and height of the pillow.

make sure to go seam to seam

make sure to go seam to seam

Your fabric needs to be 1 inch wider than your pillow to allow for a 1/2 inch seam allowance and 1 1/4 inches longer to allow for the seam allowance on the top and the zipper insert on the bottom. My pillow was 21 inches square so for my fabric I had to cut out two pannels to be 22×22 1/4.

Draw out your measurements on the BACK of your fabric. If you have a directional pattern like my chevron make sure the lines are straight with the pattern not with the top of your fabric. Its not always the same thing.

see how my line doesn't line up with the edge of the fabric?

see how my line doesn’t line up with the edge of the fabric?

one cut the chevrons are even

one cut the chevrons are even

iron your fabric pieces

iron your fabric pieces

Lay your ironed fabric pieces out and line up the zipper on the longer side of the fabric facing down towards the side of the fabric. I used a 12-inch zipper so I centered it on my 22 inches of fabric. You can use a zipper the entire length of your pillow – its probably easier but thats what I had on hand.

zipper pull should face down

zipper pull should face down

pin in place

pin in place

Sew the zipper to the fabric using a zipper foot. Make sure to not sew around the zipper pull. When you reach the pull manually wind your needle down into the fabric lift the foot and zip the zipper out of the way so you can continue sewing a straight line. Make sure to backstitch at the begining and end so your zipper stays put.

attach the first side of the zipper

attach the first side of the zipper

Do the same process for the other side of the zipper. Make sure the right sides of your fabric are facing each other.

repeat the process with the other side.

repeat the process with the other side.

Now you have two fabric squares attached in the middle with a zipper.
zippered pillow case (9)

Fold in half right sides together at the zipper and pin the pieces together around the entire perimeter – make sure your zipper is at least half unzipped so that you can turn it right side out when you are done.

pin all sides

pin all sides

Sew the two squares together backstitching at the begining and end for added support. Flip right side out through the zipper.

empty pillow cover

empty pillow cover

Stuff your pillow insert into your new pillow cover. If you used a small zipper like I did – be careful you don’t want to pop your stitches.

carefully stuff your insert into the case

carefully stuff your insert into the case

There you have it, a professional looking zippered pillow case!

zippered bottom

zippered bottom

Add it to your bed or sofa and change out the cover to your hearts content!
zippered pillow case (15)

Zippered Pillow Tutorial

Zippered Pillow Tutorial