Hicks House

From Builder Basic to Beautiful


4 Comments

Arctic Gray Kitchen … Olé!

It’s been a LONG time since I posted our house color pallet… a year and a half to be exact.

Here is the pallet if you’d like a refresher:

Hicks House Color Scheme

Hicks House Color Scheme

We’re making slow but steady progress actually getting our color choices onto the walls. In retrospect the color decision was way easier than the actual execution. The kitchen/living room presented the same challenges we encountered in the dining room, hallways, half bath, full bath, guest room and family room with all of the screws popping through the drywall. (Perhaps why we took a year long break between painting the family room and the kitchen?)

On top of that, this combined room takes up half of the first floor making it easily the largest and most daunting room in the house. Here are some before pictures:

painting-3

The new sofa

The new sofa

Marble Backsplash | Hicks House

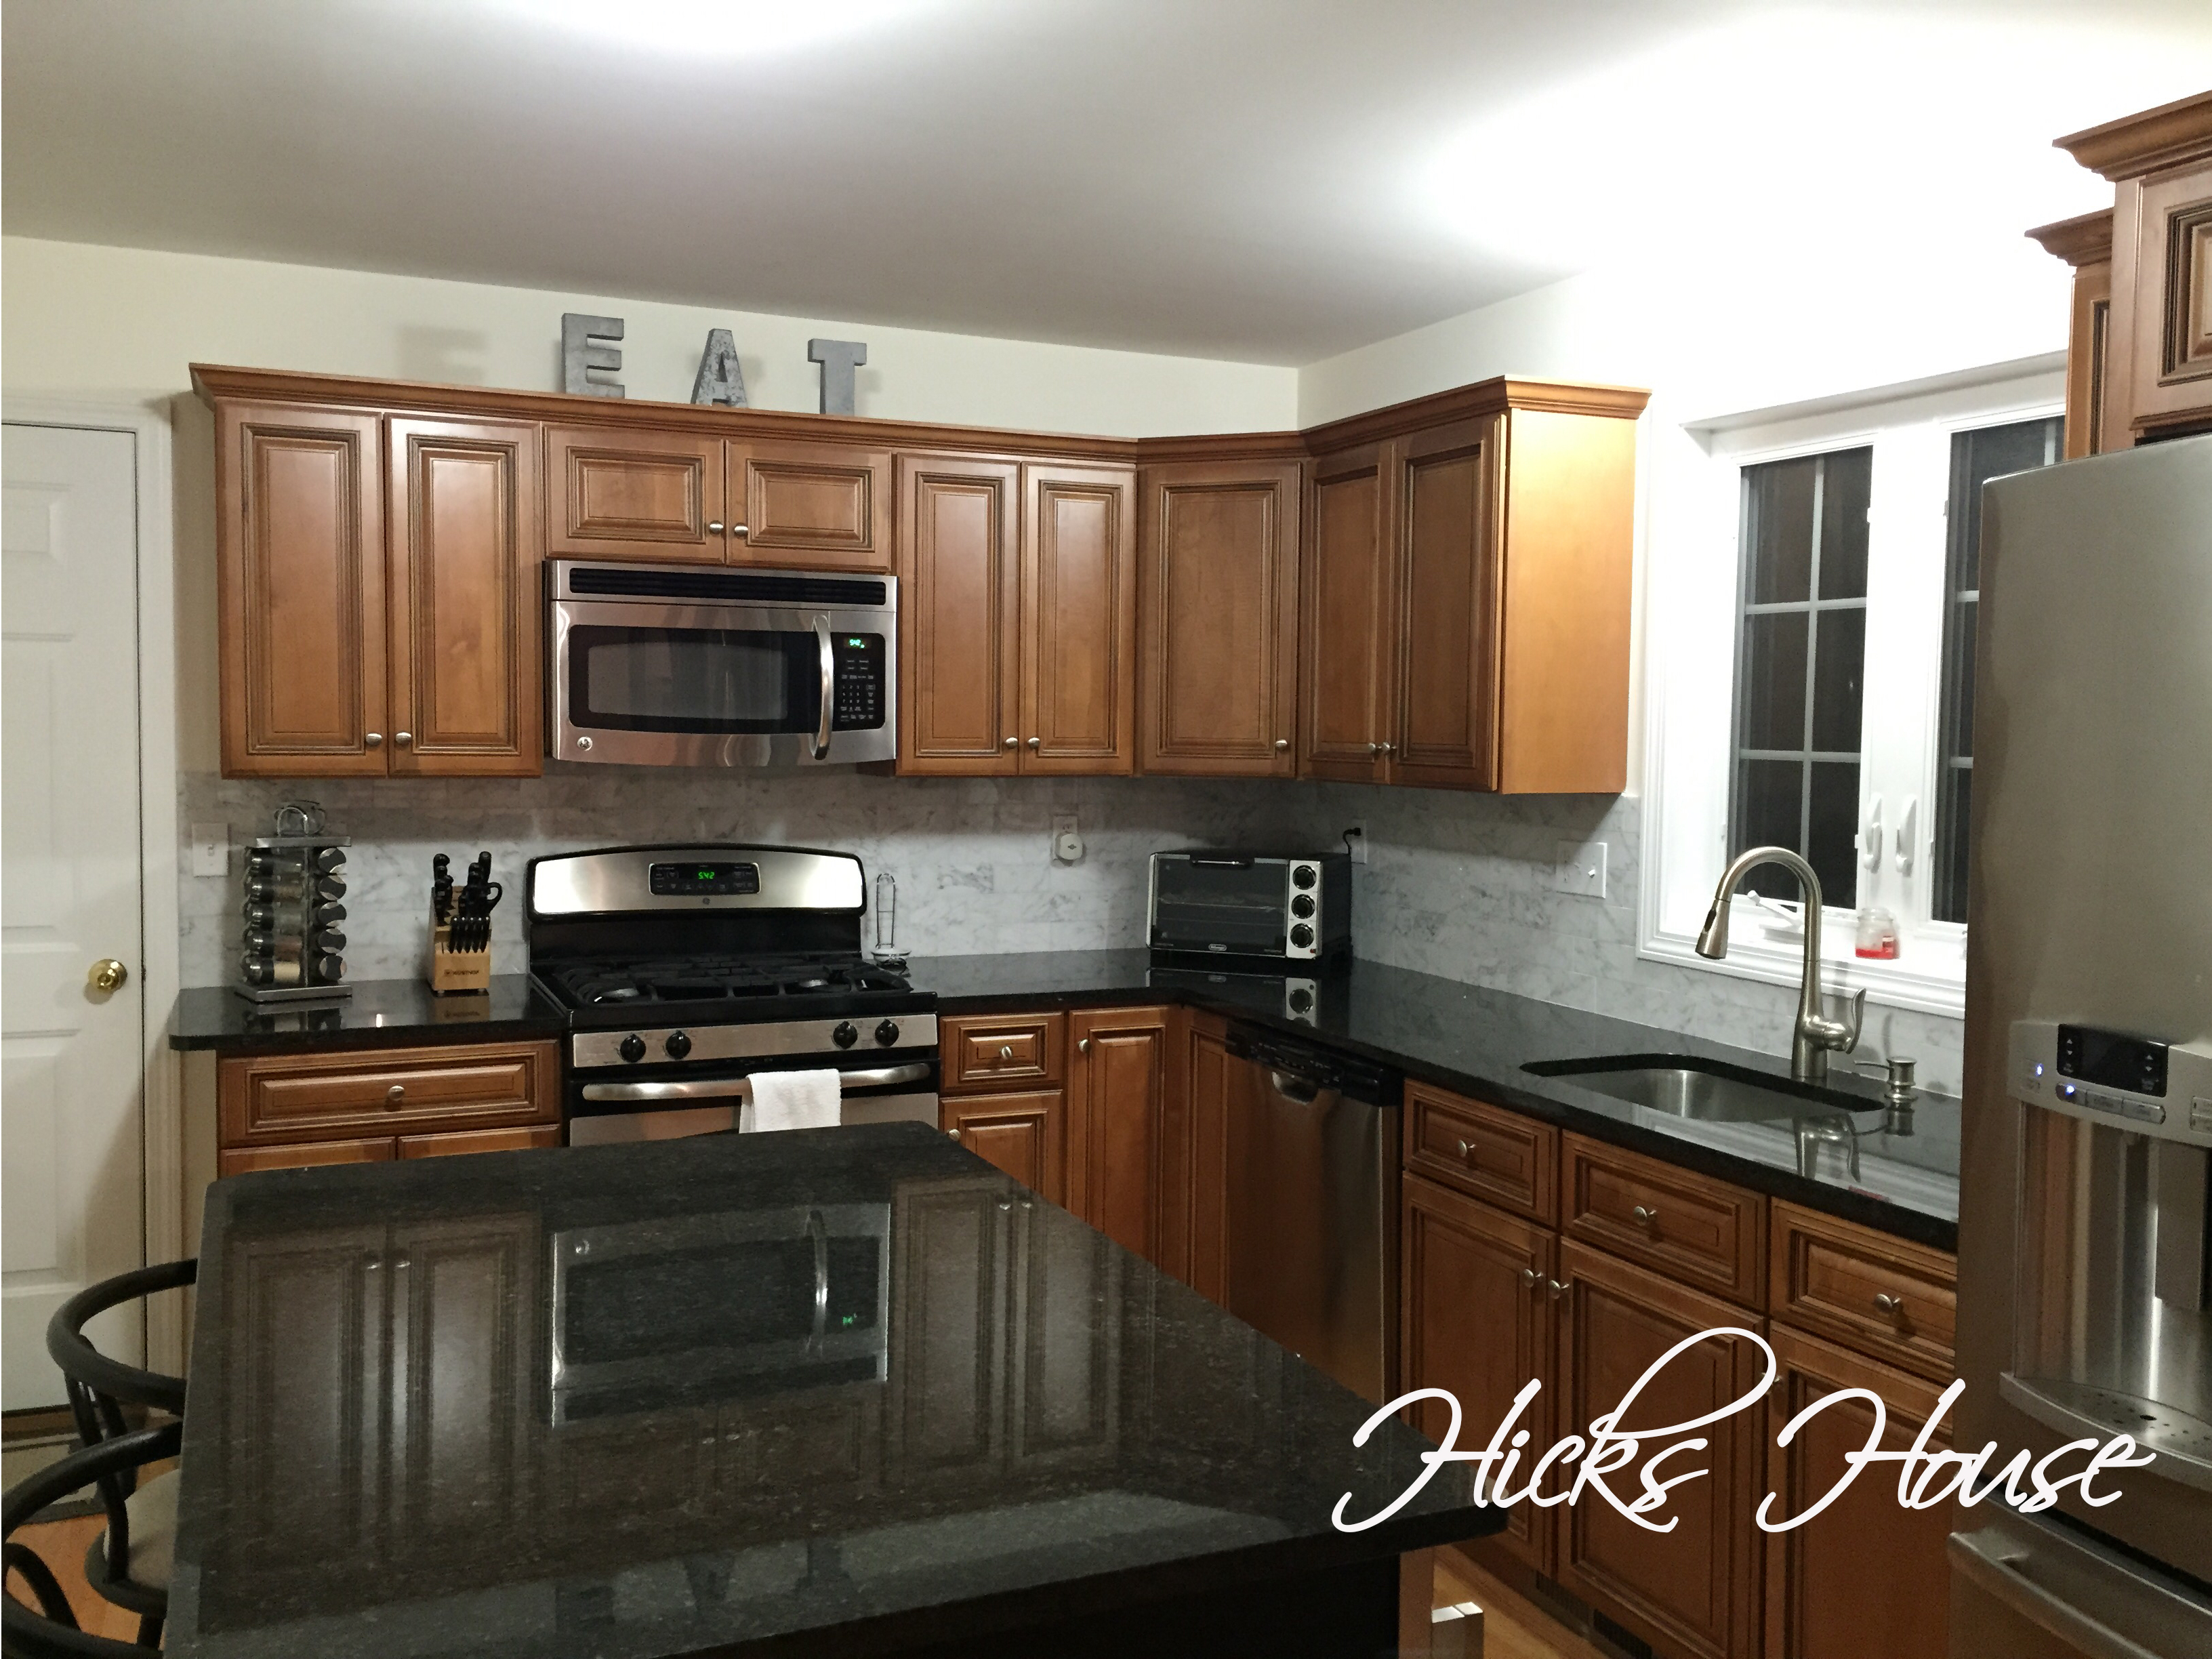
And here we are with the new Arctic Gray paint. It’s a light gray with a blue undertone that definitely appears more blue in the living room area where we have the teal accents than in the kitchen where it’s a lot of black granite, and white marble.

Hicks House | Arctic Gray Olé

Next on the interior list… LIGHTING. It’s long overdue that we get rid of the bare bulbs and builder grade boob lights.

I’d love to hear your thoughts on the new color! We’re loving the fact that the entire first floor is now painted. Still outstanding: The Master Bedroom and Bathroom and the Craft Room.

Hicks House


Leave a comment

Light it Up

Since we are in the process of making improvements and finishing off the kitchen (see the new back splash here) we thought it was time to tackle another project we’ve wanted to do since the first night we cooked in this kitchen. Install under cabinet lighting. The kitchen is low on the lighting to begin with (one lone light above the island and one over the sink), and although we are planning on upgrading from the ugly builder grade ceiling lights supplied, adding new wiring isn’t really in the plan.

Unless your prepping on the island itself, it can be pretty dark under the cabinets so we purchased some LED puck lights – these ones (affiliate link): Lightkiwi® C9203 3.5 inch Cool White LED Puck Lights Premium Kit (3 Pack).

We liked them because they were a much lower profile than a lot of the other LED lights we found and were extremely bright and the wires were nice and long. We did a dry fit to figure out where we wanted the lights to go and ensured the wires would reach up above the microwave where the spare plug was.

Then came the scary part… in order to successfully run the wires up to the plug in the cabinet above the microwave without them being seen, we needed to drill through the cabinets. Eeeek!

Hicks House | Under Cabinet Lighting

We drilled through the side of the single cabinet to the left of the stove as well as in between the two adjoining cabinets to the left of the stove.

Hicks House | Under Cabinet Lighting

This left some big scary holes.

Hicks House | Under Cabinet Lighting

We then fed the wires through the holes and up between the cabinets.

Hicks House | Under Cabinet Lighting

Hicks House | Under Cabinet Lighting

This left an intimidating jumble of wires hanging down.

Hicks House | Under Cabinet Lighting

We purchased some wire clips like these to attach the wires up under the cabinet out of sight.

Hicks House | Under Cabinet Lighting

Then attached the lights with some Command Strips.

Hicks House | Under Cabinet Lights

Hicks House | Under Cabinet Lighting

Drilled a hole through the top of the over-microwave cabinet and plugged them in.

Hicks House | Under Cabinet Lighting

Ta-Da! No more dark corners!

I highly recommend tackling this project if you could use some more lighting in your prep space. It went pretty quickly, Ken tackled it in a few hours after work one night. Now we have lights at the flip of a switch and no visible wiring for a nice clean professional look.

Hicks House