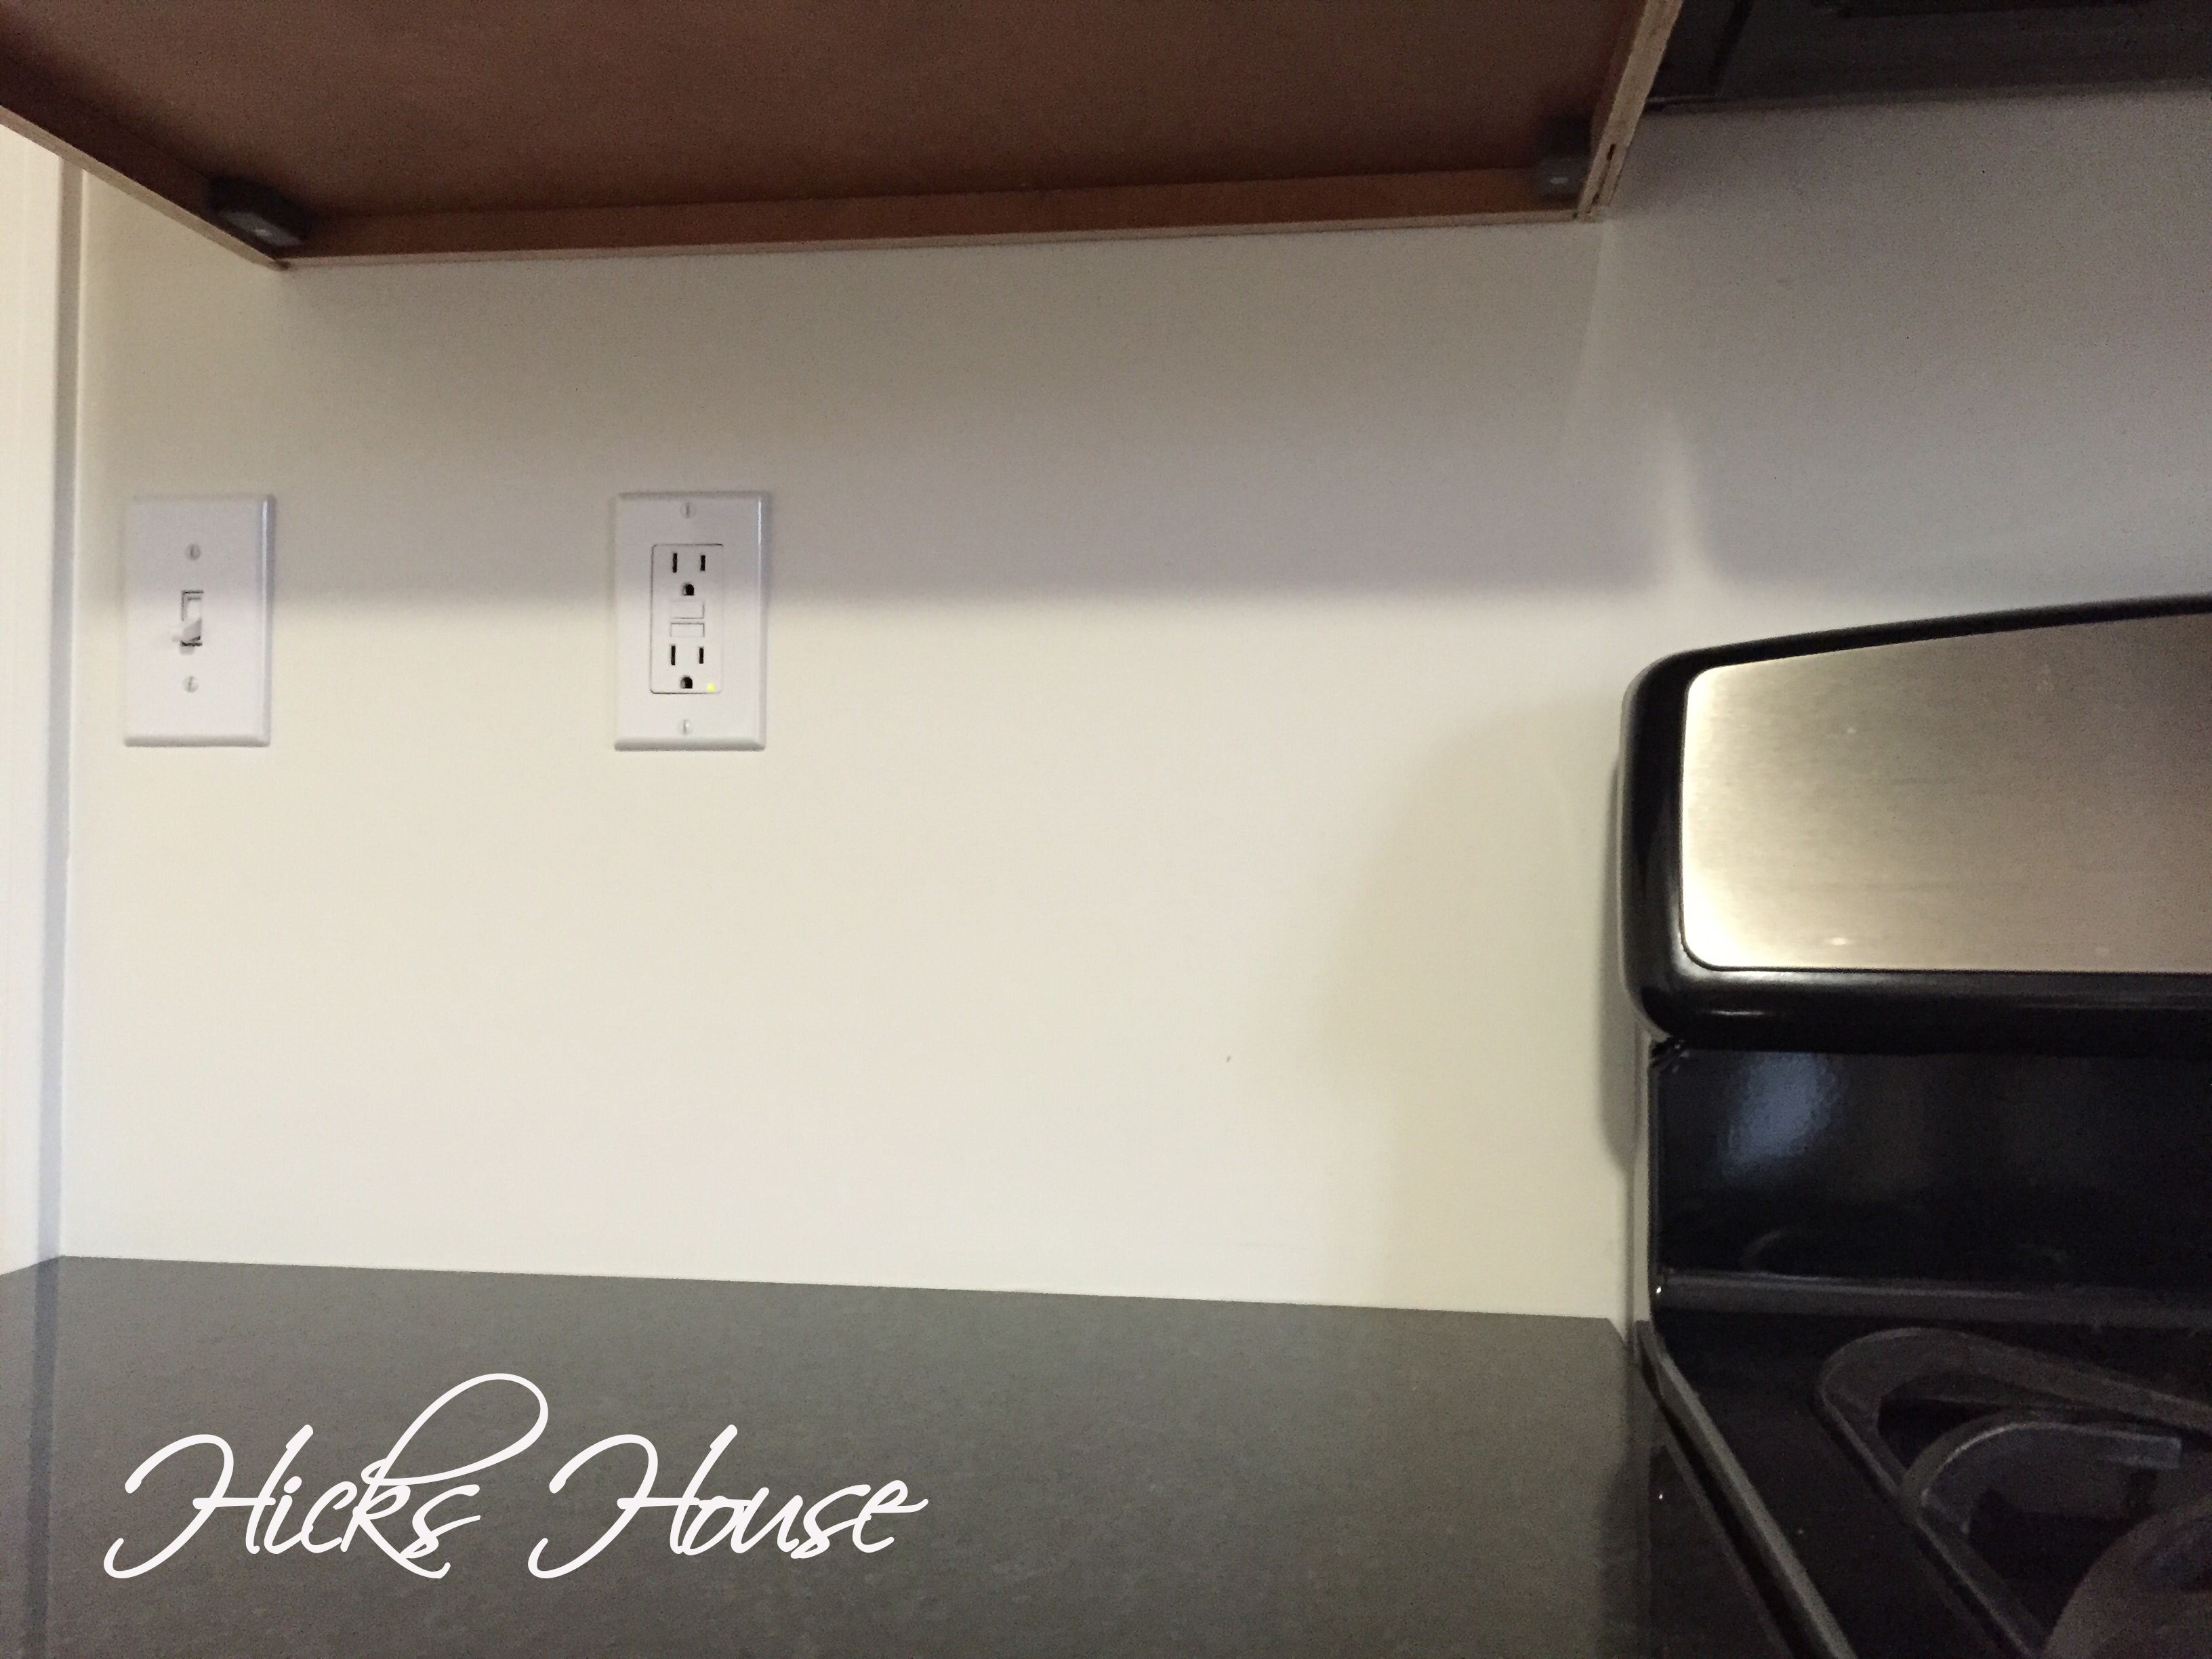
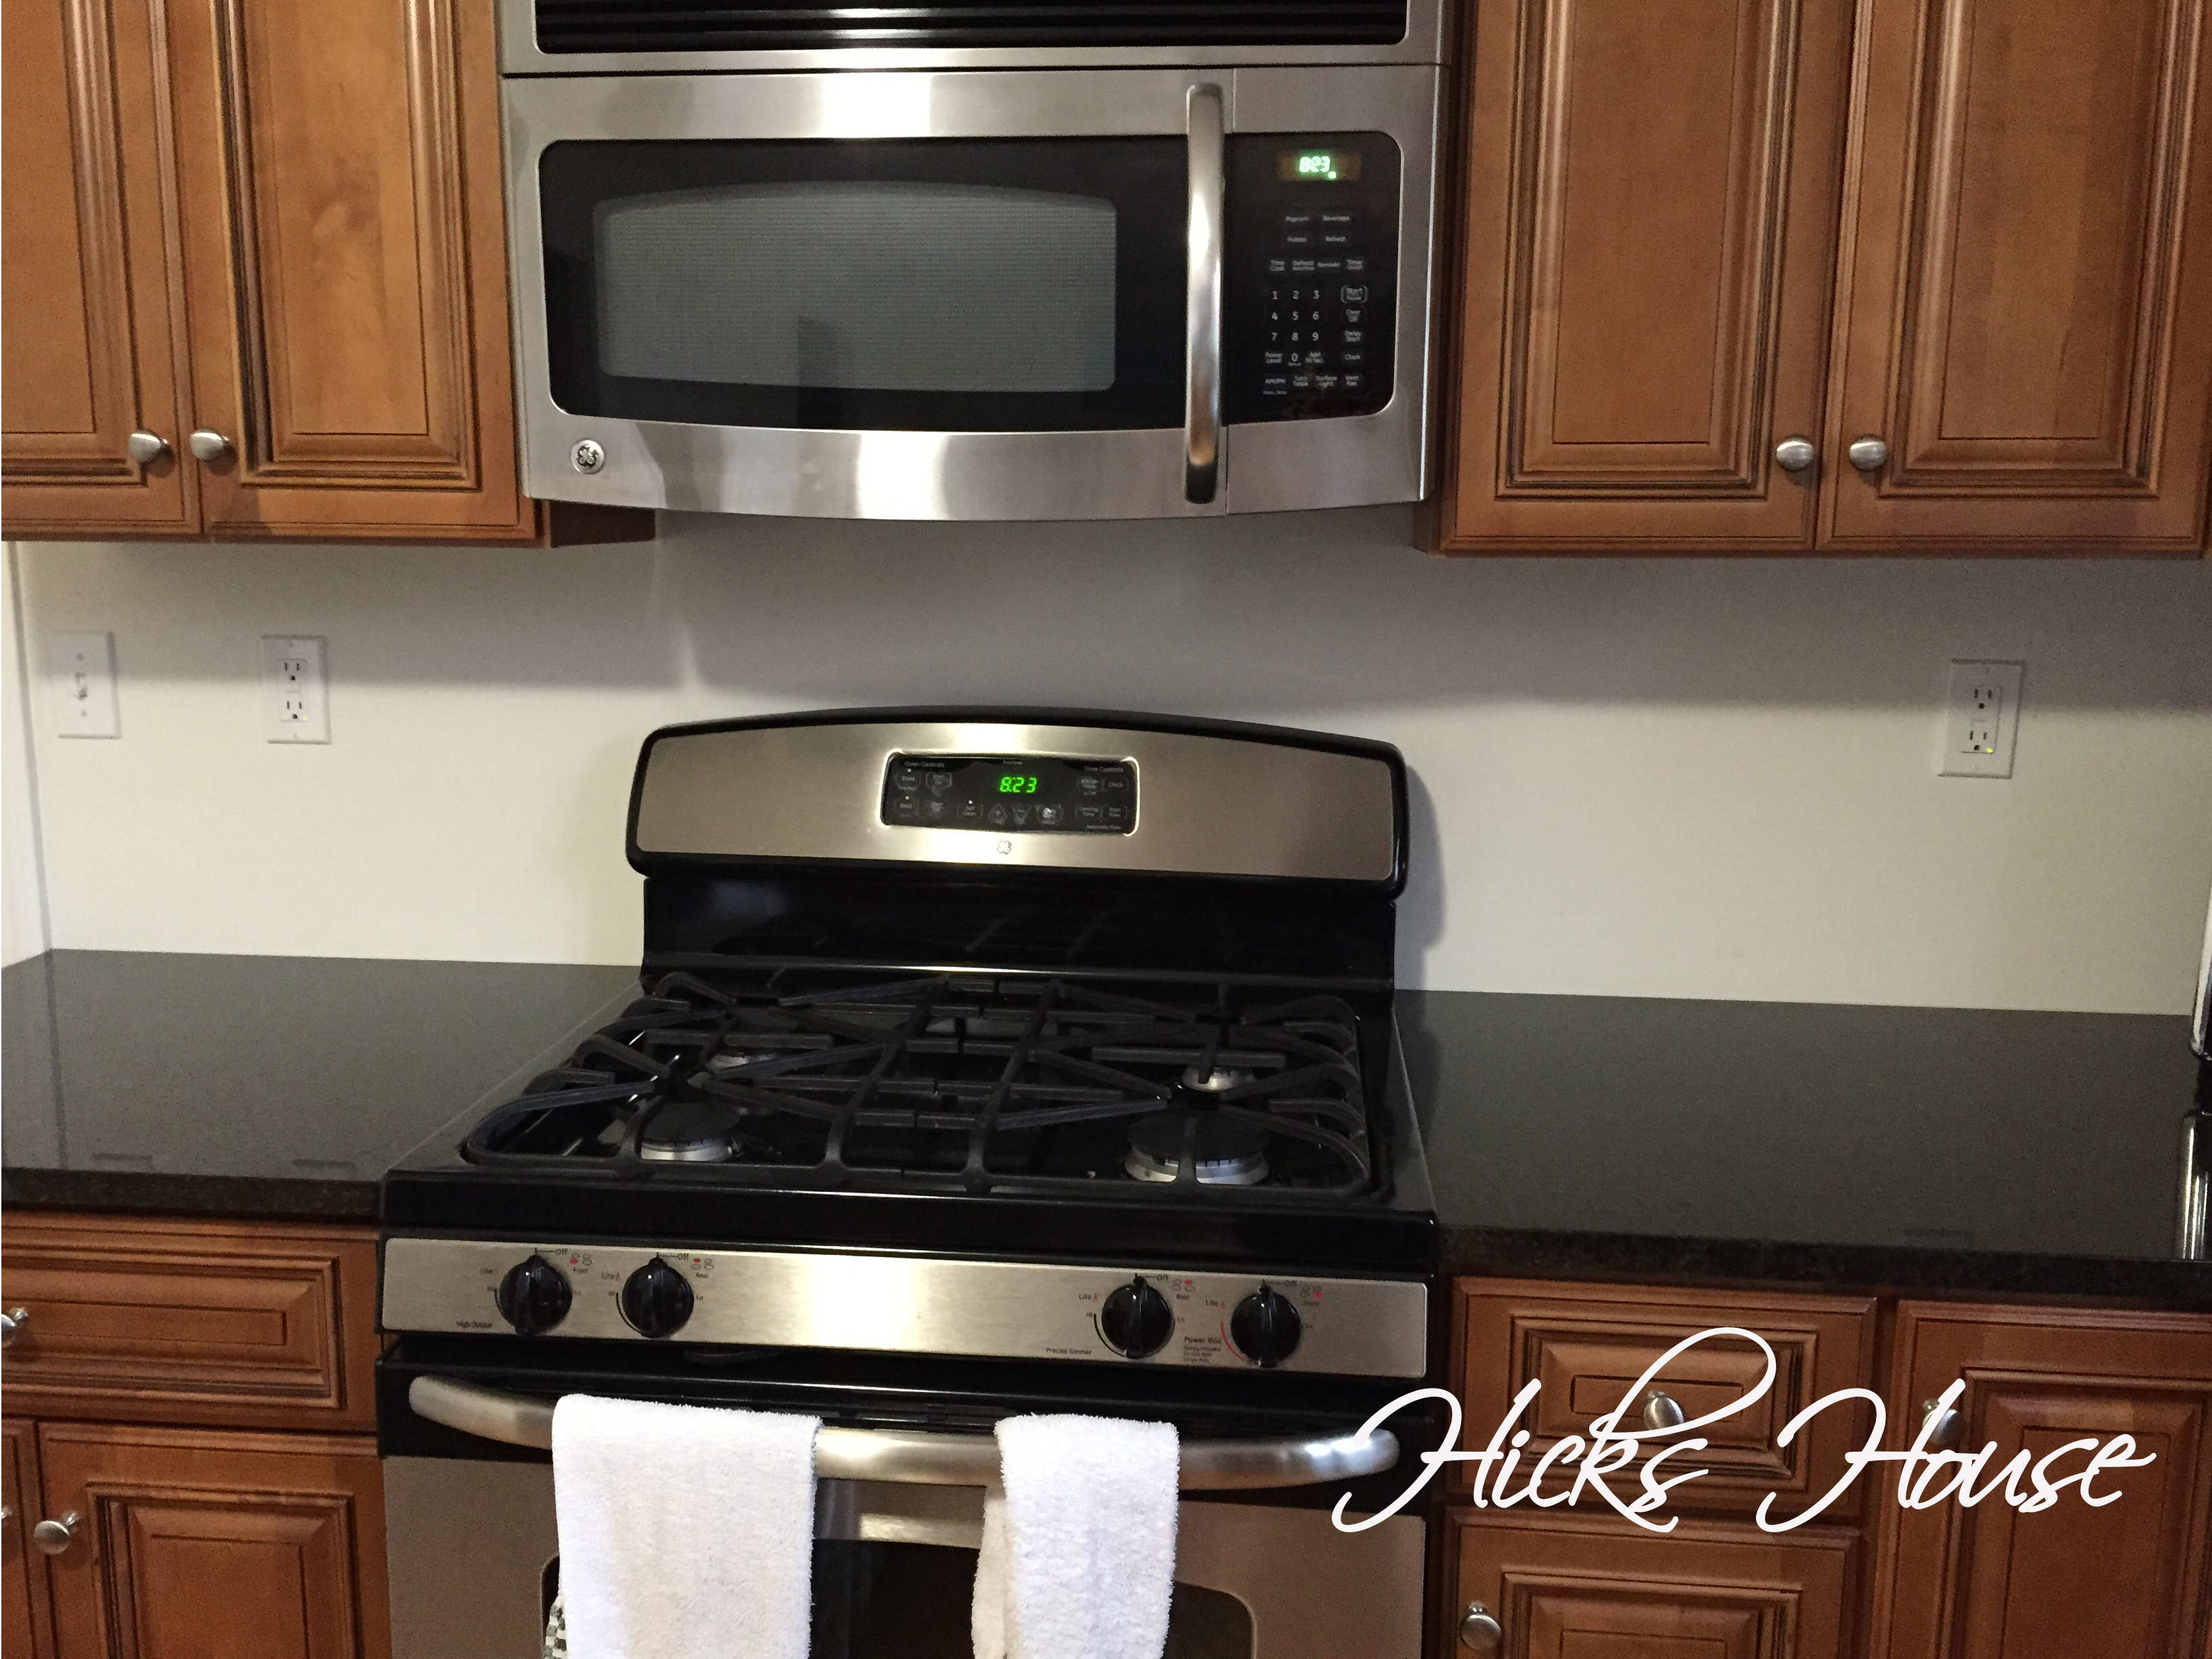
Remember when my kitchen looked like this:

I know I haven’t shown it live FOREVER, because in the year and half since we moved in, we haven’t really done anything in this room. But now we have a BACKSPLASH!!! And not just any backsplash, a white marble one. It was definitely worth the wait.
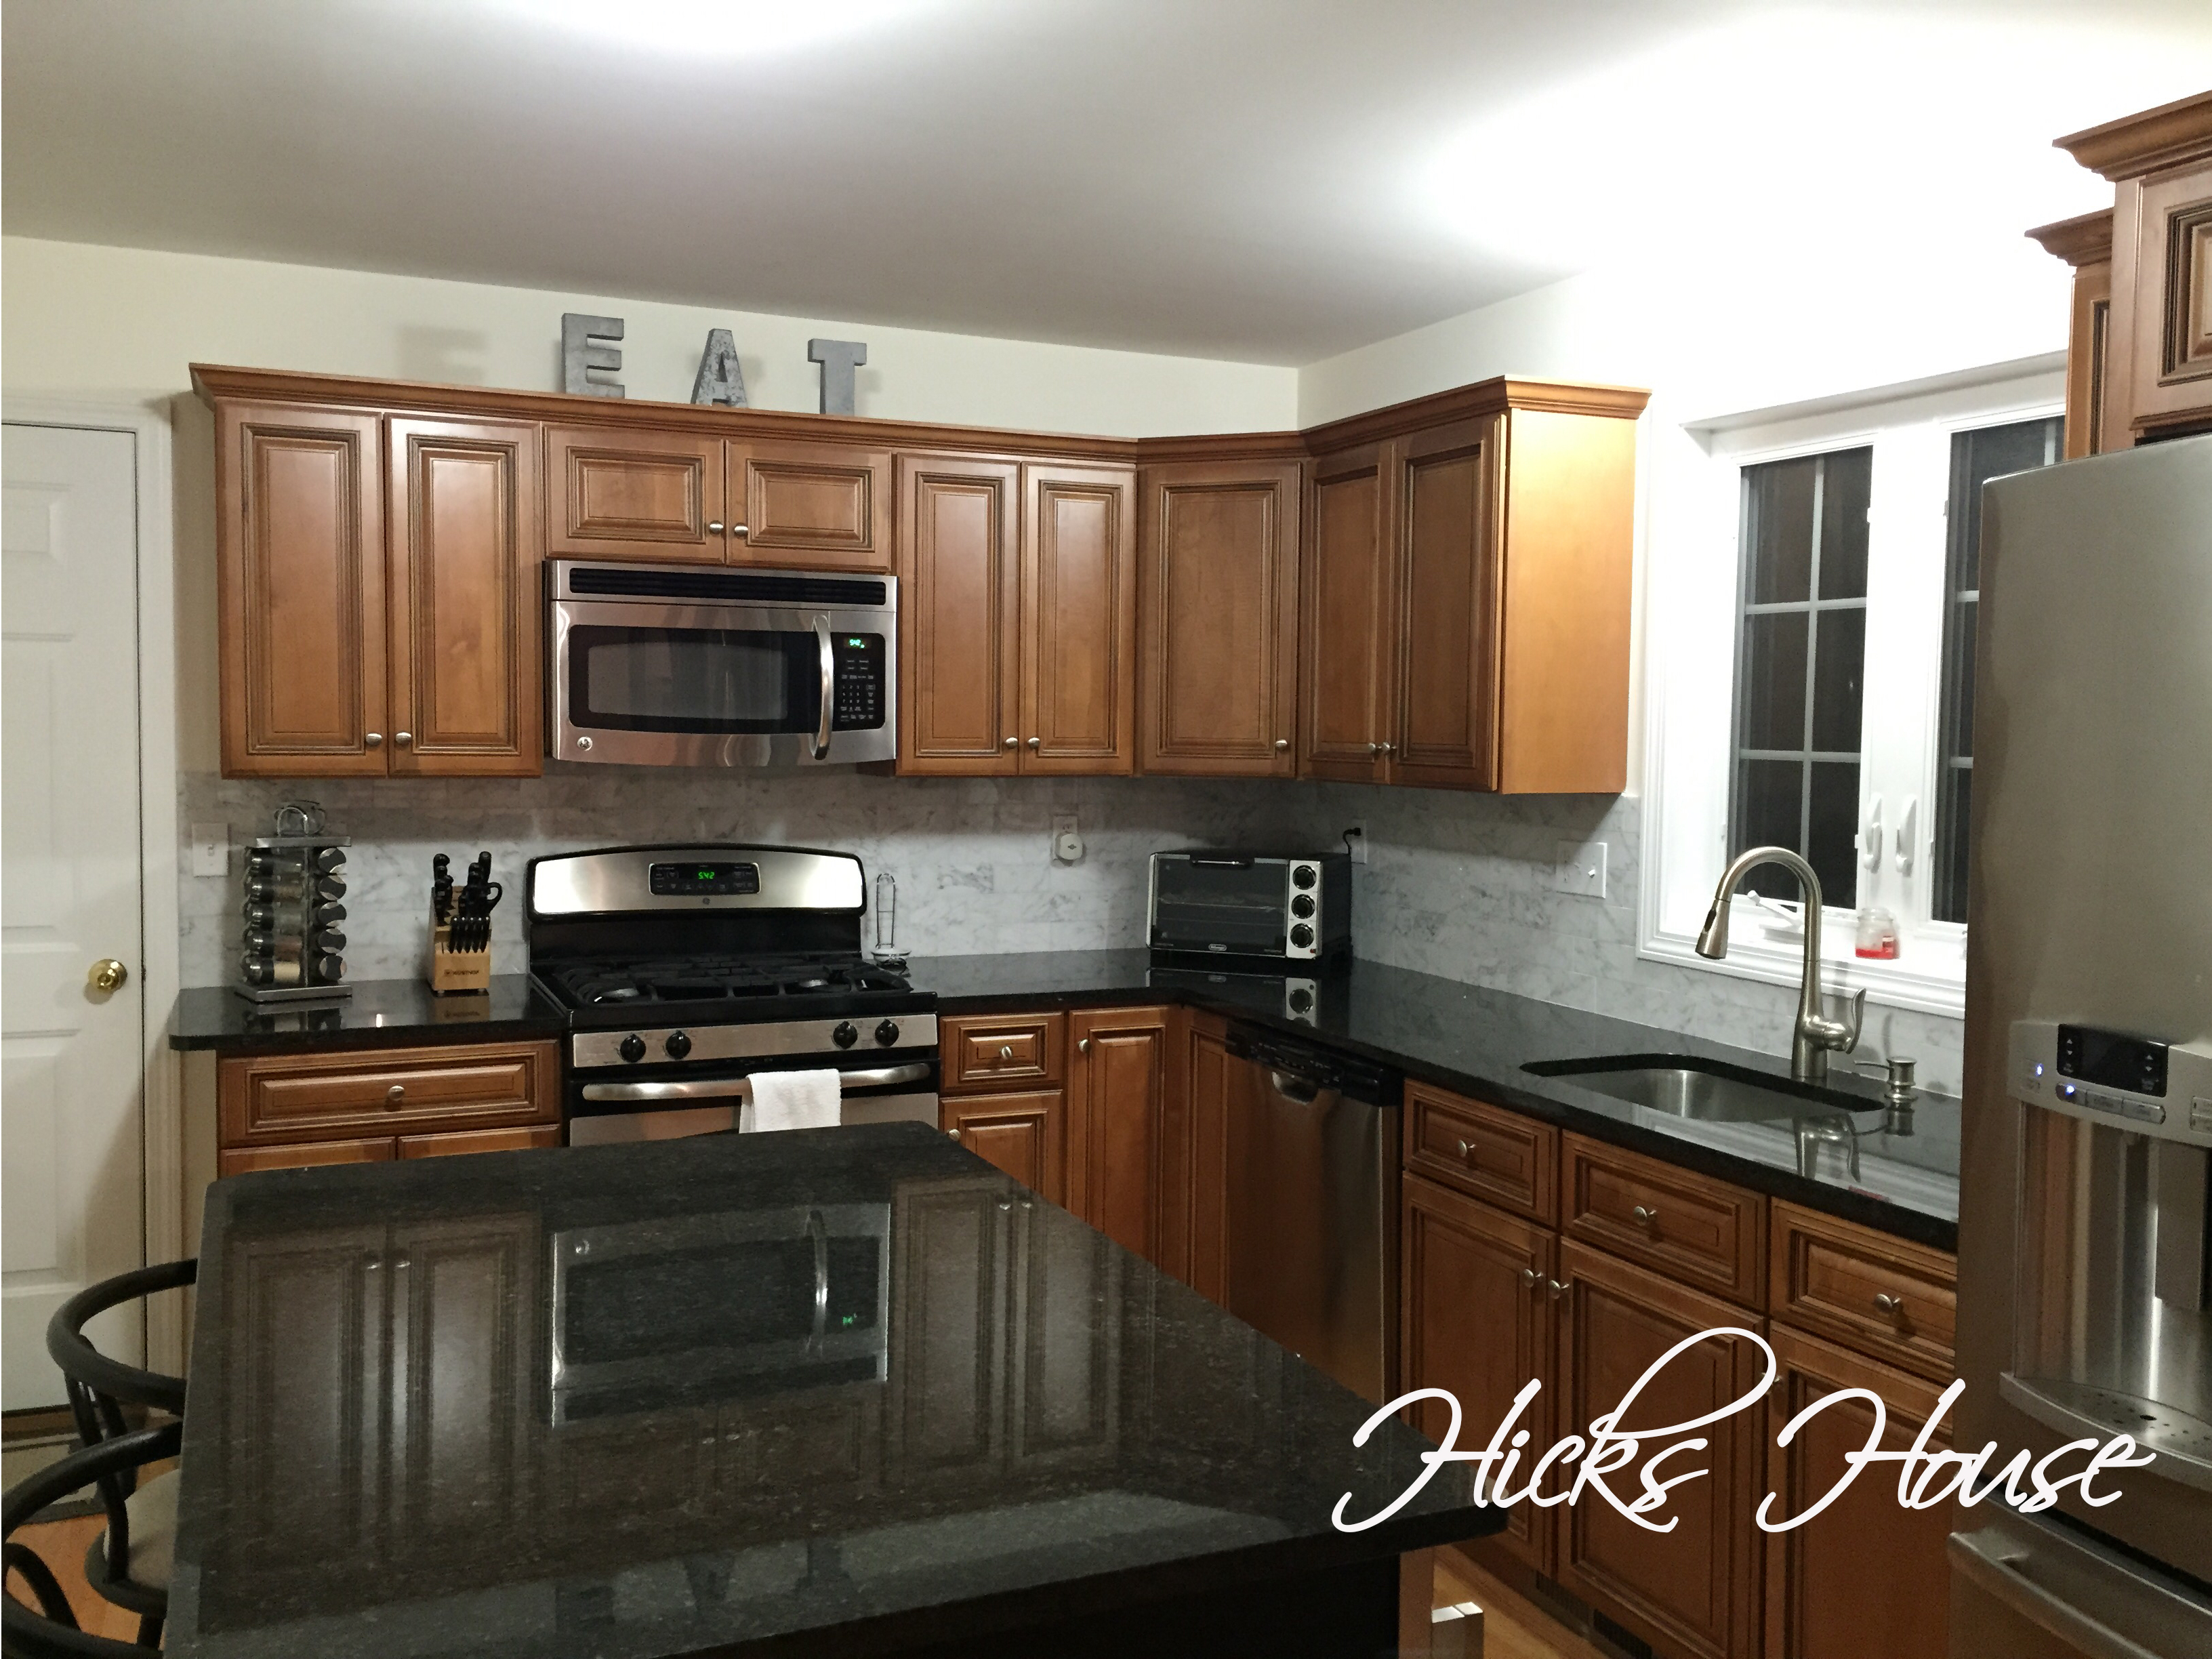
Once we get this room painted with the Arctic Gray, it will pop more than it currently does against the builder white walls (wah-wah).
A few reasons this took over a year 1. tile is expensive 2. deciding on a tile style, color and material is hard (it’s a big and more permanent decision than any of the updates we’ve made so far) 3. it was job we didn’t want to tackle ourselves.
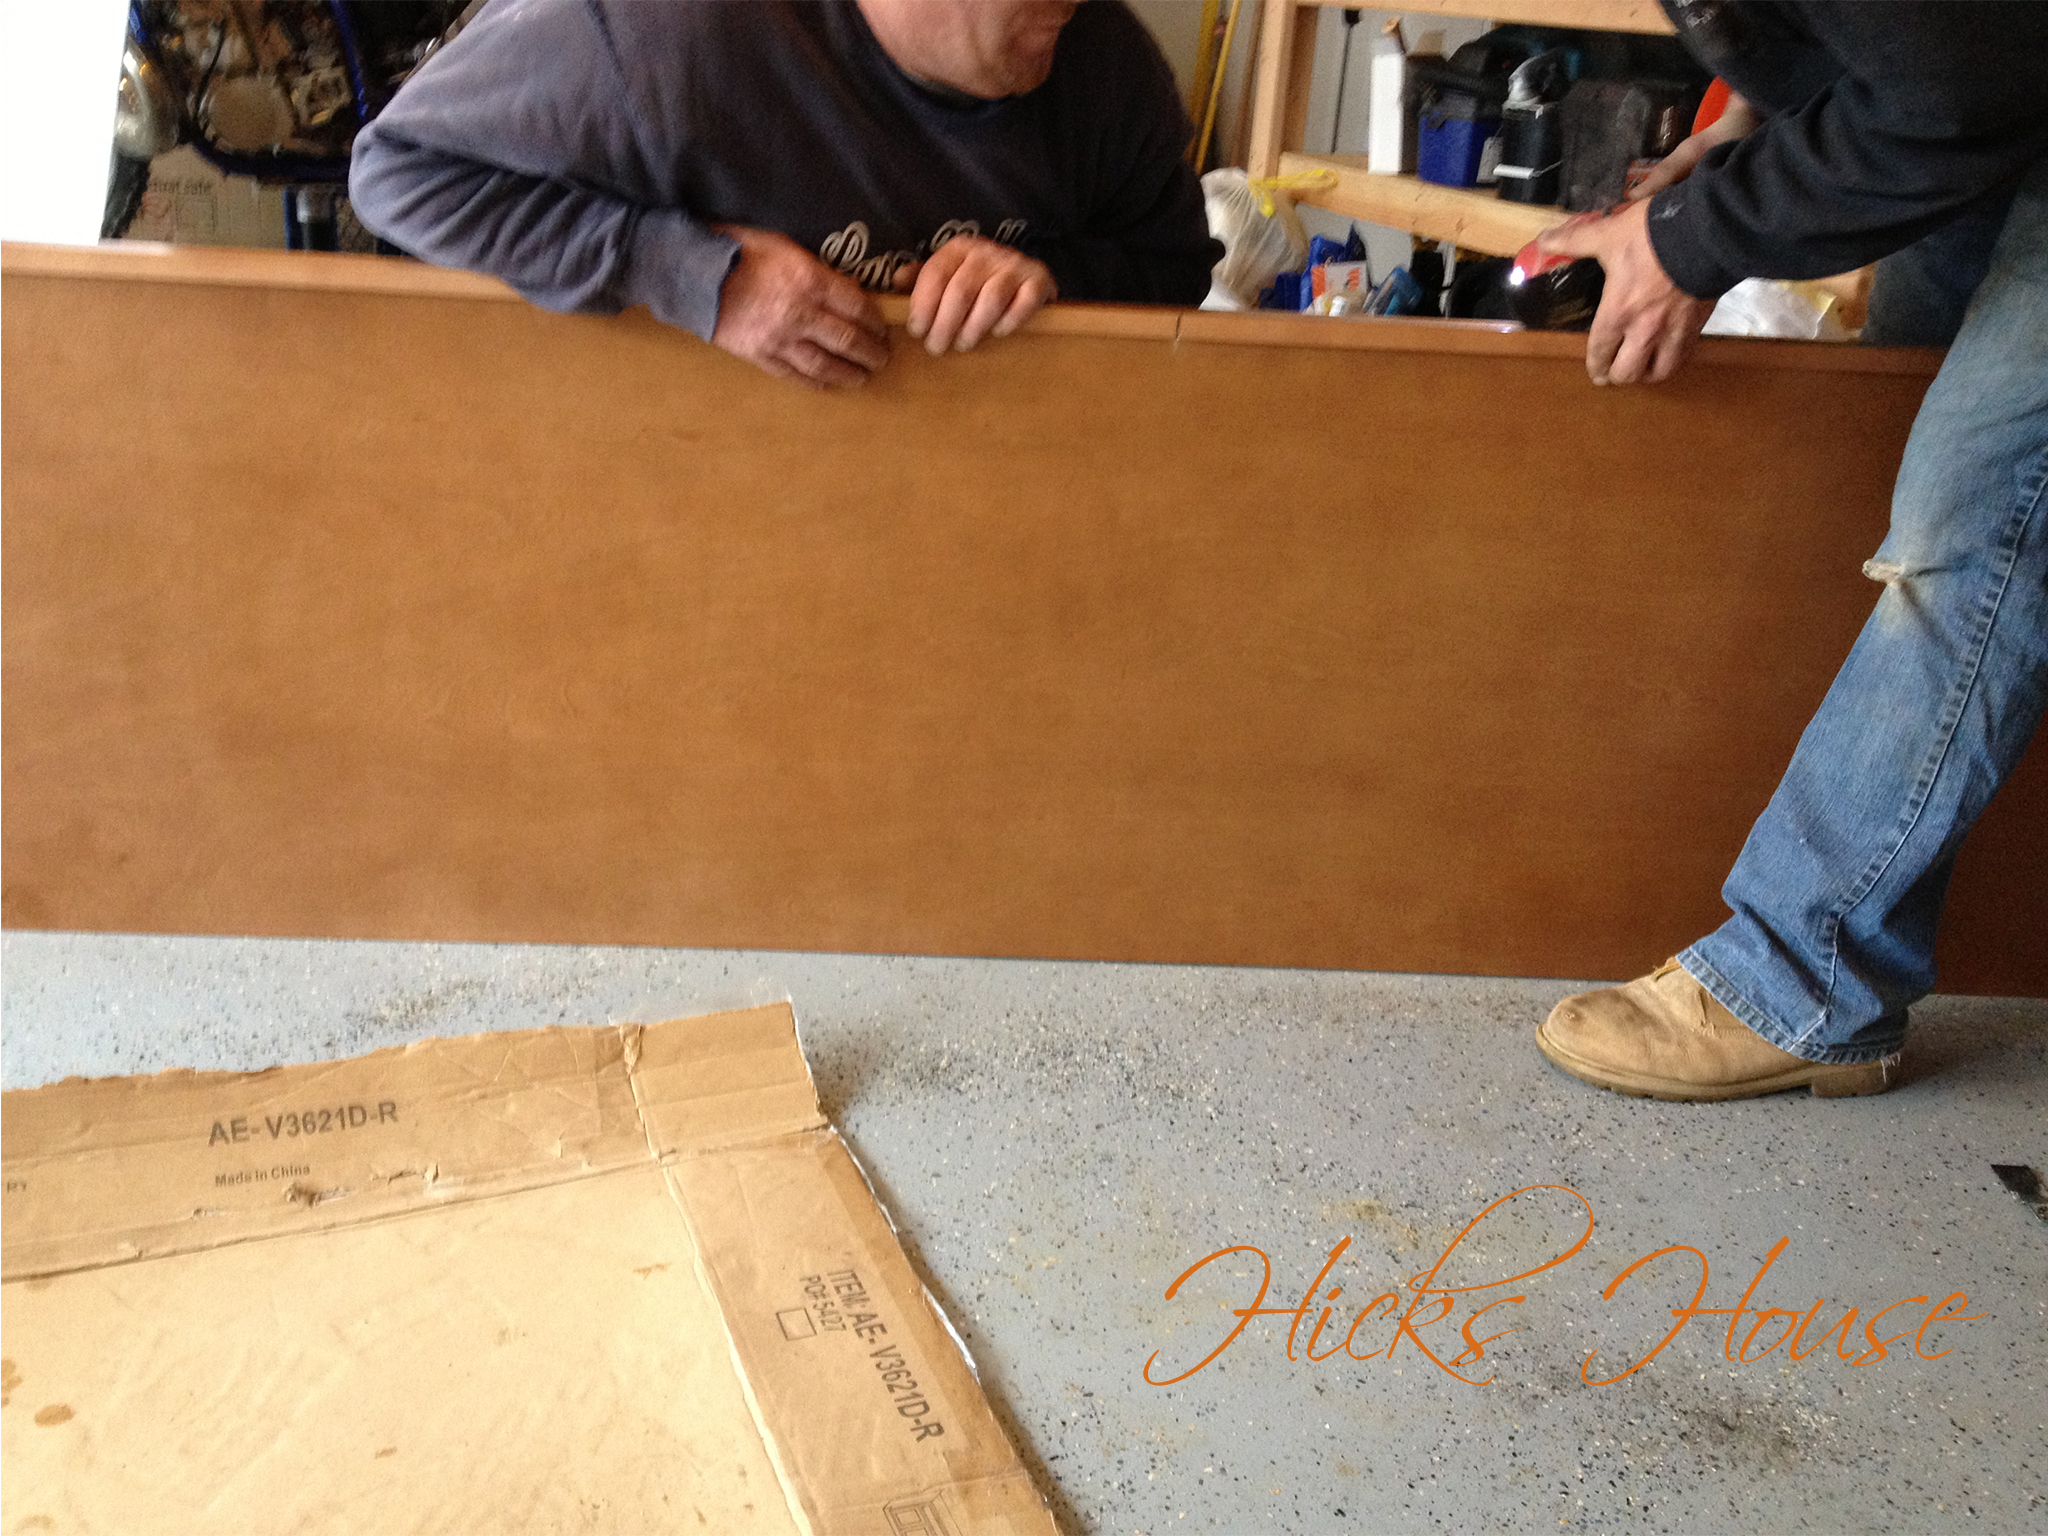
So we hired it out, but don’t you worry I hover stalked the entire process so I could give a play by play 🙂
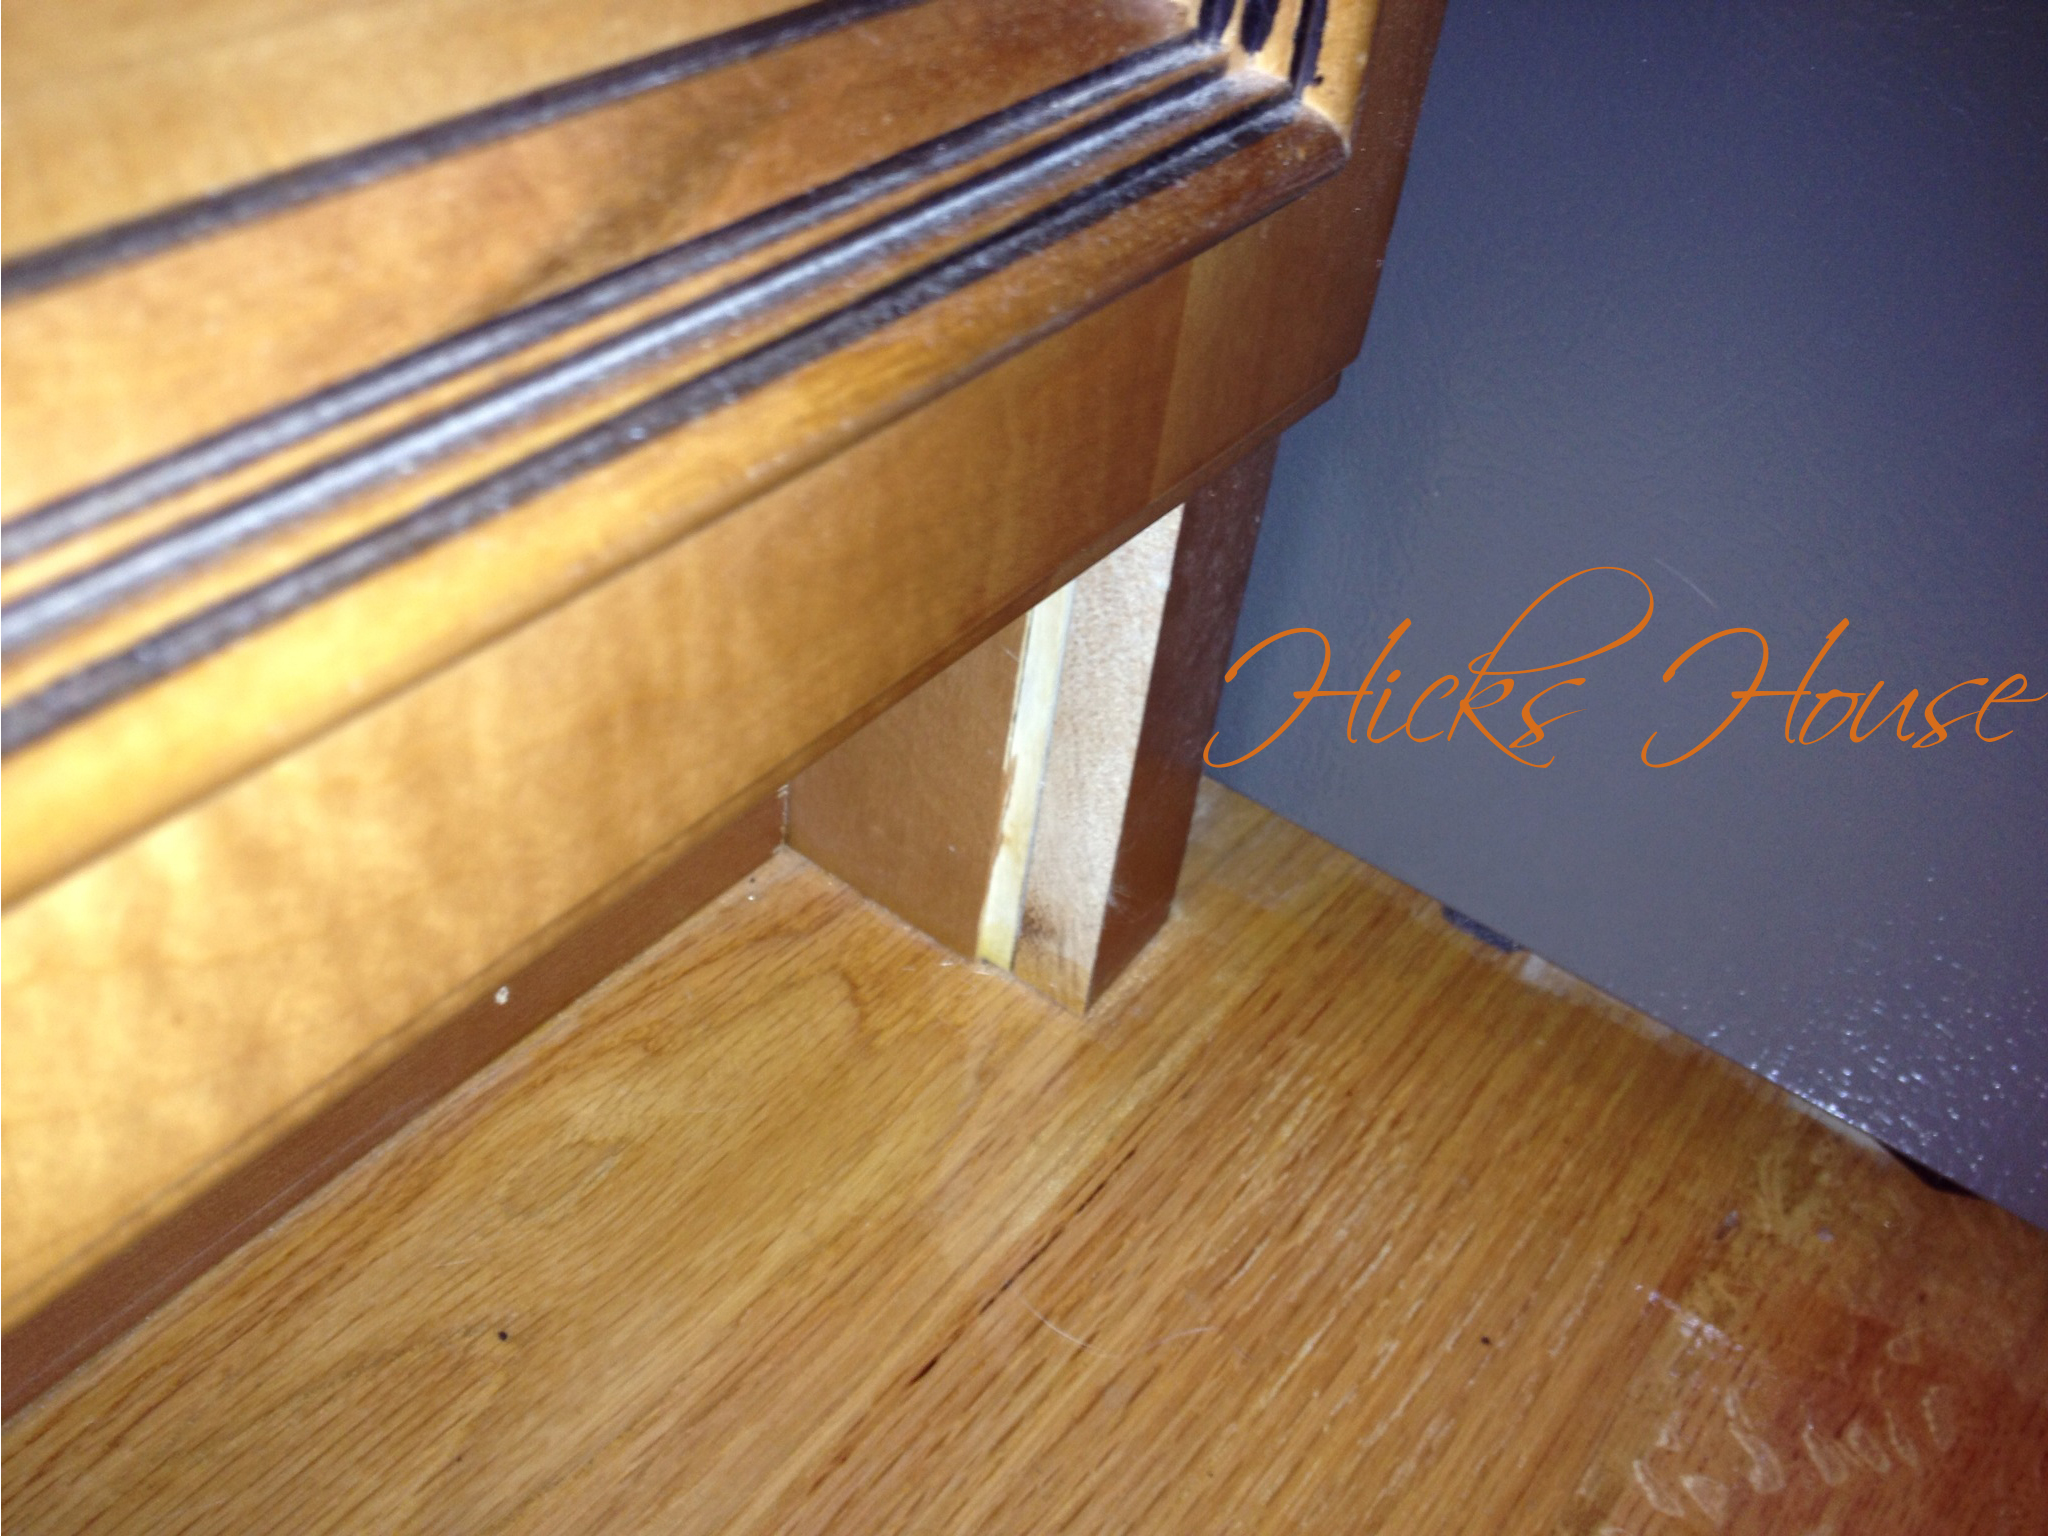
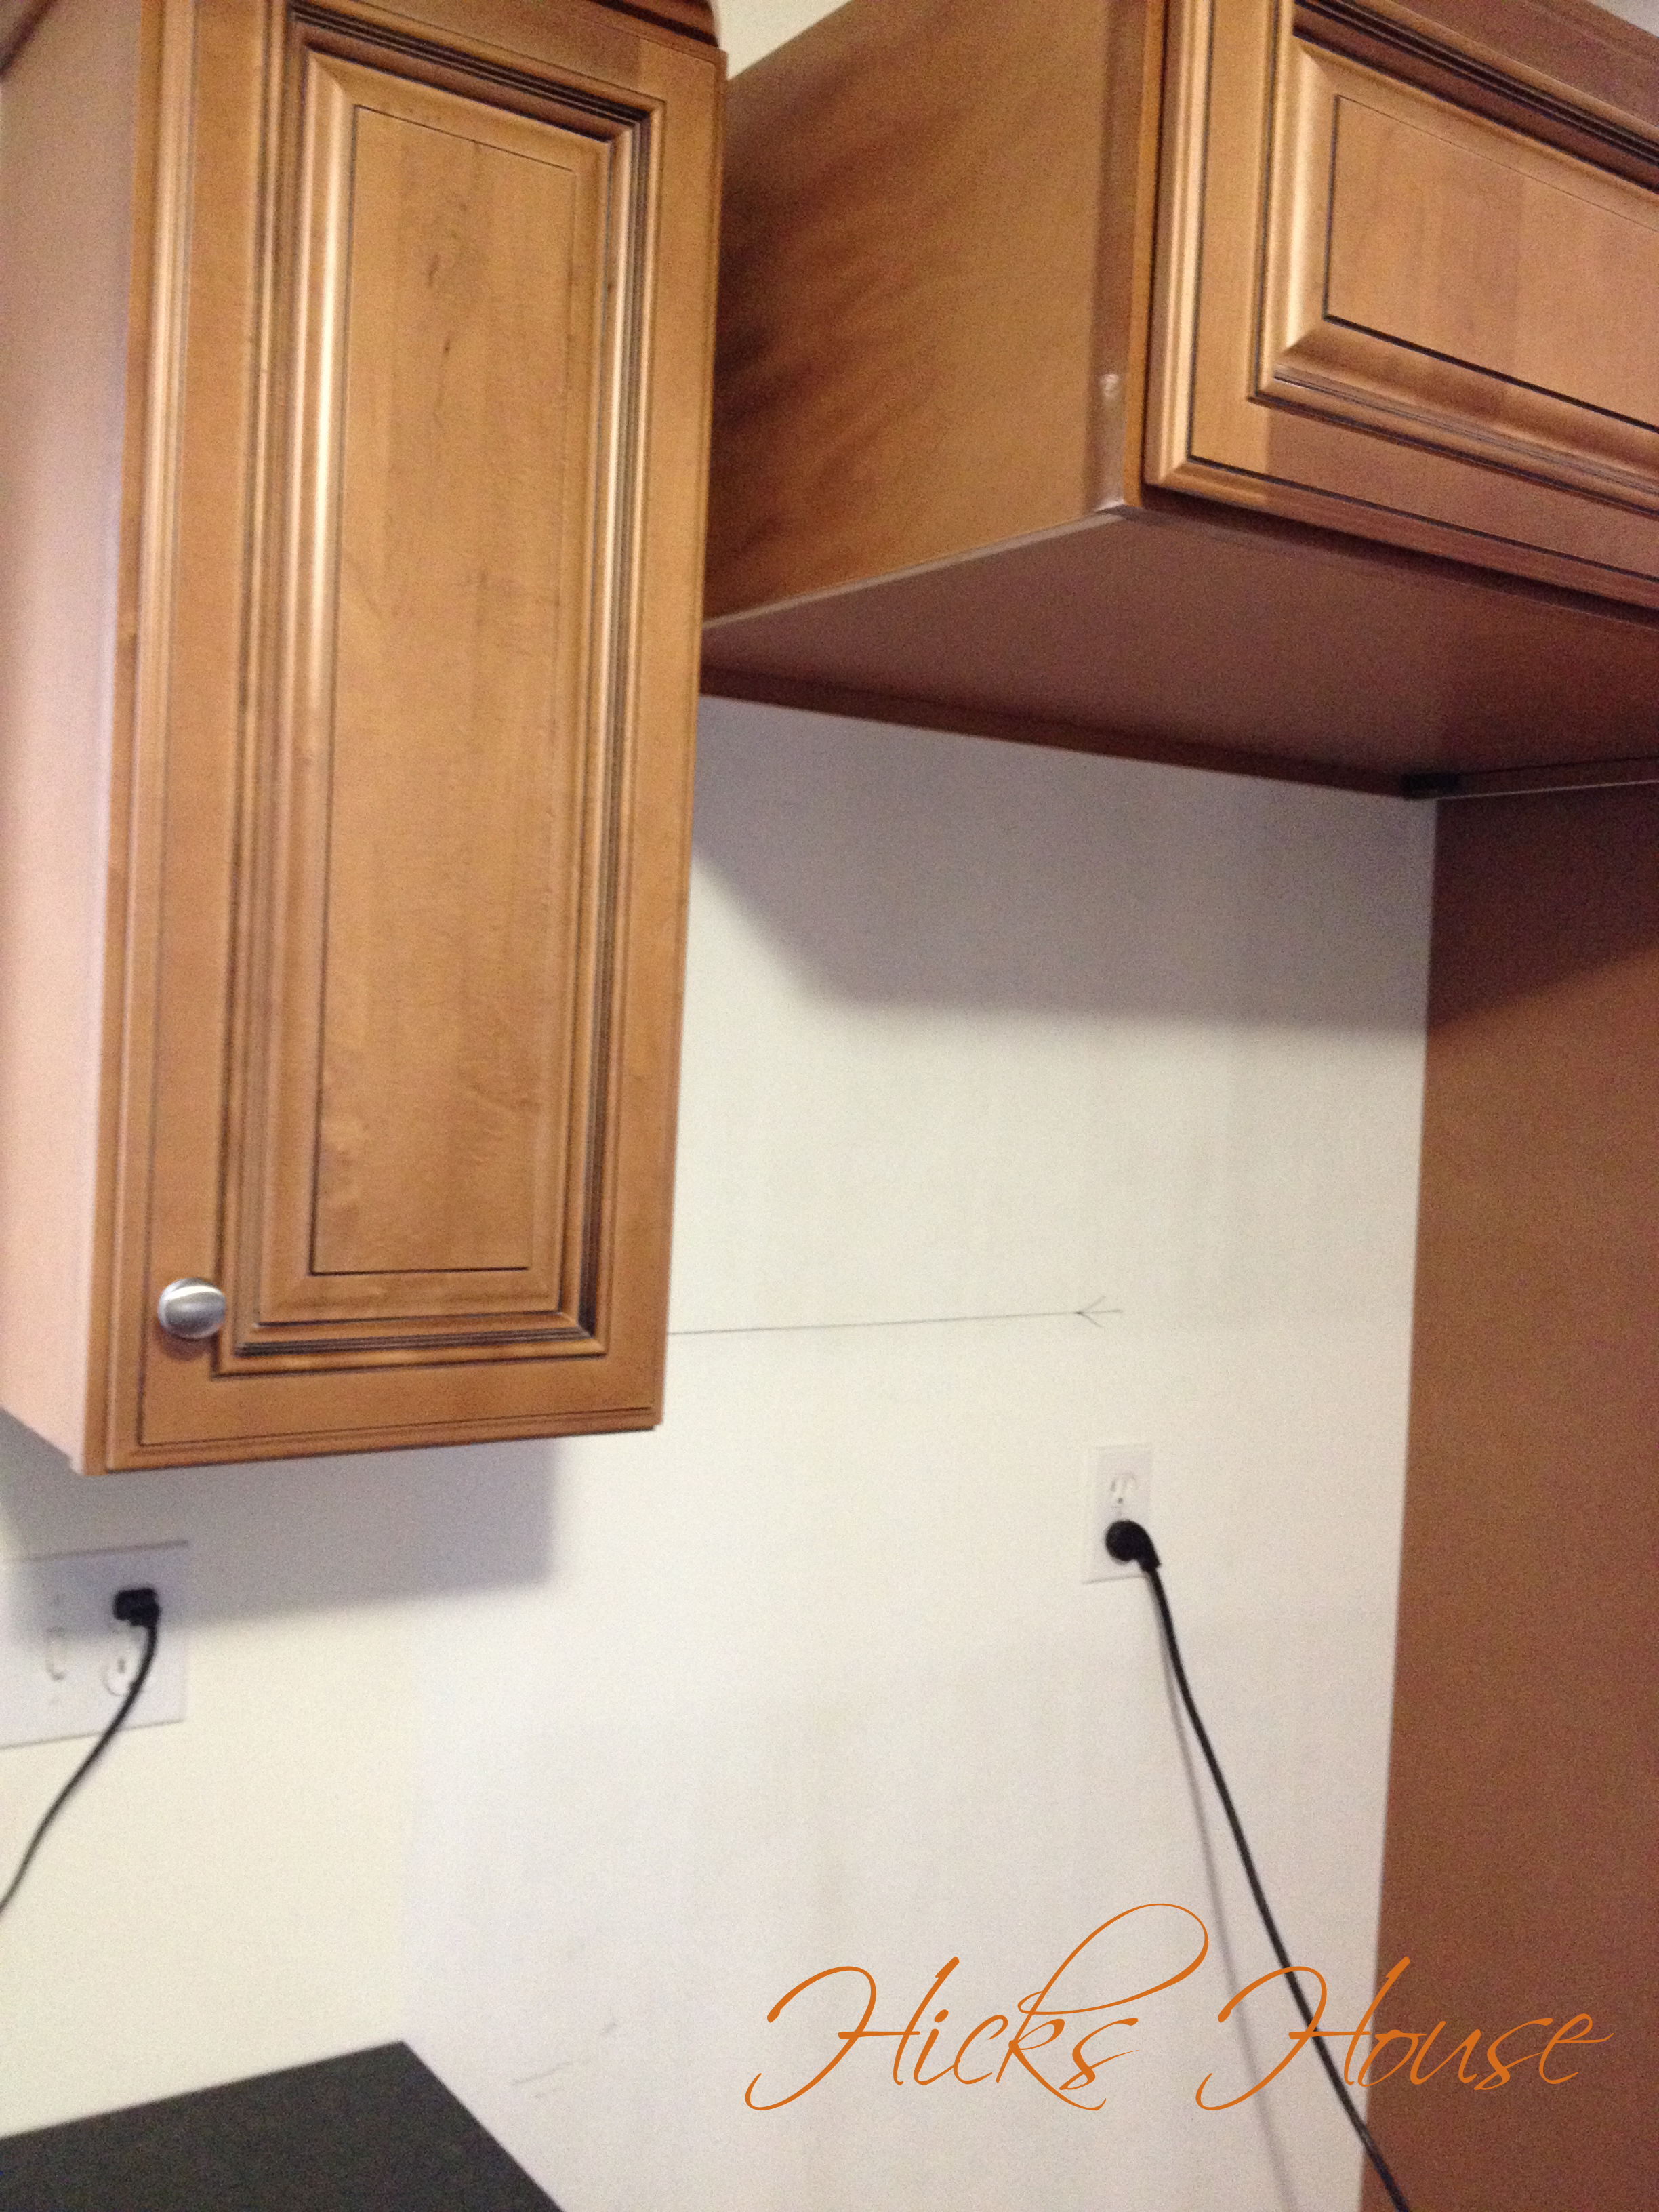
Let’s start with some close-ups of the wall pre tile.
We decided to go with a white Bianca Cararra marble in a subway tile pattern. We thought the white marble would play off nicely with the black granite and matched our more clean and modern style, while the subway pattern was more classic ensuring we won’t tire of it too quickly.
The tile guy came over equipped with a wet saw (unfortunately it was freezing) and set up in the driveway cutting a few pieces in half before getting started.

Then mixed up some mastic and started applying it to the wall in small sections.
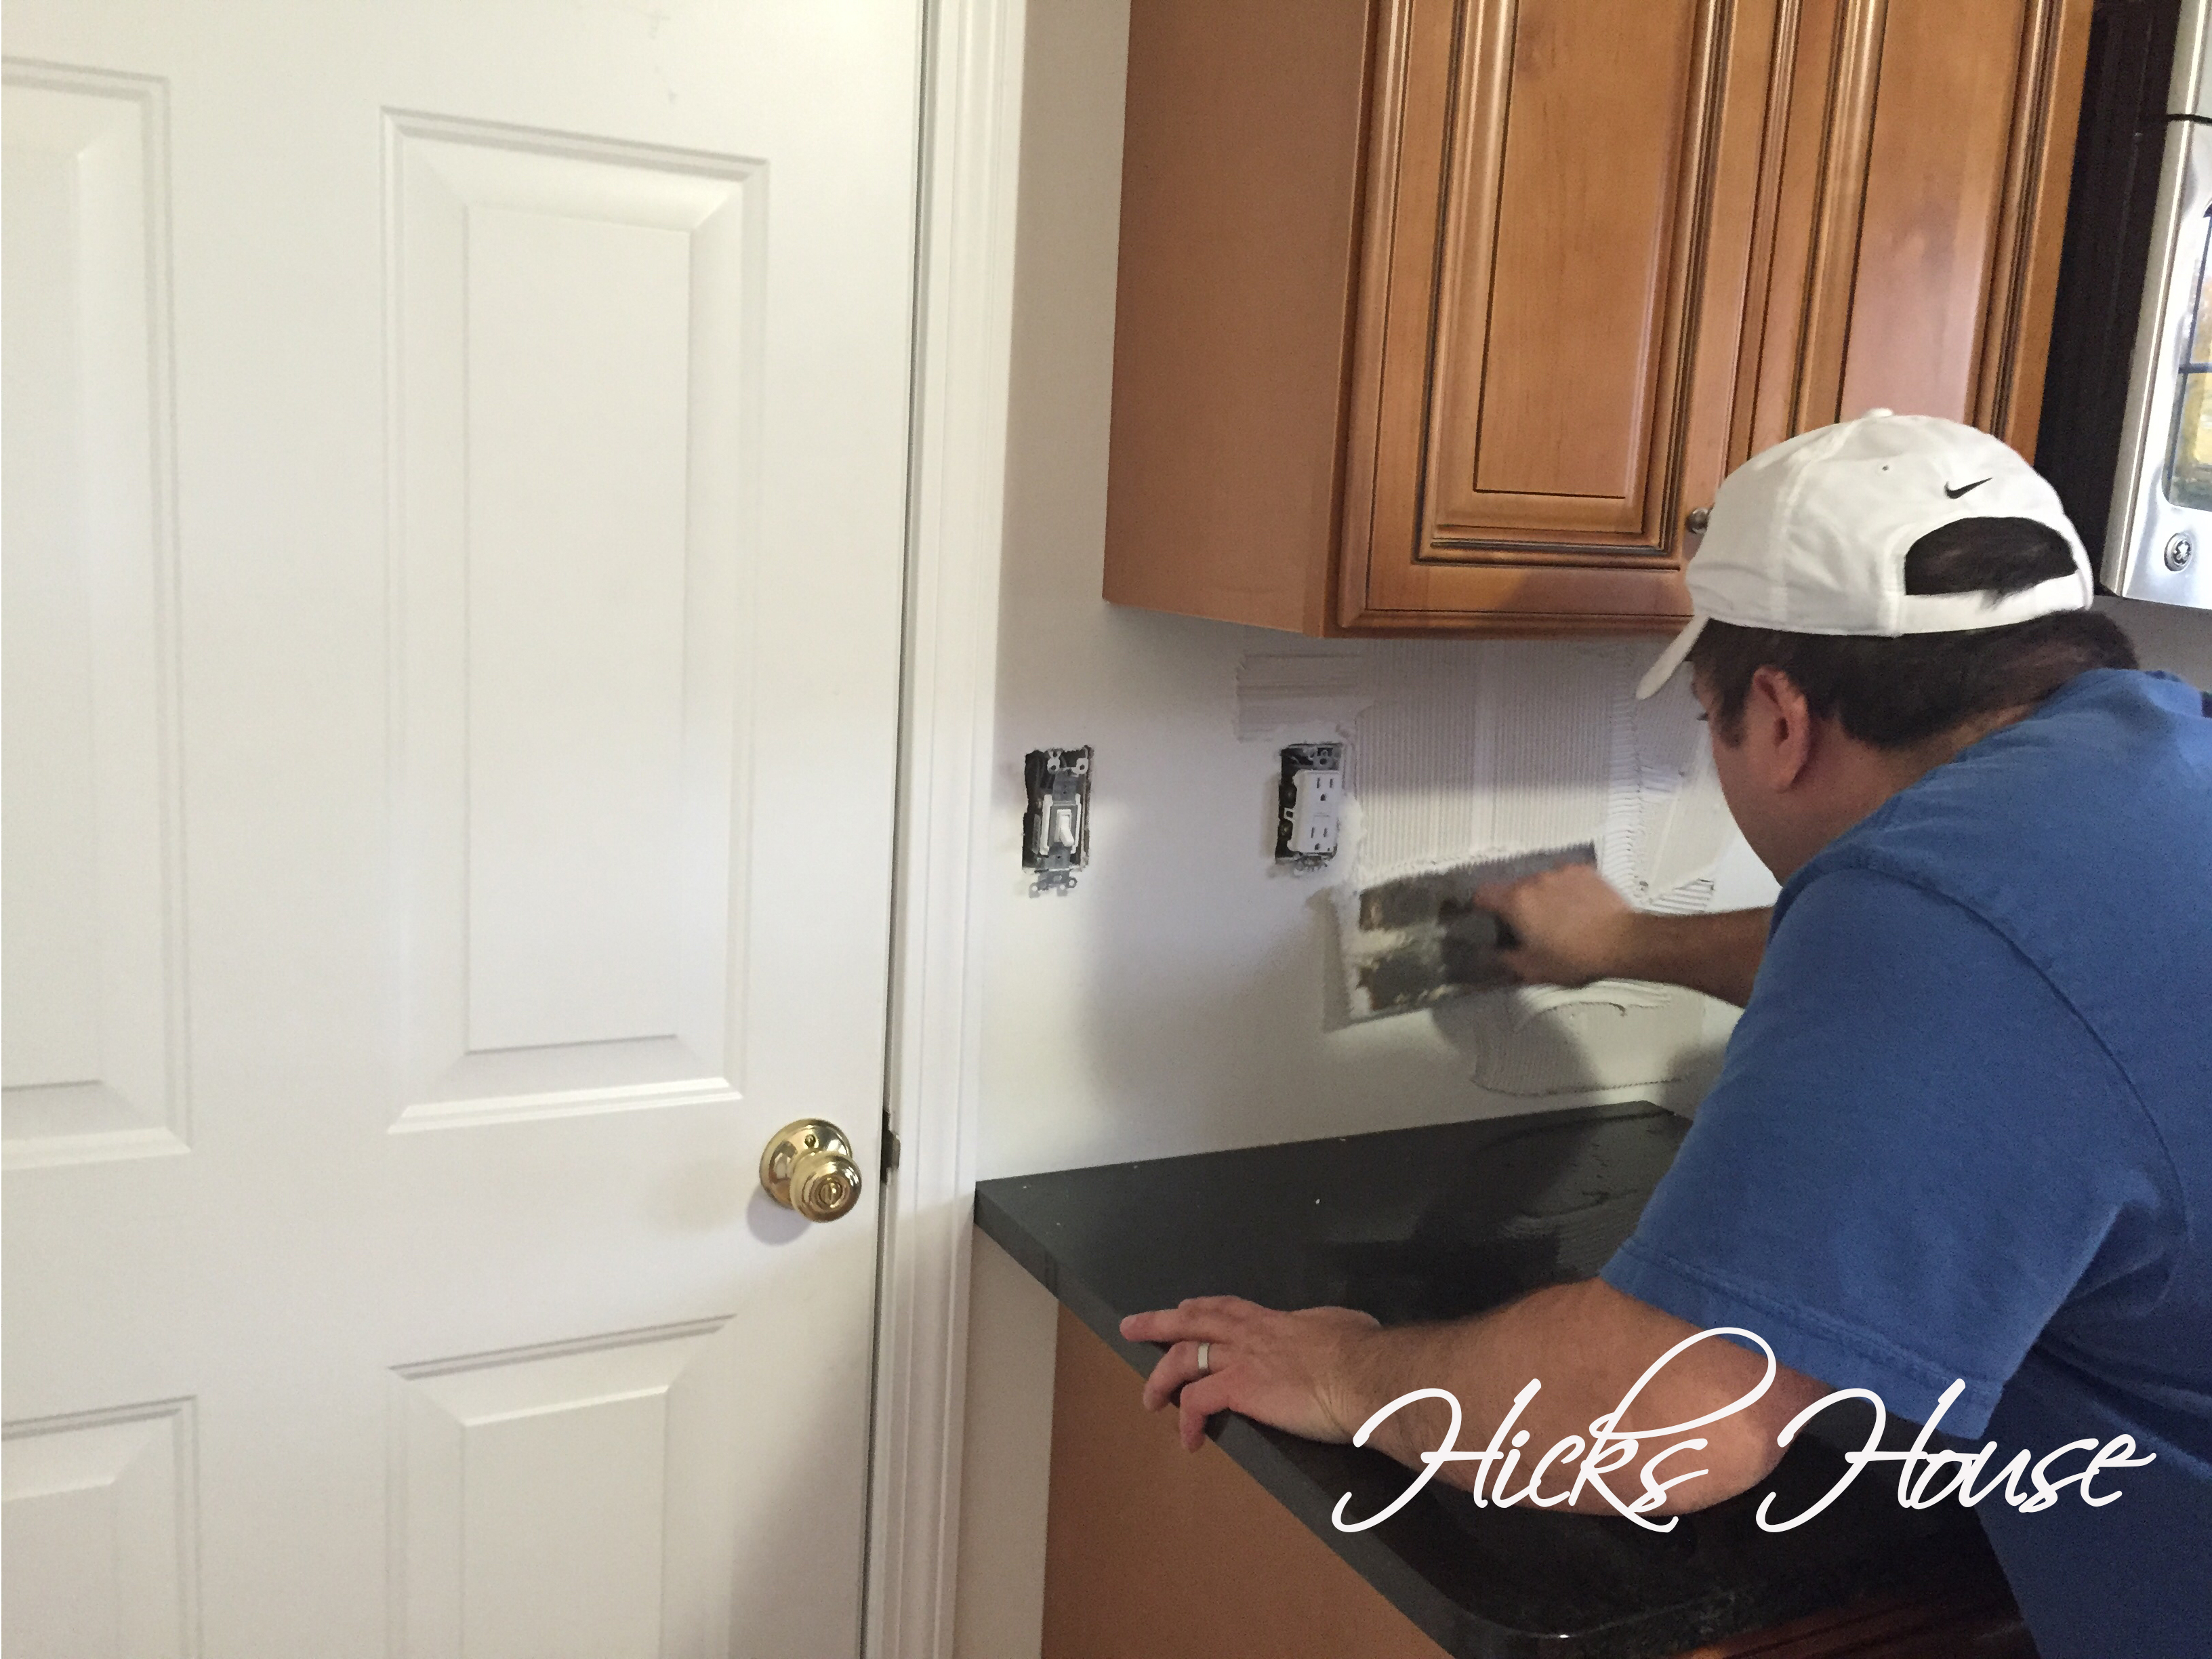
The tiles stuck right to it, which he laid out in the subway pattern.
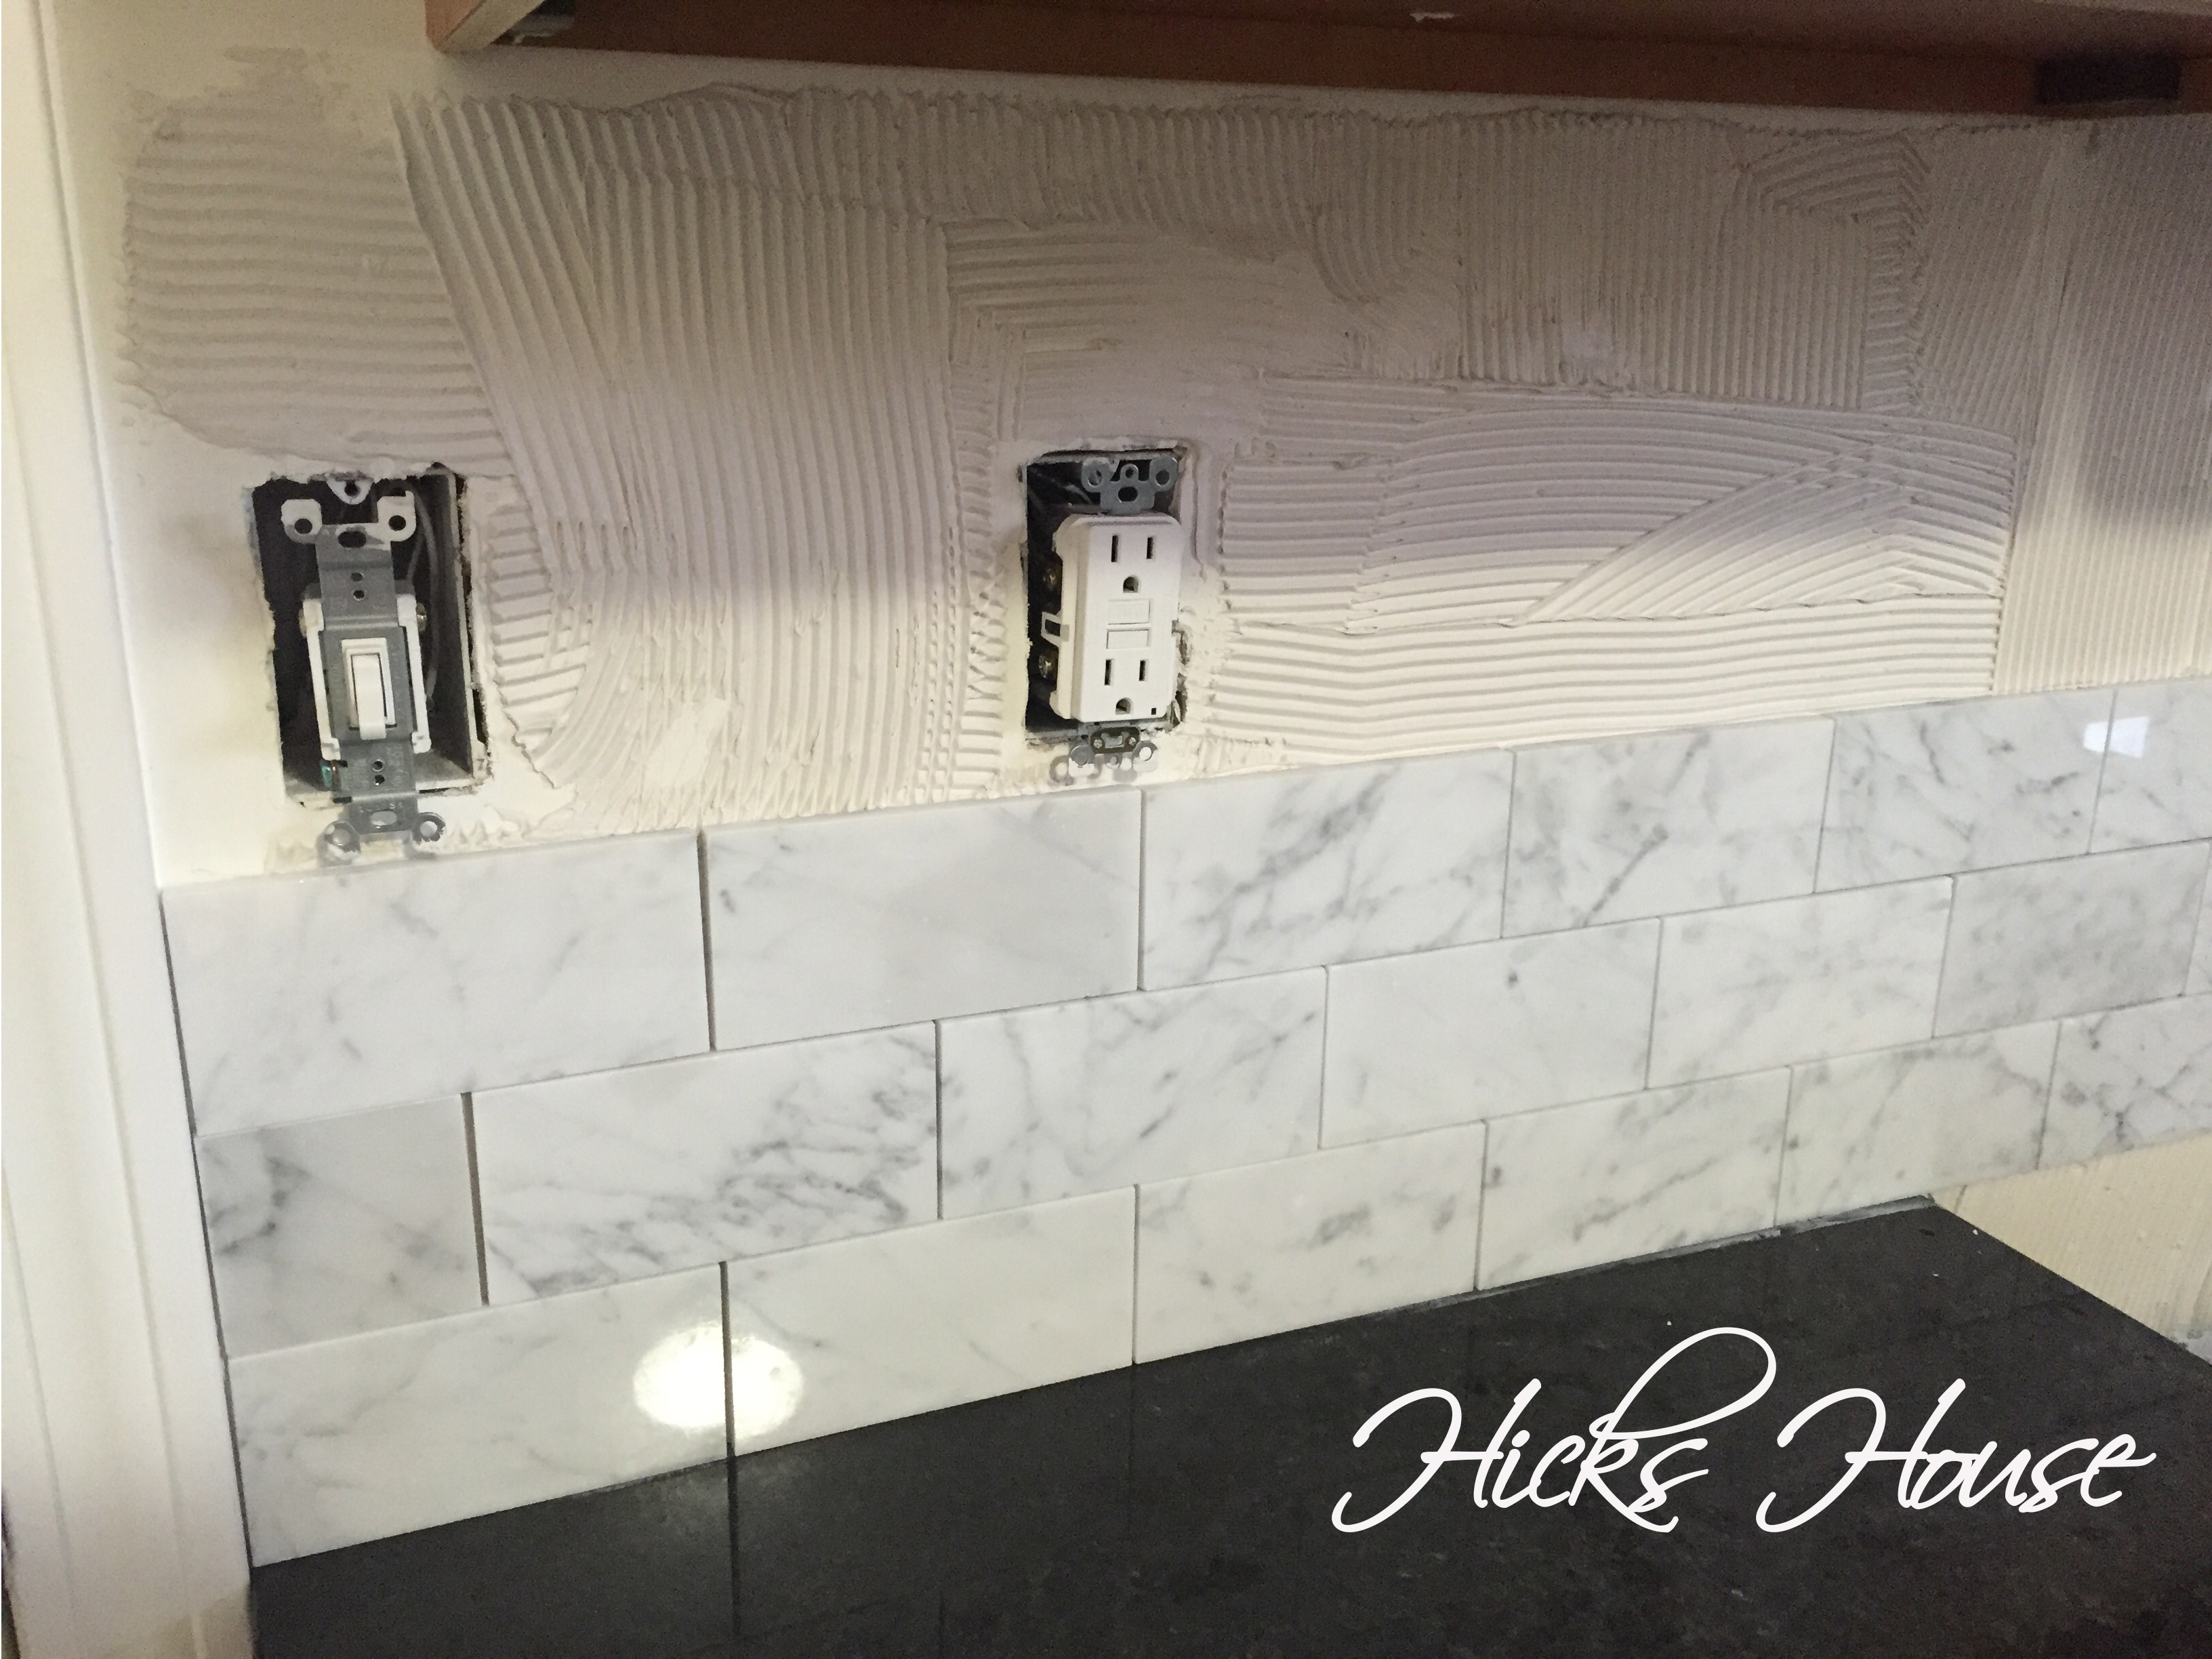
These tiles, being real stone were pretty thick and heavy so they started to kind of shift around. a few spacers took care of that.

Once the entire area was complete we had to let it dry for a day to fully set in before the grouting could begin. We went with a grout color called frost, it was a grayish white, although we originally planned on going with white it just seemed so stark. The frost gave the effect of blending in more with the tile making it disappear rather than stand out.

It was spread on with a trowel then wiped off with a damp sponge. Here it is right after the grouting was complete. You can see the haze it left all over the tile and the countertop. I buffed it out with a clean dry cloth.

After it was completely buffed clean, Ken used a liquid sealer to seal everything in place. We used polished marble tiles, so this step wasn’t entirely necessary, but with white tiles it made us feel better that they would remain stain free. Because of the thickness of the tile, we had to purchase longer screws to put the outlet covers back on.

This picture appears pretty dark because we’re in need of some under cabinet lighting… but you can see all the great veining and variety in the tiles.
It was all done in time for us to host Thanksgiving last week! Now we just need to paint, add some under cabinet lighting, change out all the light fixtures and make a roman shade for the window over the sink.
So what do you think? What do you have as a backsplash, or are you still figuring out what type of material to use?