This is sort of an addendum to the post on the trim in the condo Read That Post Here since the stairs we a much bigger undertaking than the nice straight trim over tile and hardwood… It warranted it’s own post.
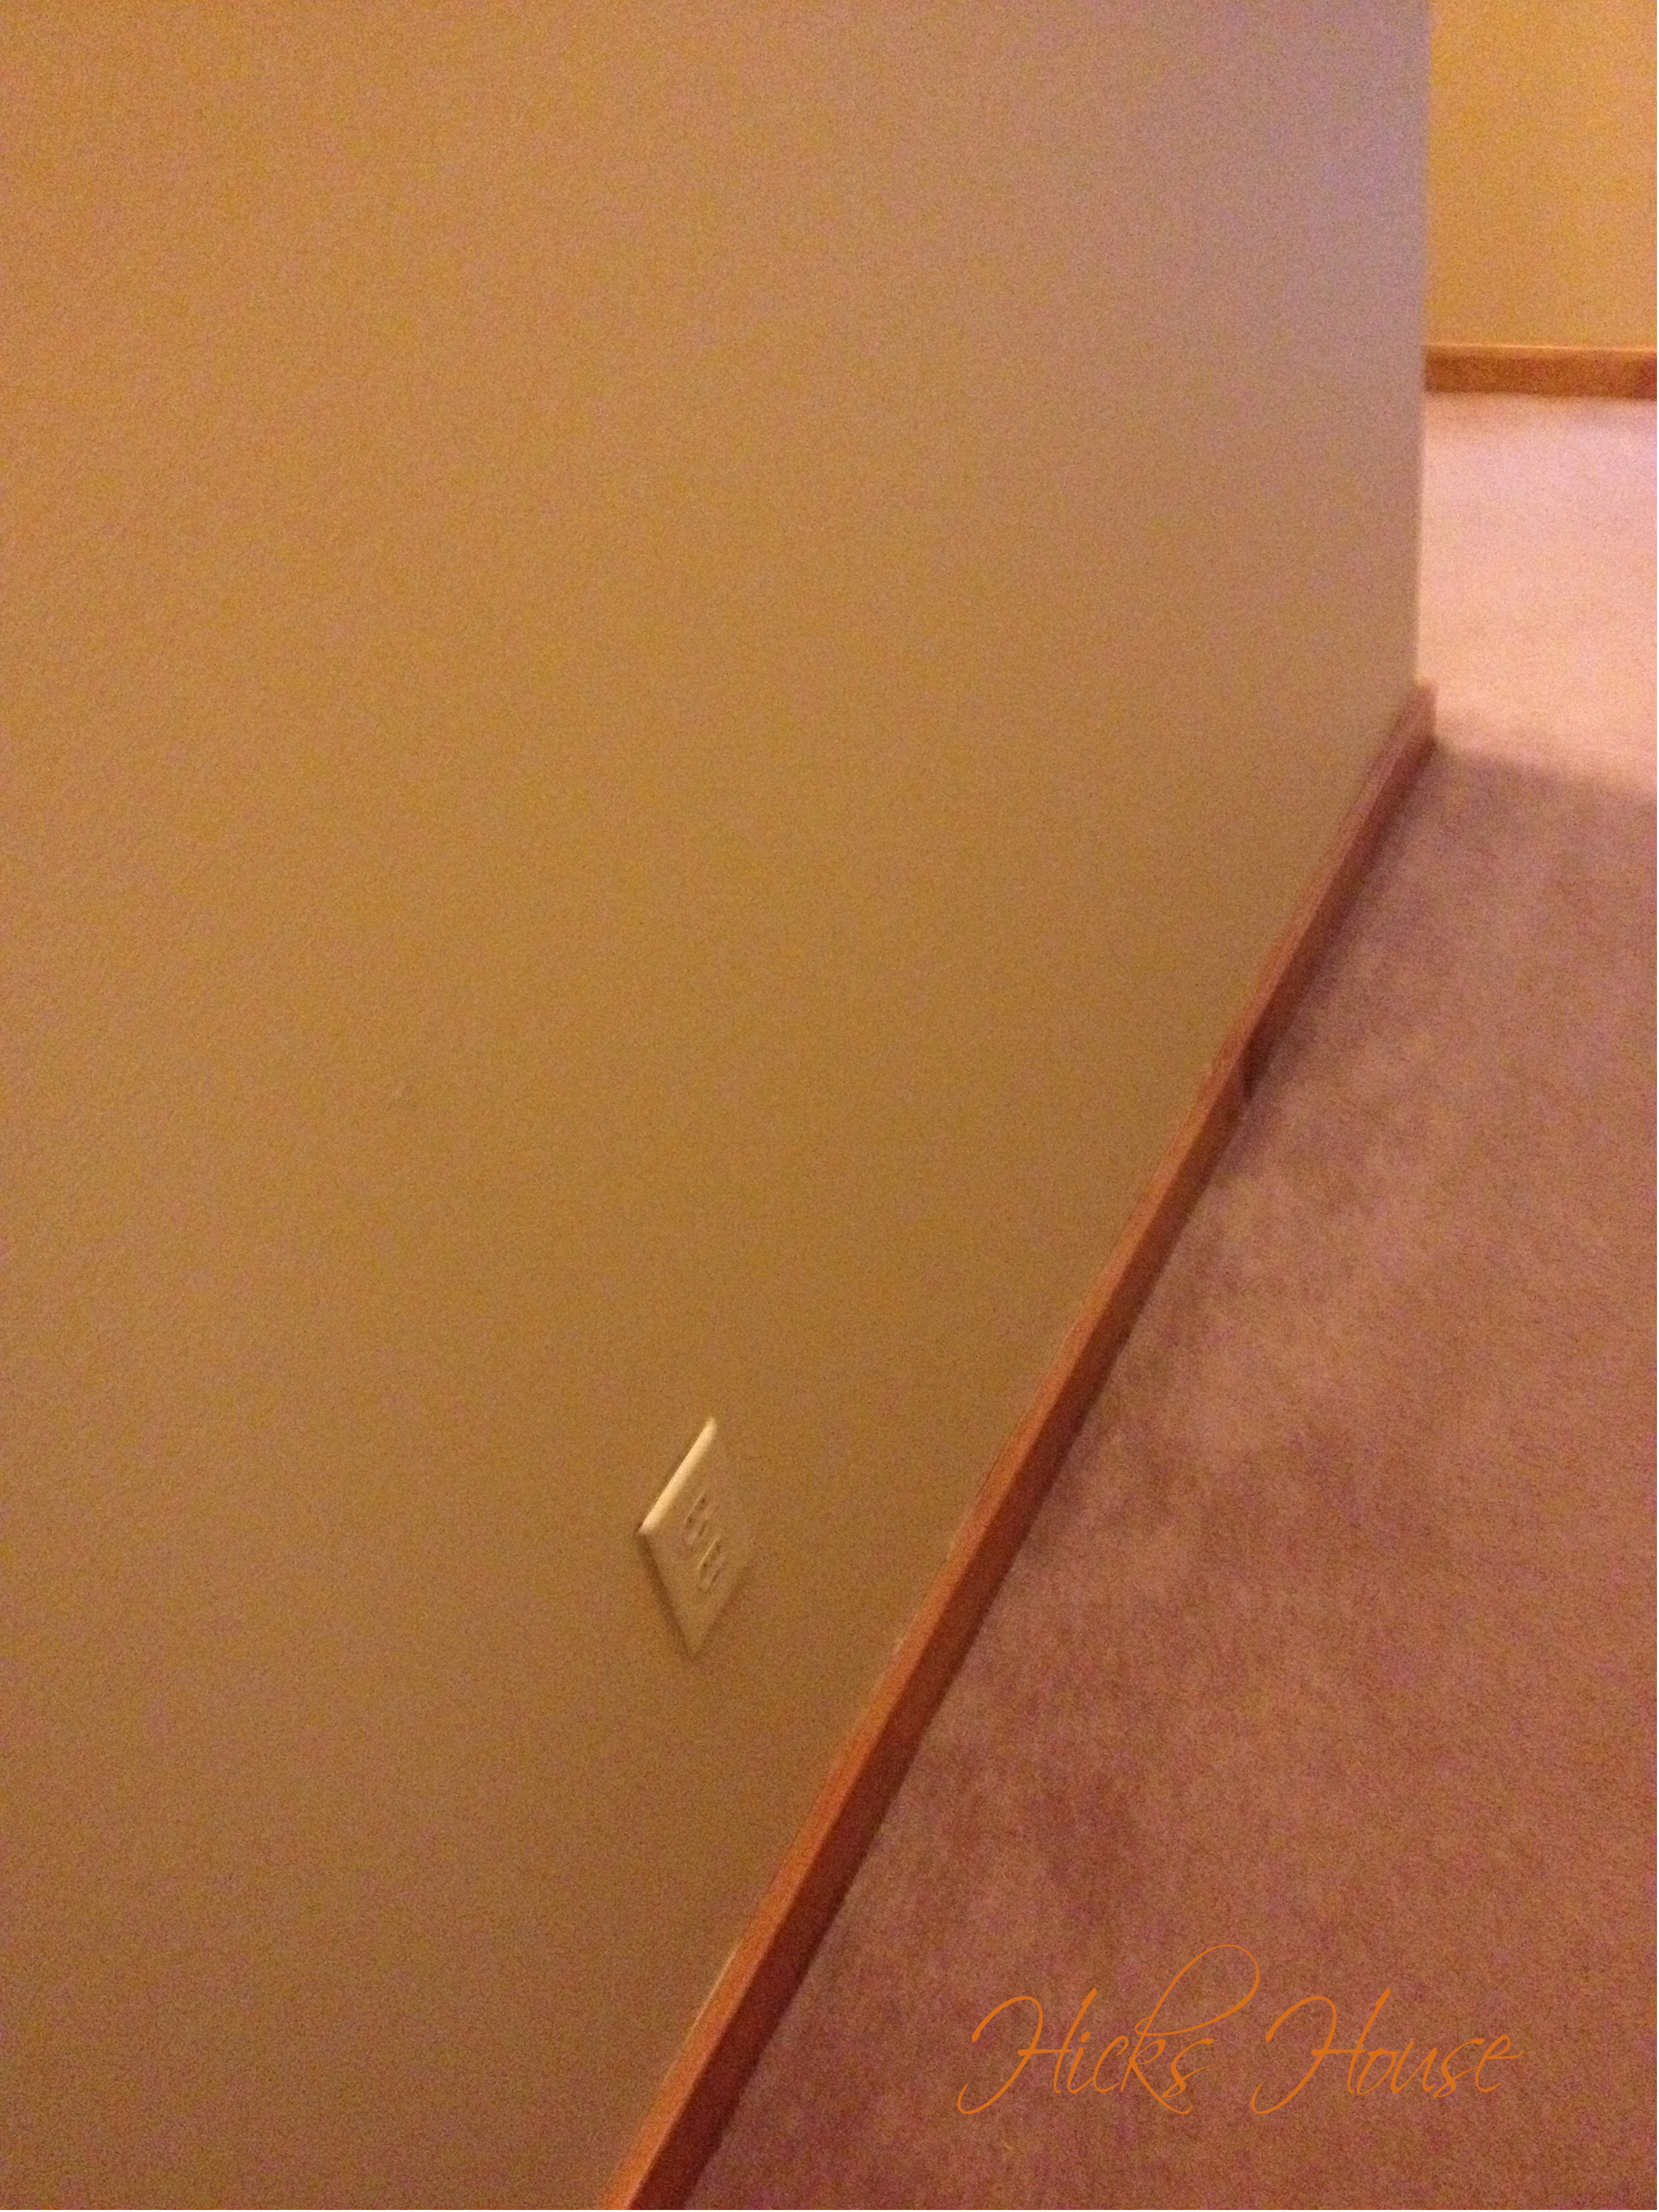
The first thing to do in order to prep for the job was to make sure it was adequately taped – top and bottom. The top is easy enough, its nice and straight although on an angle. It’s the bottom on the carpet that is the challenge. Here’s the nifty little trick on how to move the carpet out of the way:

Use a paint scraper to push the tape down into the gap between the trim and carpet
You’ll notice I am using masking tape… DO NOT USE MASKING TAPE! Learn from my mistake and pay the extra money for painters tape. There is a reason painters tape is more expensive, because paint doesn’t stick to it! Ingenious I know. As you can probably tell the masking tape was a pain and a half to remove and took a good chunk of the paint with it. I have learned my lesson.

All taped up and ready to paint!
Once its fully taped you just get to painting it making sure to push the brush down into the grove you taped down to paint as close to the carpet as possible. I started on the right side of the stairs, and since I’m right handed it went pretty nice and smooth and I was starting to think maybe this project wasn’t going to be as bad as I thought…

First coat on the right side
At this point I was feeling pretty good about myself and jumped right into the left side. It was every bit the nightmare I anticipated this project to be. Right handed people are just not meant to paint the left side of stairs, it’s like cruel and unusual punishment. I probably should have started at the top and worked my way down, rather than working up then the angle would have been slightly better.
It takes 3 coats to get the right amount of coverage to actually look nice, so this was weekend two weeks in a row. 🙂
I think it was worth it, it makes the walls stand out so much more and looks clean and modern. What do you think:
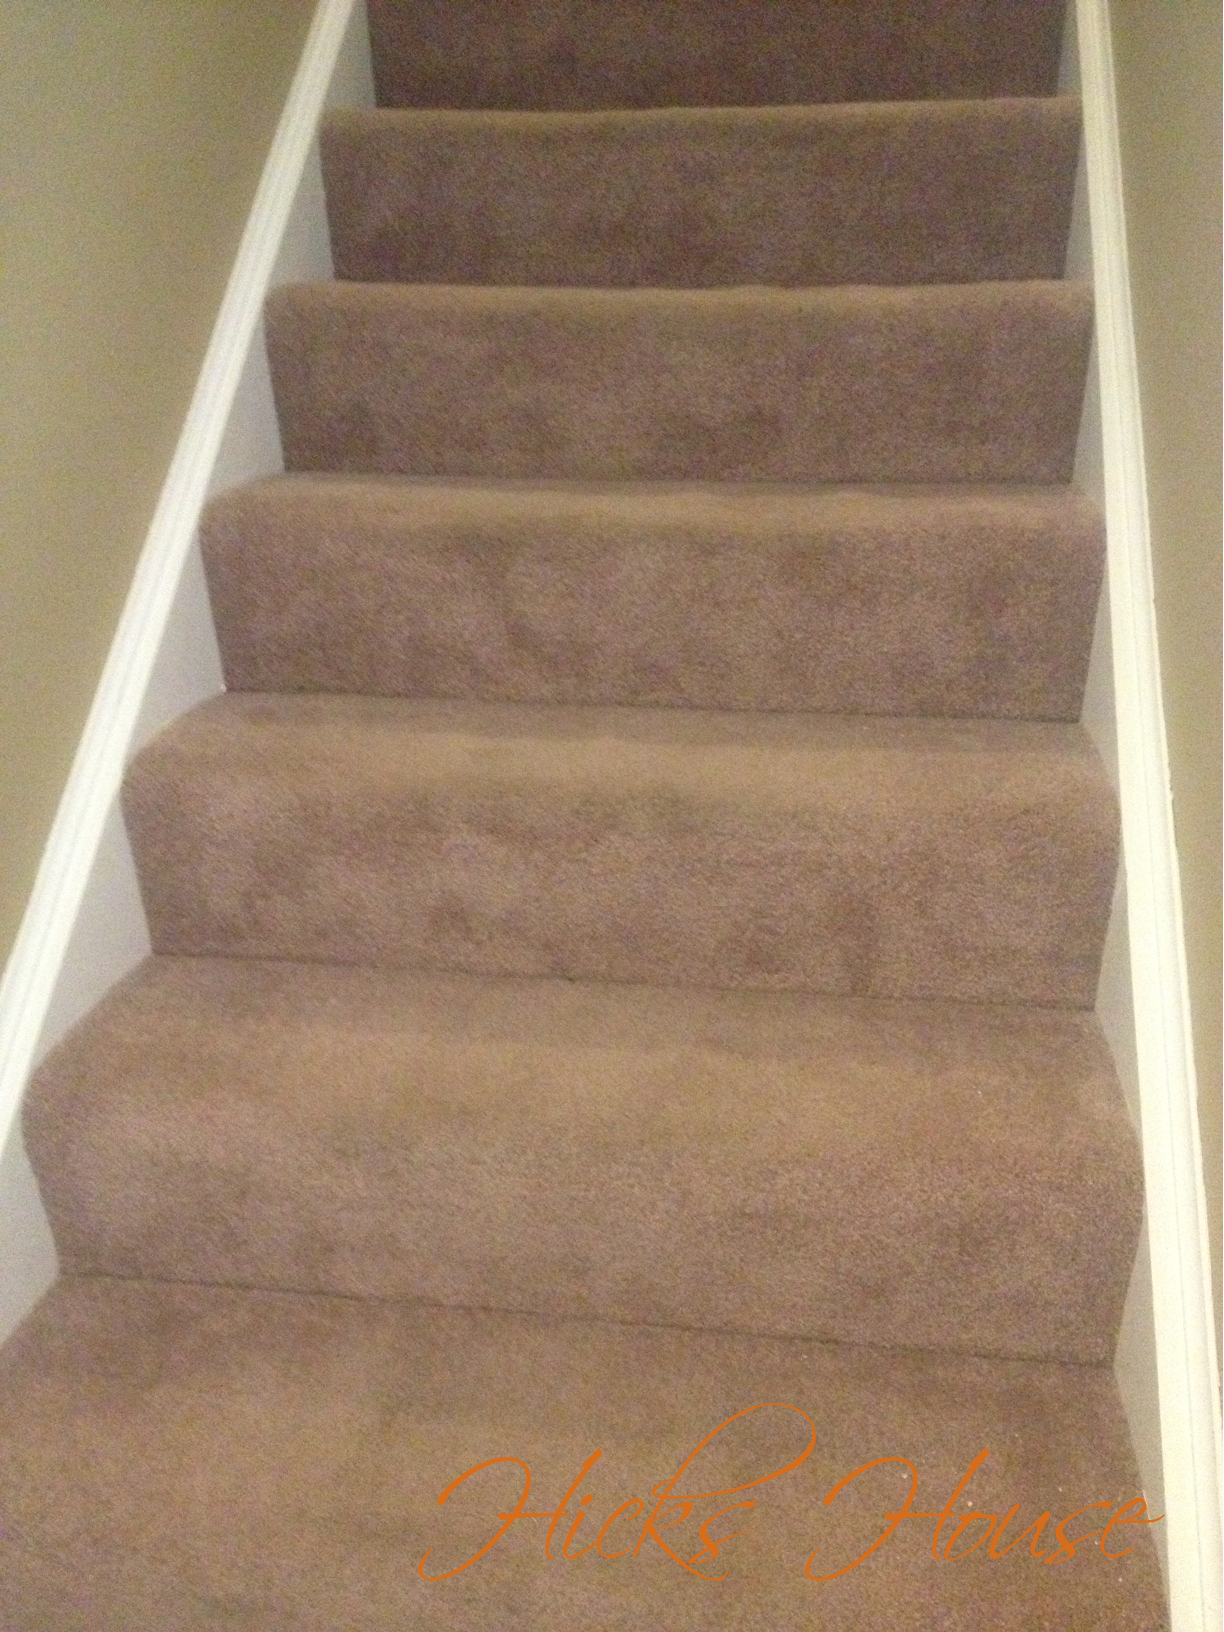
White stair trim