Hicks House

From Builder Basic to Beautiful


2 Comments

The Grommet Conglomerate

After our initial foray into window treatments for the dining room we could no longer hold out for all the walls to be painted before adding in the curtains for some other rooms. It just added so much more personality to the room.

The first set of curtains I actually purchased were for the living room so despite not yet being painted (it’s literally half the first floor as its “one” with the kitchen – kind of intimidating) we were ready to finally hang them. As the window in this room is a large double window it was extra important to hang the curtains higher and wider than the dining room allowed (hello stupid door frame touching the window frame).

The high and wide sounded great in theory… however there was a slight problem. I had purchased 84-inch curtains these from Target and letting out the bottom hem like I did to lengthen the dining room curtains wasn’t going to get me the length I needed.

After some debate on how best to do this the options were:

  • Add a panel of solid coordinating fabric
  • Try and return the 84 inch panels to the store and order the 95 inch panels online then shorten them
  • Undo the top AND bottom hems and add grommets to the top

From the title of this post I’m sure you can guess which option we decided to go with. We also we’re really liking the look of the grommeted panels in the dining room and how they fold back and forth as opposed to the traditional rod pocket panels, so even if we went for option two we would want to grommet them anyway.

So I undid the top and bottom hems and resewed a 1/2 inch seam like I did here and ordered two sets of this grommet kit online.

Adding Grommets to Curtains | Hicks House

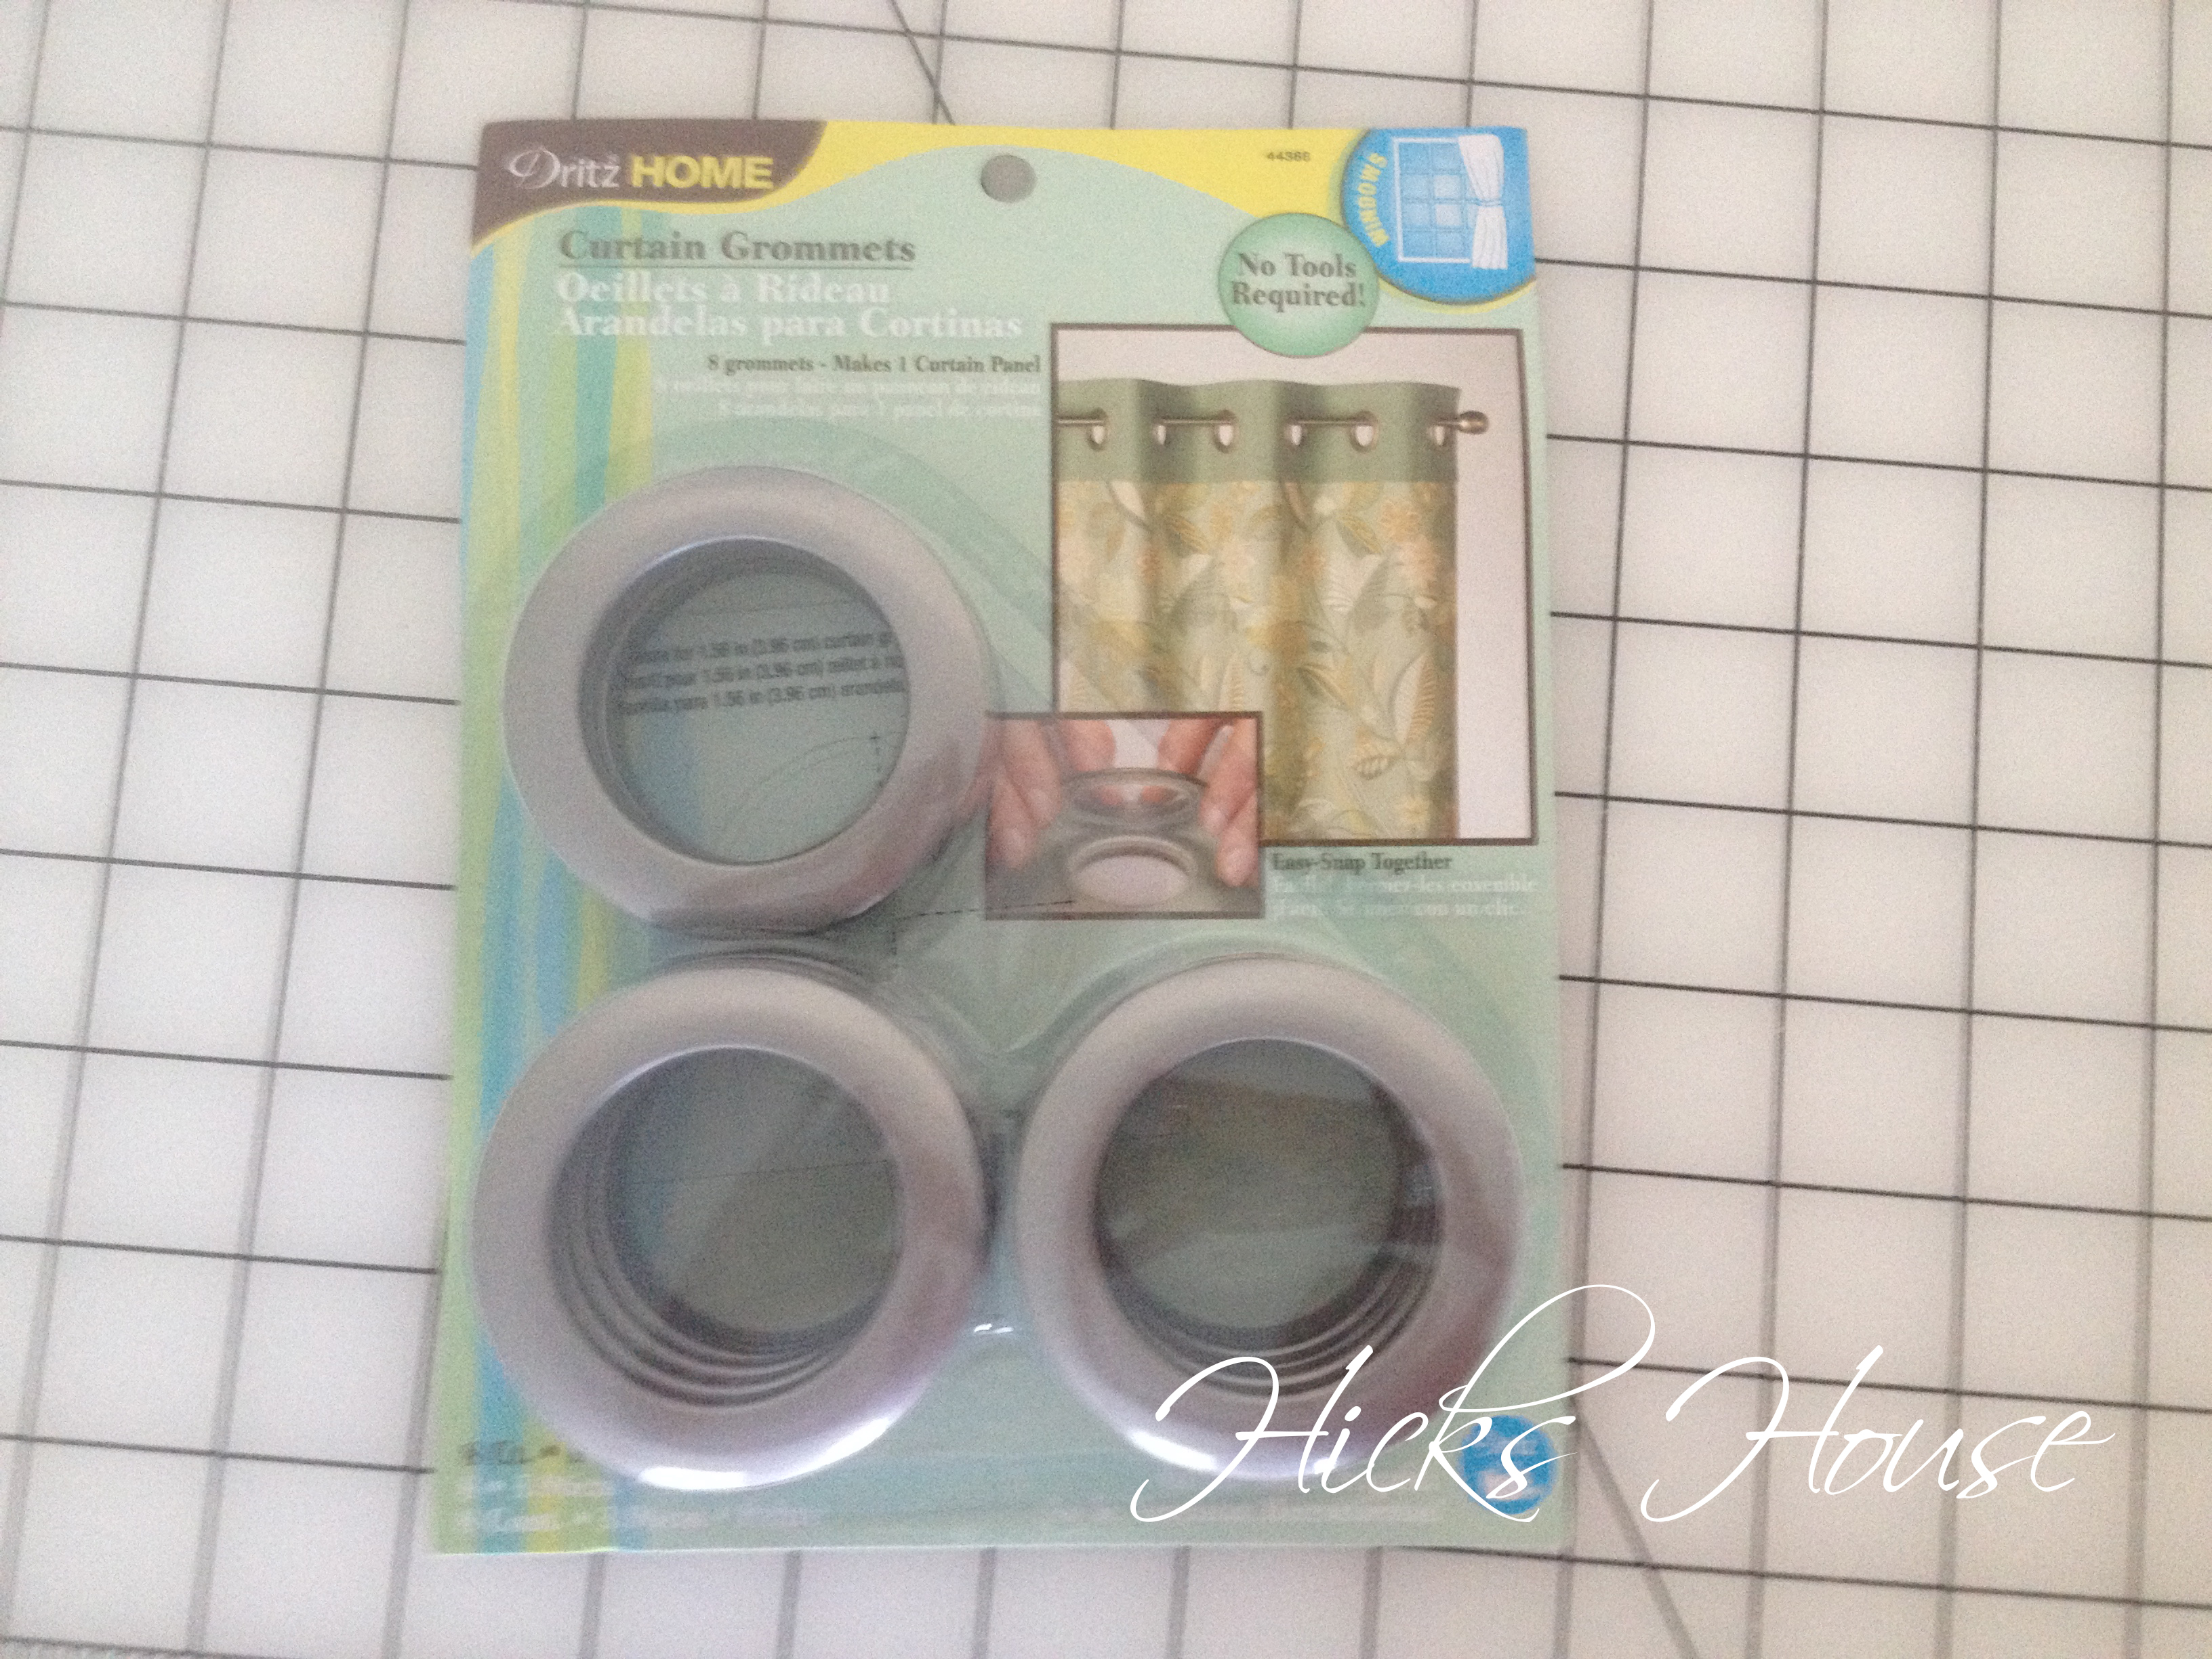
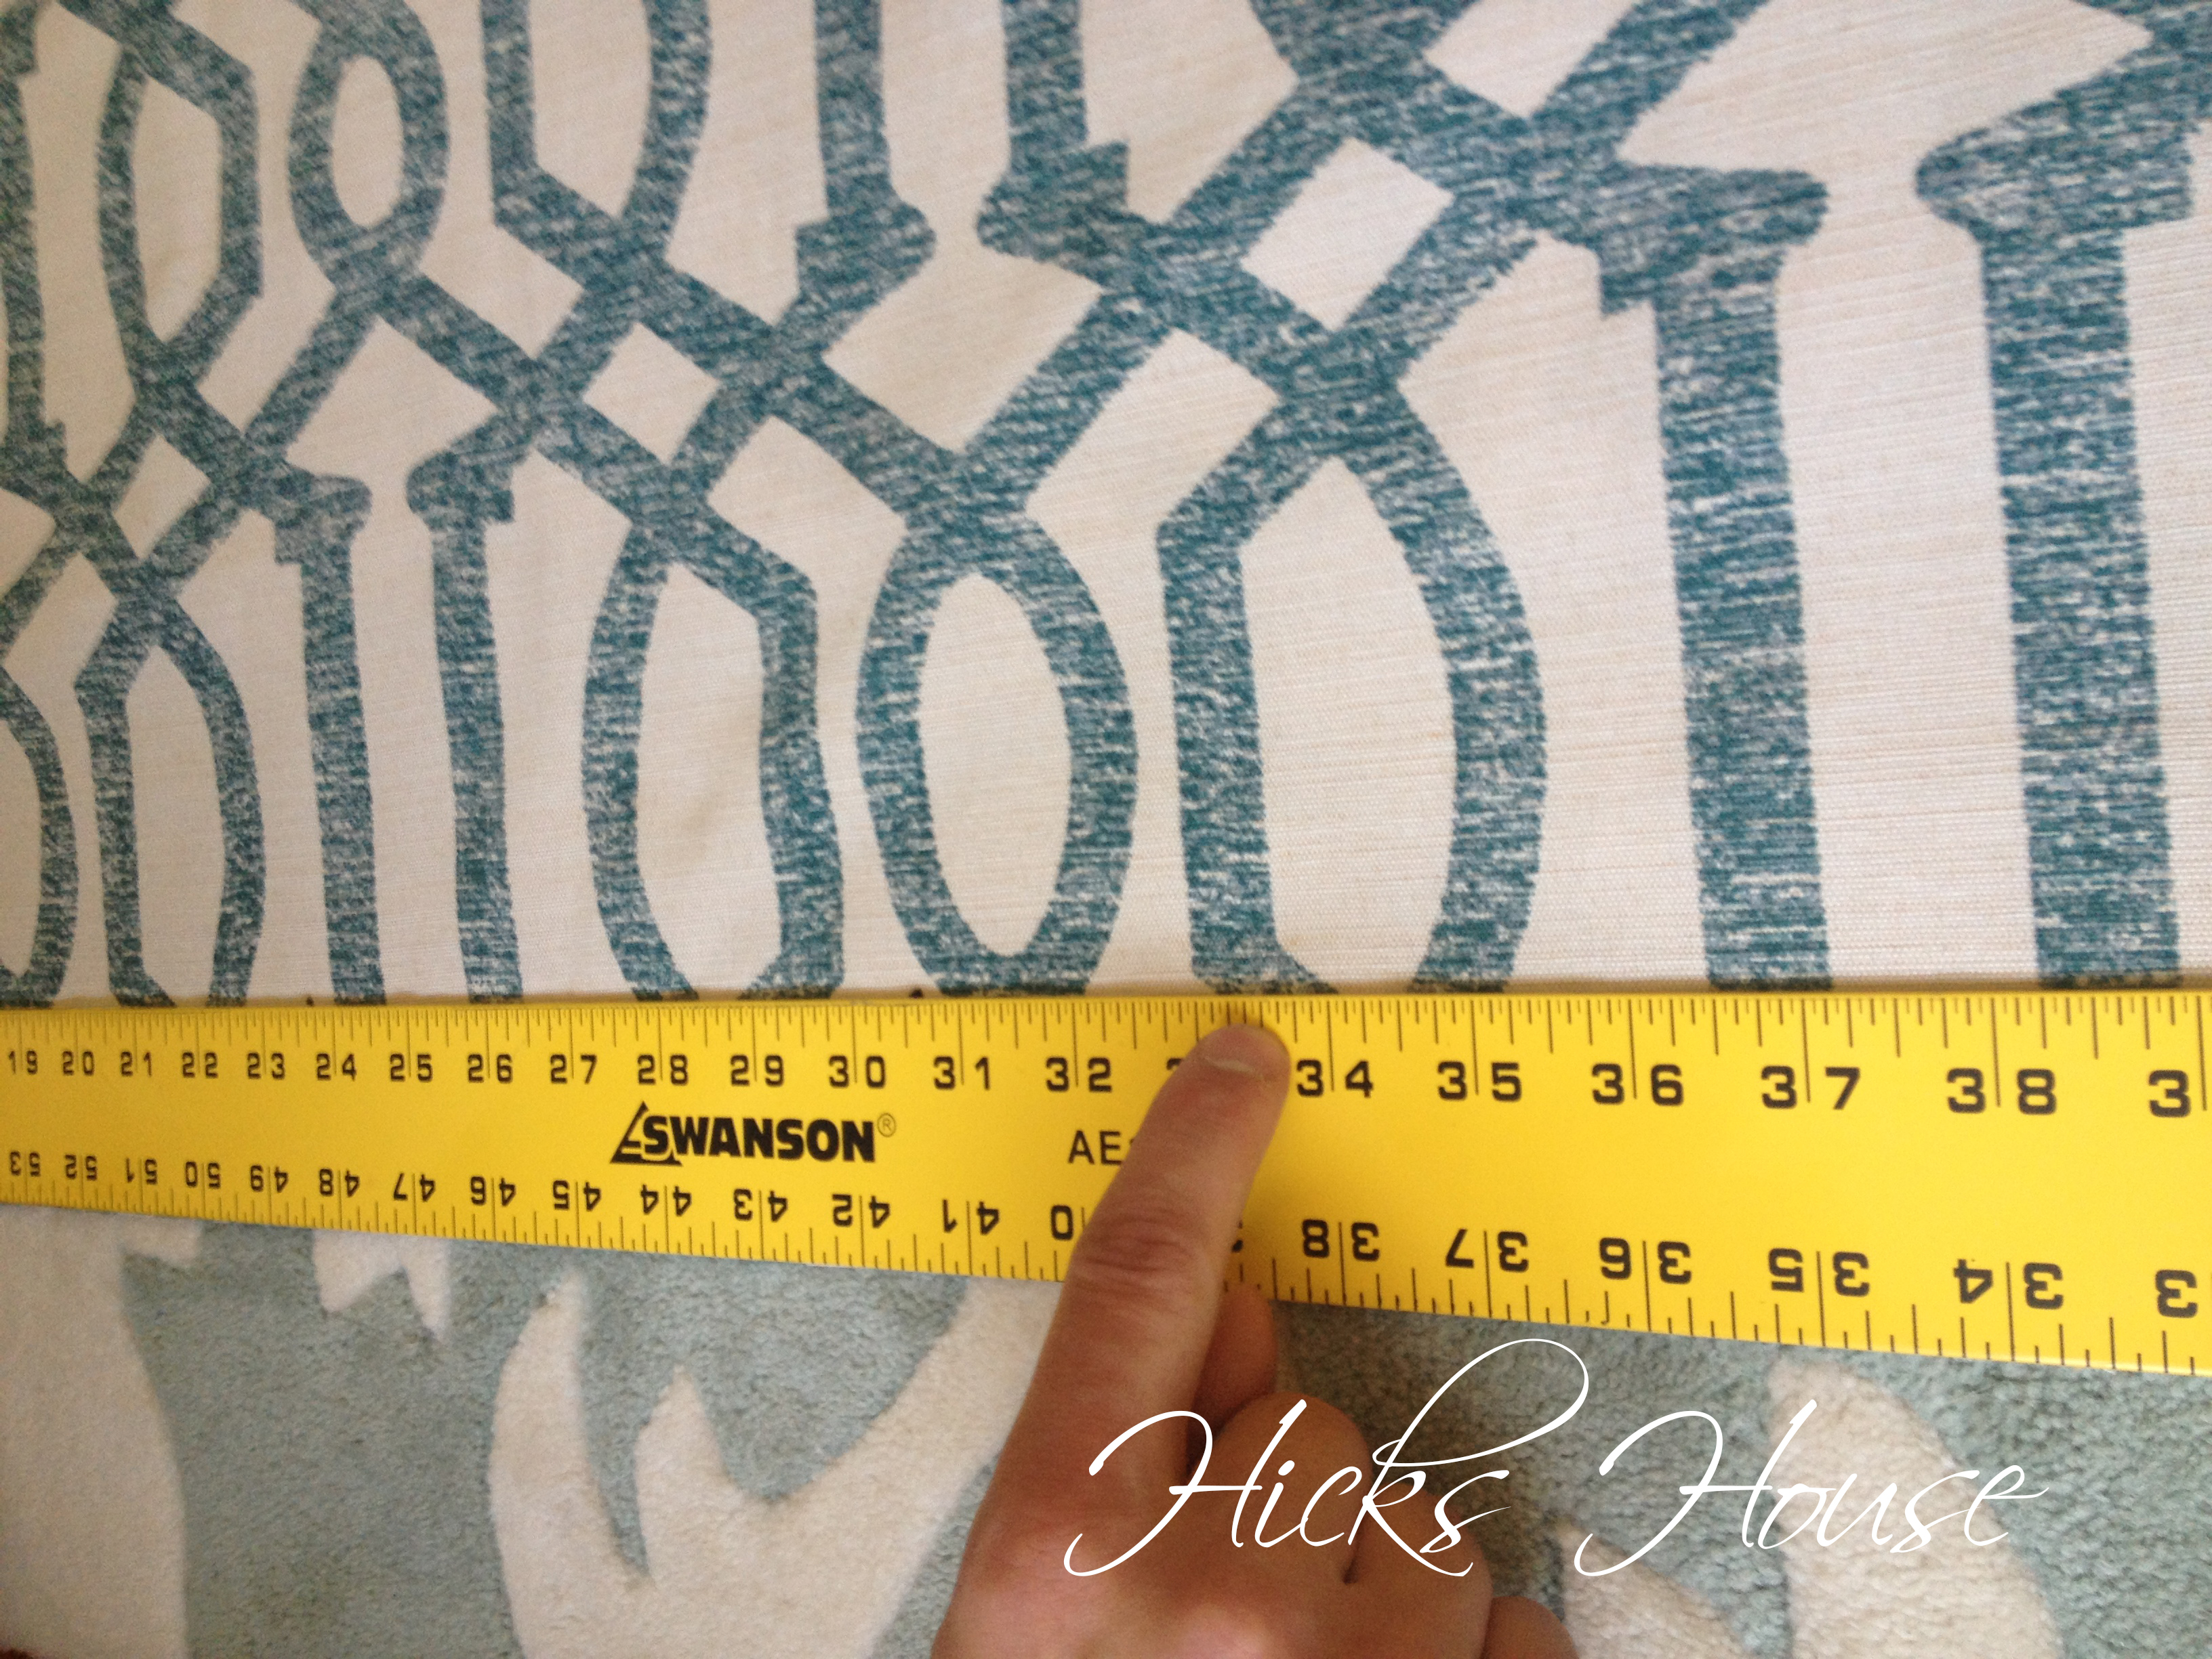
We then laid the panel out on the floor to have a flat work surface and followed marked evenly spaced dots across the panel about 2 inches down from the top. You have to leave enough space from the top to fit the entire grommet which is 2 3/8″ total diameter.

Adding Grommets to Curtains | Hicks House

The grommet kit came with a “hole” template. You simply line the center up with each of your dots and trace.

Adding Grommets to Curtains | Hicks House

It leaves circles down your panel that look like this:

Adding Grommets to Curtains | Hicks House

Take a pair of scissors then cut them out. The individual grommets come in two pieces, we you line one of the pieces up with the hole you cut…

Attaching Grommets | Hicks House

line the other piece up and press till it snaps on. I was super paranoid that I was going to press to hard and crack the grommet. Luckily for me they are either incredibly sturdy or I’m not nearly as super-human strong as I think I am. Actually it’s possible both of those statements are true.

Adding Grommets to Curtains | Hicks House

That’s it! Just hang them up and enjoy the more contemporary look the grommets provide.

Adding Grommets to Curtains | Hicks House

It’s a great way to add a bit of customization to bargain curtains, while still being cheaper than total custom curtains.


What do you think?  Do you prefer the look and the way grommeted curtains hang or are you loving the more traditional rod pocket look?


Leave a comment

Custom Art for the Living Room

If you’ve been following along with the blog (if you haven’t then shame on you!) you’ve read about the The Living Room Plan, and The Living Room Becoming Livable. As its starting to take shape we we’re talking about what kind of art should go above the fireplace. The builder wired for the cable and TV to go there but we had decided to move the wiring to the adjacent family room which was much bigger.

We both really wanted something abstract and cool. I saw this painting on Joss and Main and we fell in love. With everything but the price and the verticalness of it.

Inspiration Painting

Inspiration Painting

It was just so cool all the random shades of color. But for over $100 plus shipping and no returns I wasn’t sure. And before I could decide how unsure I was the sale was over and it was gone forever. But how hard could it really be? I mean the painting isn’t really of anything so how can you mess it up? So I measured the space above the fireplace, headed to Joann with a 40% single item coupon and bought a huge canvas.

I set up a small folding table in the craft room and covered with some scrap paper to protect it, broke out a 2-inch paint brush and some .50 tubes of acrylic paint (most of which I had at home left over from high school – it doesn’t go bad right?) and got to work. Using the inspiration painting – propped up on the iPad – as a guide I started painting. The great thing about the abstractness of it was the ability to simply paint over areas if I didn’t like the way they looked. The bottom of my canvas has much more paint on it because of this, it was coming out to dark so several extra coats were added to get the effect I wanted. Due to less use of paint on the top you can see brush strokes where I went back and forth real quickly but I kind of like the way it looks.

here's the finished product

here’s the finished product

I actually like it better than the original inspiration. It looks much better in our space. I had to place it up on the mantle to admire it.
painting-2

The statue on the left of the painting we fell in love with while out running errands one day, It helped jump start the painting process and inspired the color choices. The vases were a gift from my Aunt’s who surprisingly had not seen either the statue or the painting, but they look like they were custom chosen for that spot.

actually hung!

actually hung!

We loved it so much we actually hung it, despite not having paint on the walls yet. Ignore those pillows they came with the sofa and were so over-sized for both the sofa and the chairs they will be finding another home. I’m thinking getting a new cover and going on the Guest Bed.

one more view with the fireplace lit

one more view with the fireplace lit

I think its the perfect compliment to the space! So now our living room list looks like this:

  • Find and purchase two chairs a-la inspiration room style
  • Find and purchase sofa a-la inspiration room style
  • Ground the space with an area rug
  • Decorate the top of the mantle
  • Paint the art masterpiece for above the fireplace
  • Find or make coordinating curtains
  • Hang curtains
  • Get an ottoman or coffee table to put in the center
  • Get end tables
  • Make pillows for the sofa and chairs
  • Pick a paint color that will work in both the kitchen and the living room
  • Paint the walls
  • Get a fabulous light fixture