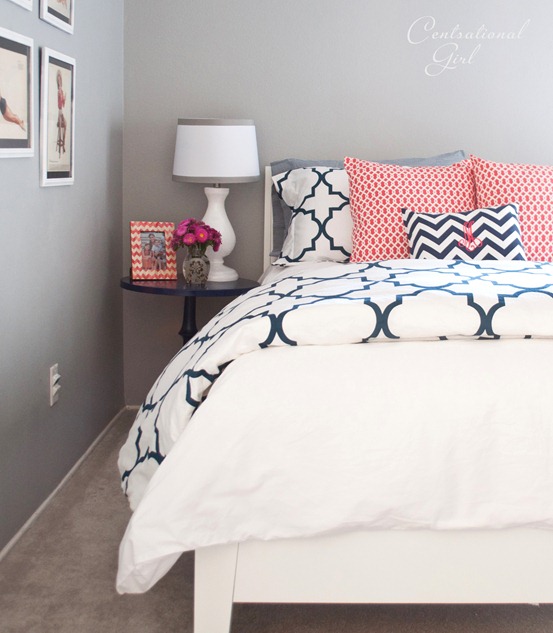
We’ve done a lot of work in the Guest Room since moving into our new house. The original room inspiration and all the work can be seen here, here and here. It’s coming along :-).
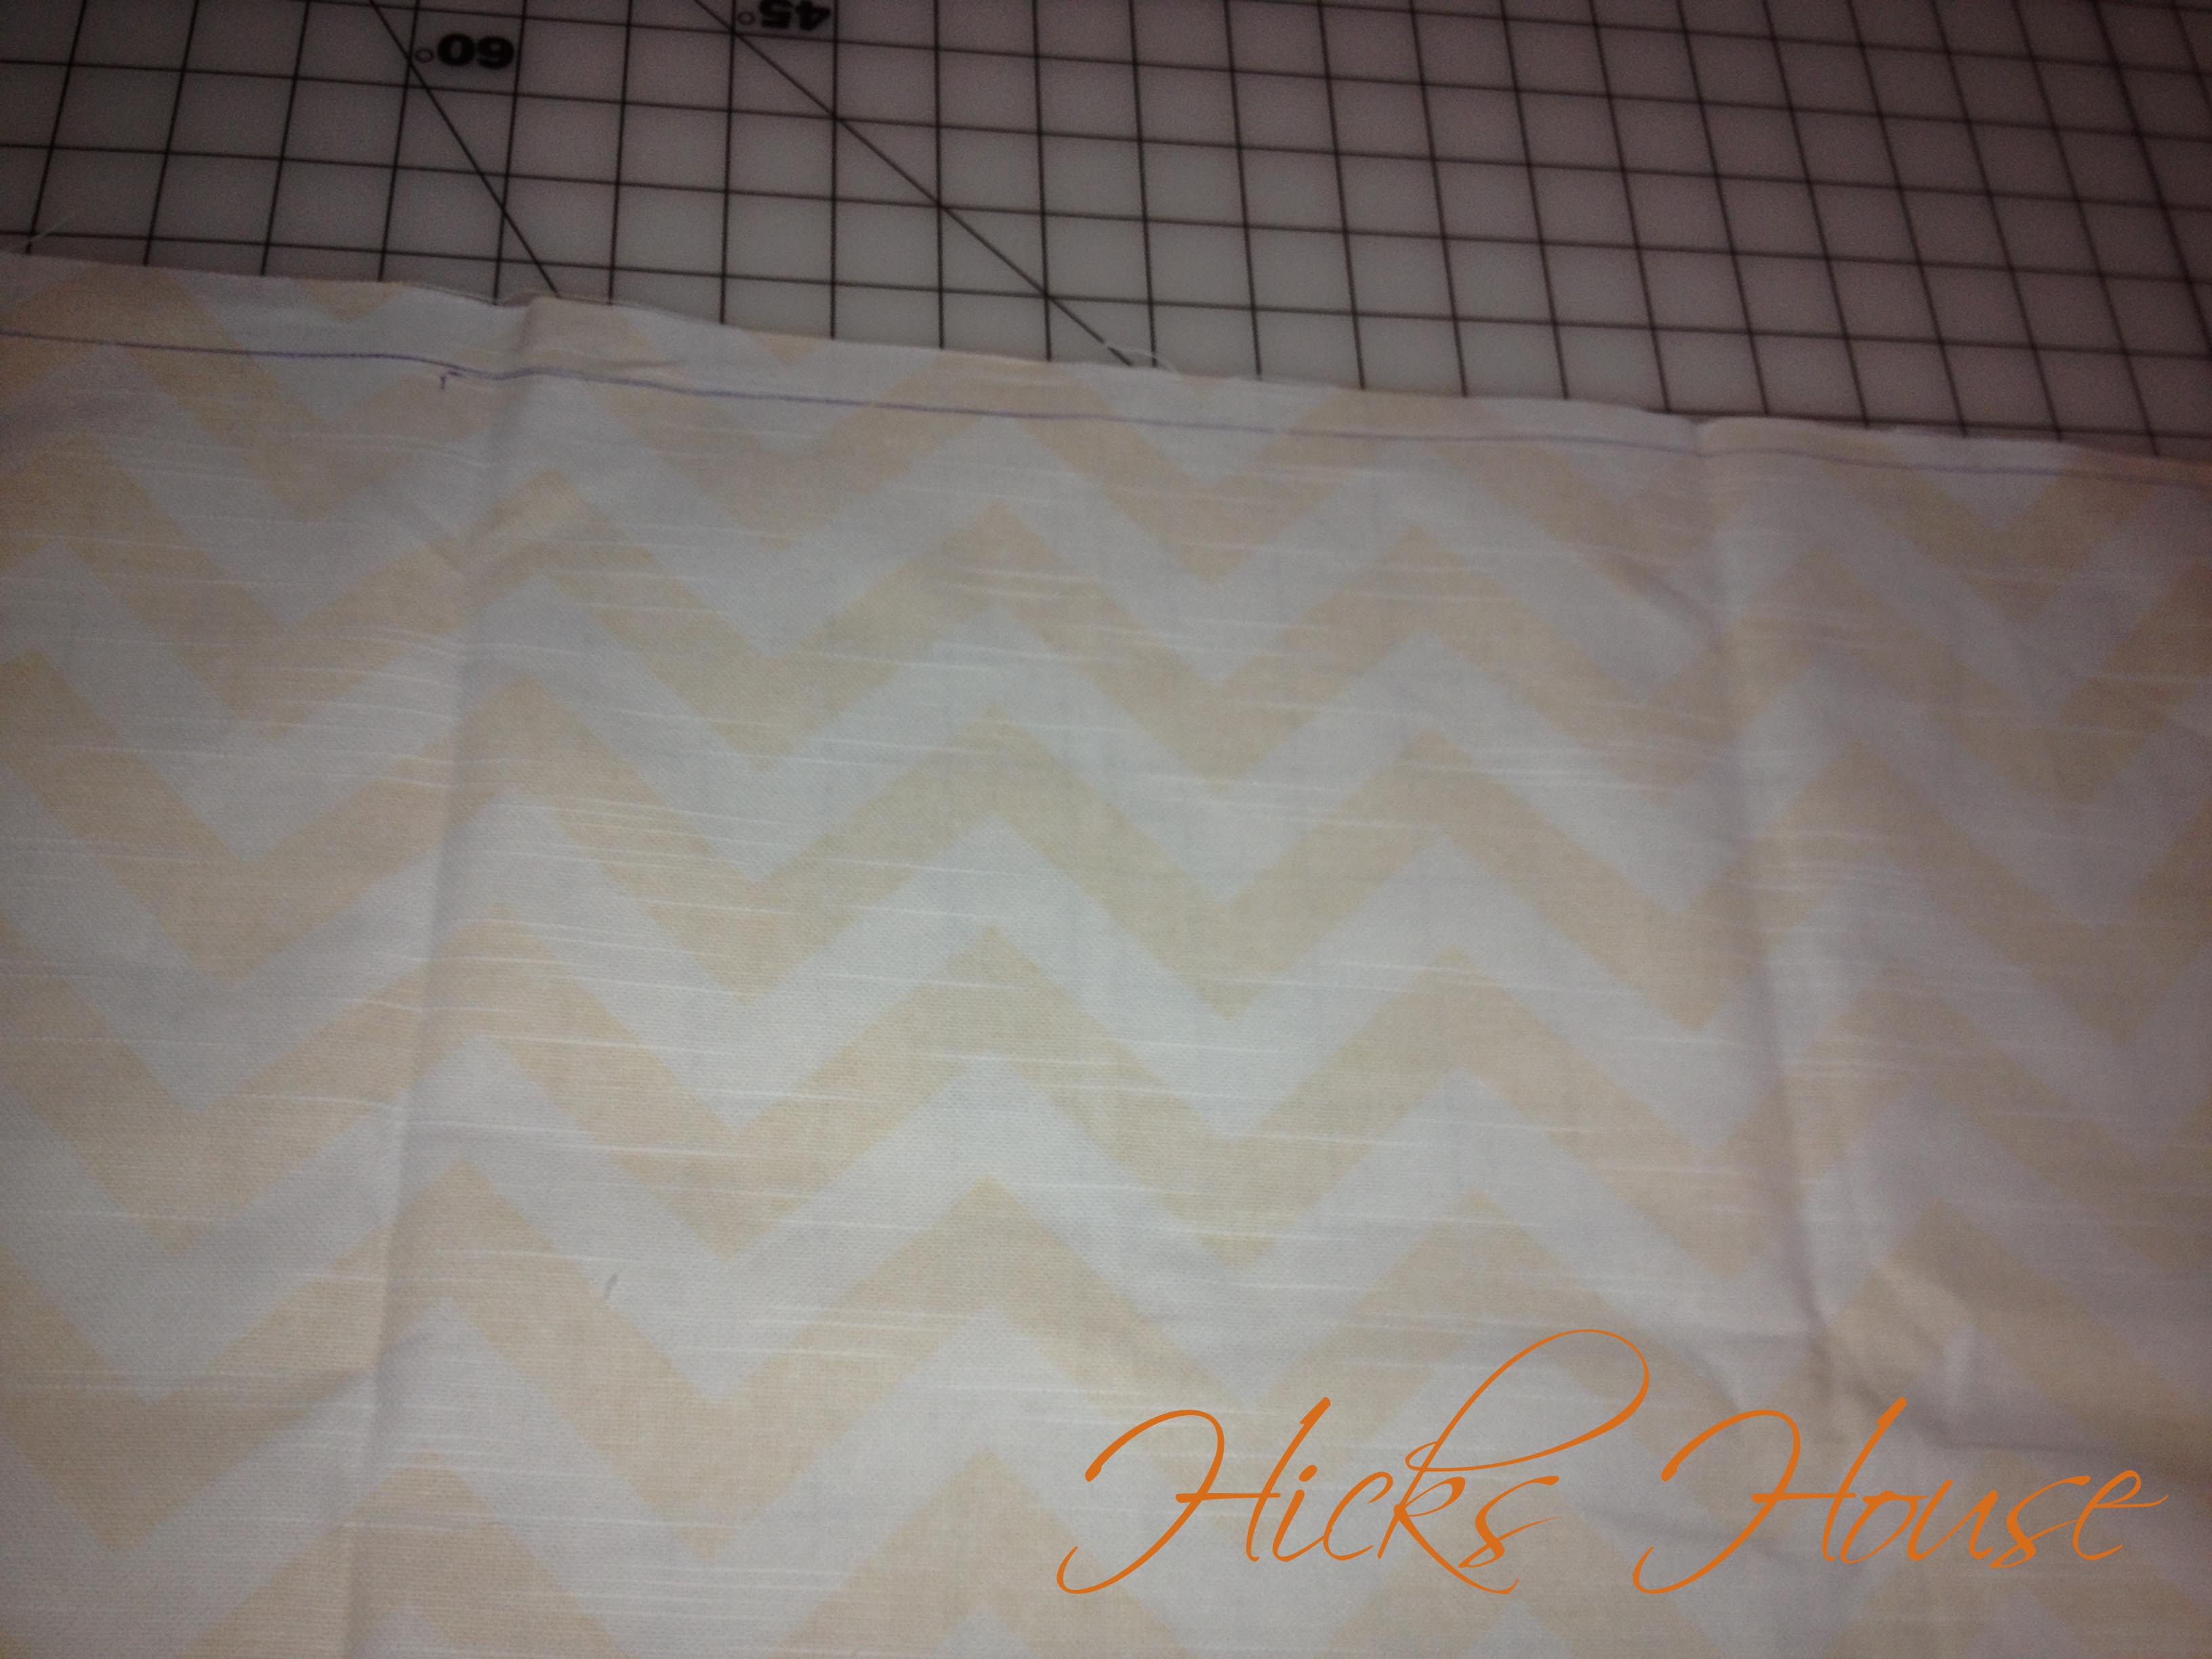
I really wanted some throw pillows for the bed (I LOVE throw pillows) however neither of us could decide if we wanted the accent color to be light blue or yellow – so we decided to make it changeable so depending on the season or our mood we could change it up. I started with the yellow accent pillows and added a zipper to my homemade pillow covers to that I could re-use the pillow insert.

here’s how it’s done
I started with the pillow insert I was going to use and measured the entire width and height of the pillow.

make sure to go seam to seam
Your fabric needs to be 1 inch wider than your pillow to allow for a 1/2 inch seam allowance and 1 1/4 inches longer to allow for the seam allowance on the top and the zipper insert on the bottom. My pillow was 21 inches square so for my fabric I had to cut out two pannels to be 22×22 1/4.
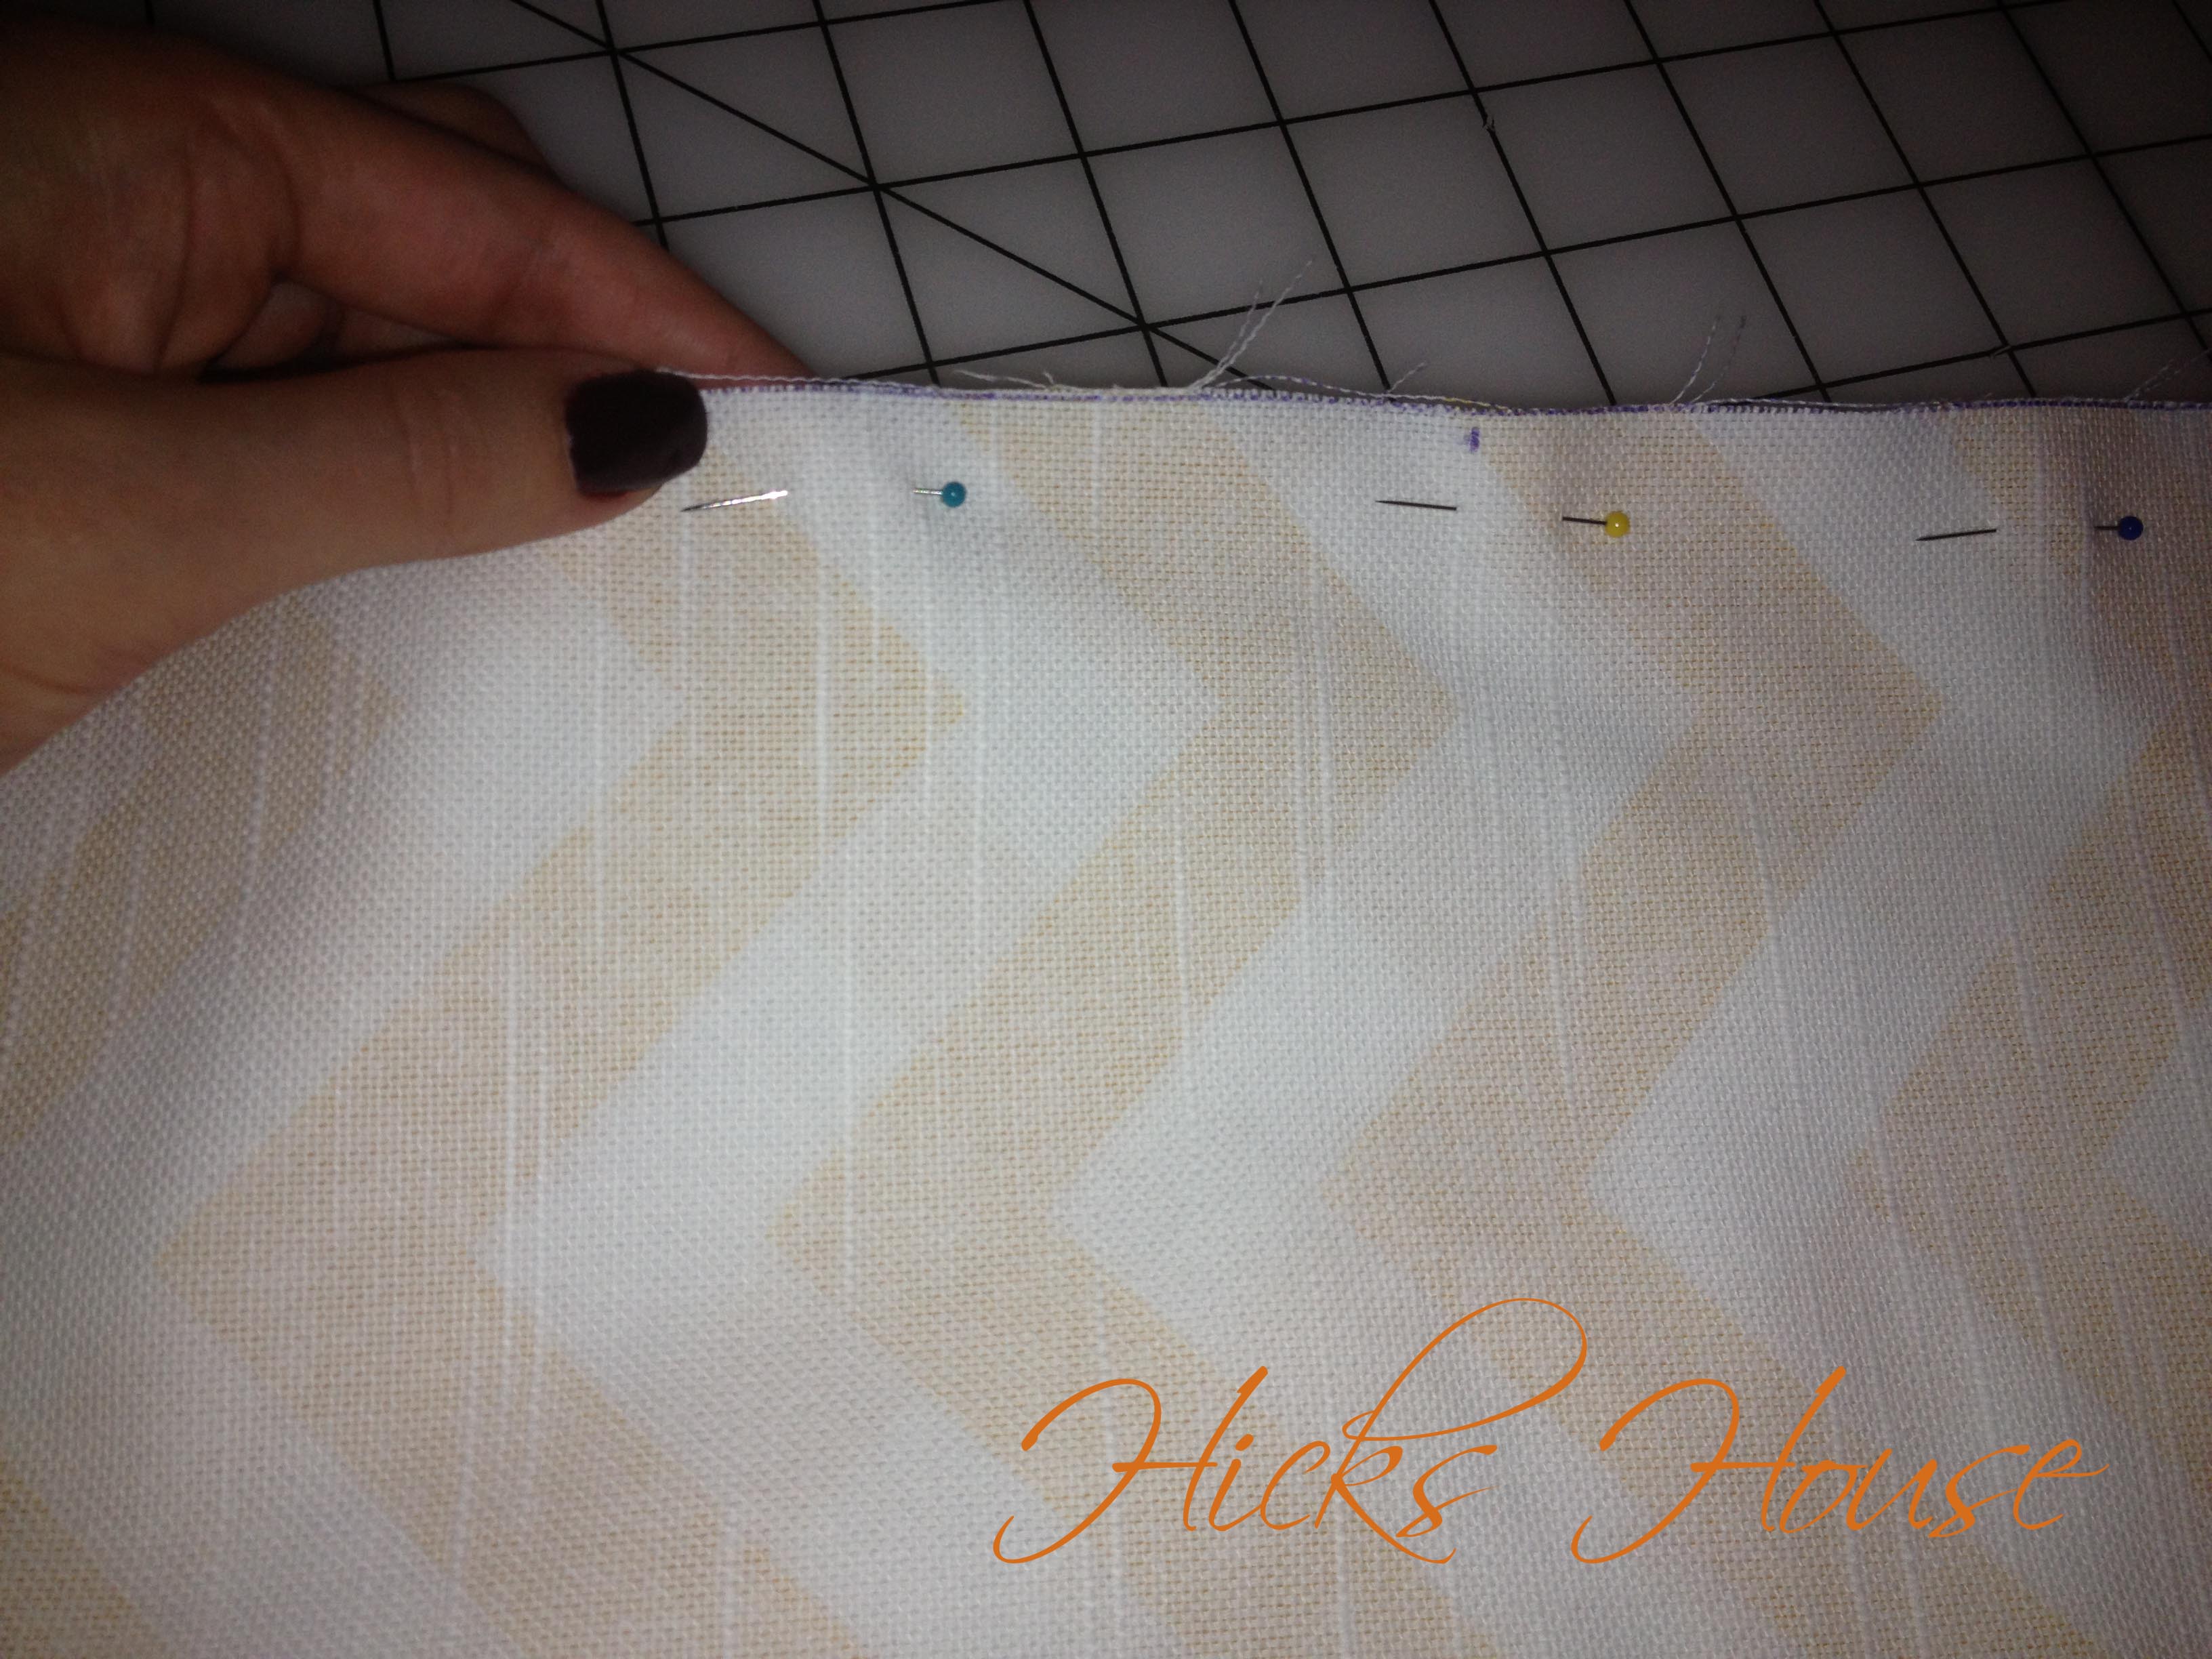
Draw out your measurements on the BACK of your fabric. If you have a directional pattern like my chevron make sure the lines are straight with the pattern not with the top of your fabric. Its not always the same thing.
see how my line doesn’t line up with the edge of the fabric?
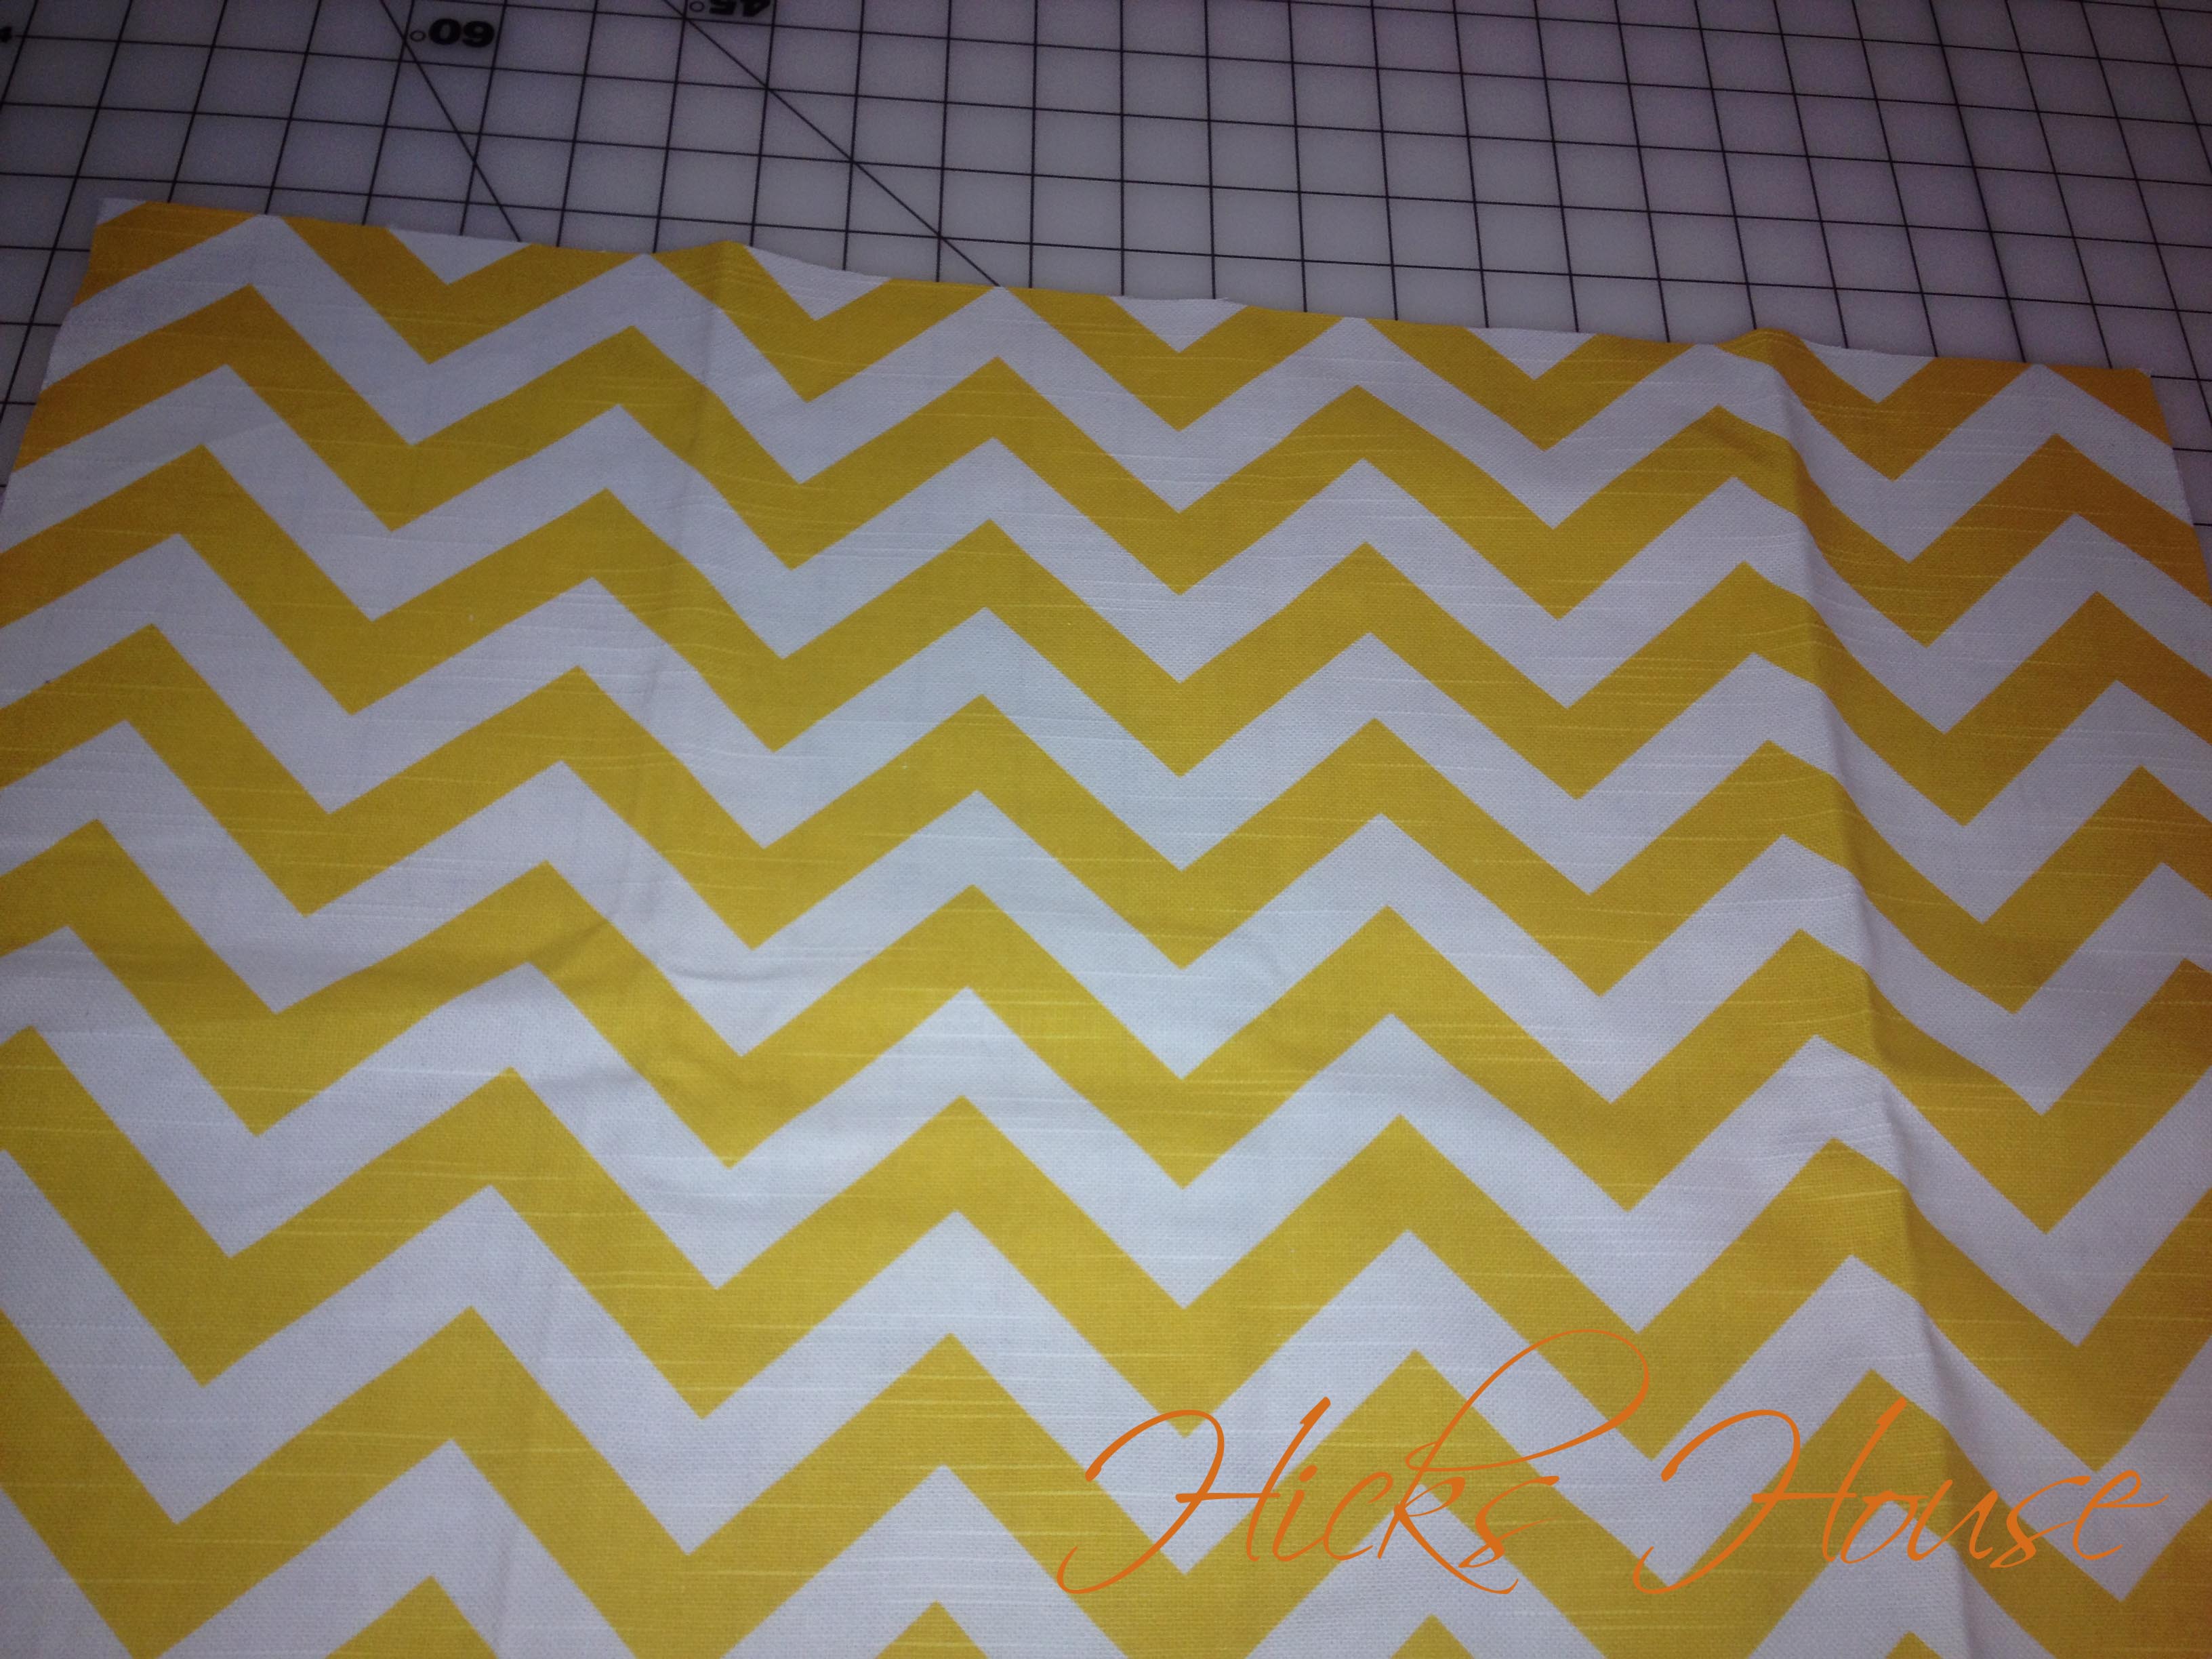
one cut the chevrons are even
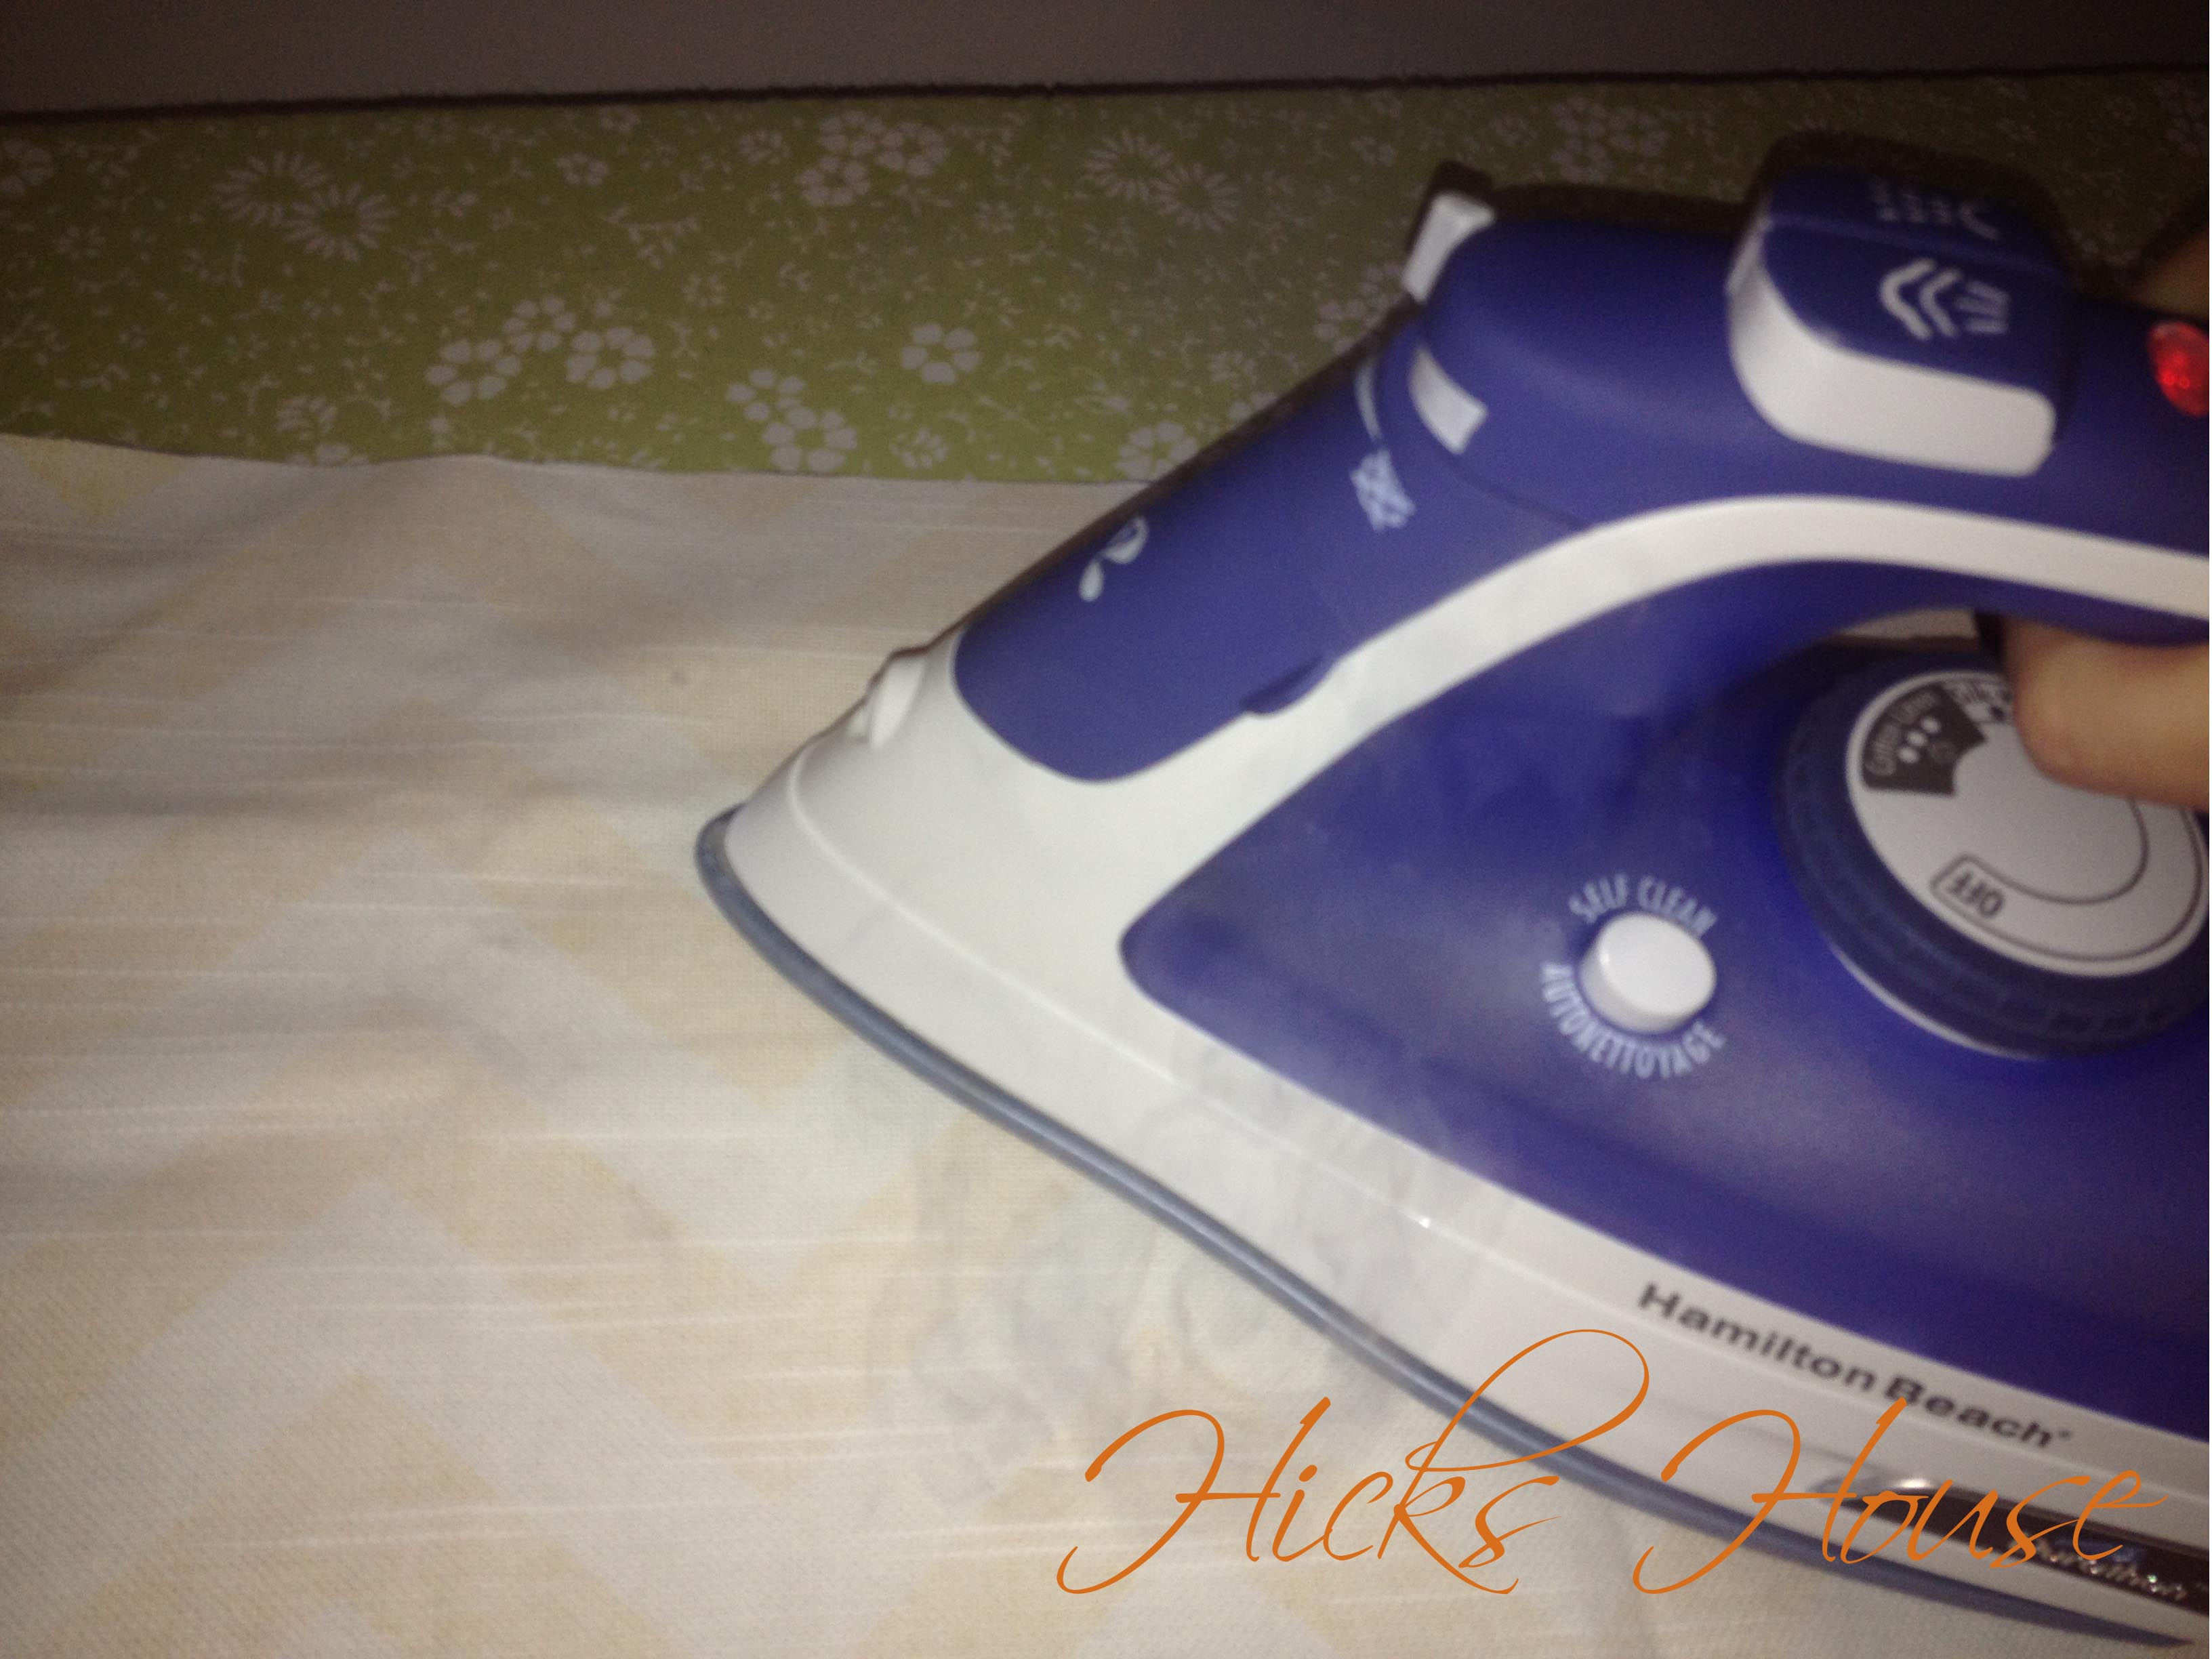
iron your fabric pieces
Lay your ironed fabric pieces out and line up the zipper on the longer side of the fabric facing down towards the side of the fabric. I used a 12-inch zipper so I centered it on my 22 inches of fabric. You can use a zipper the entire length of your pillow – its probably easier but thats what I had on hand.

zipper pull should face down

pin in place
Sew the zipper to the fabric using a zipper foot. Make sure to not sew around the zipper pull. When you reach the pull manually wind your needle down into the fabric lift the foot and zip the zipper out of the way so you can continue sewing a straight line. Make sure to backstitch at the begining and end so your zipper stays put.

attach the first side of the zipper
Do the same process for the other side of the zipper. Make sure the right sides of your fabric are facing each other.

repeat the process with the other side.
Now you have two fabric squares attached in the middle with a zipper.

Fold in half right sides together at the zipper and pin the pieces together around the entire perimeter – make sure your zipper is at least half unzipped so that you can turn it right side out when you are done.
pin all sides
Sew the two squares together backstitching at the begining and end for added support. Flip right side out through the zipper.

empty pillow cover
Stuff your pillow insert into your new pillow cover. If you used a small zipper like I did – be careful you don’t want to pop your stitches.

carefully stuff your insert into the case
There you have it, a professional looking zippered pillow case!
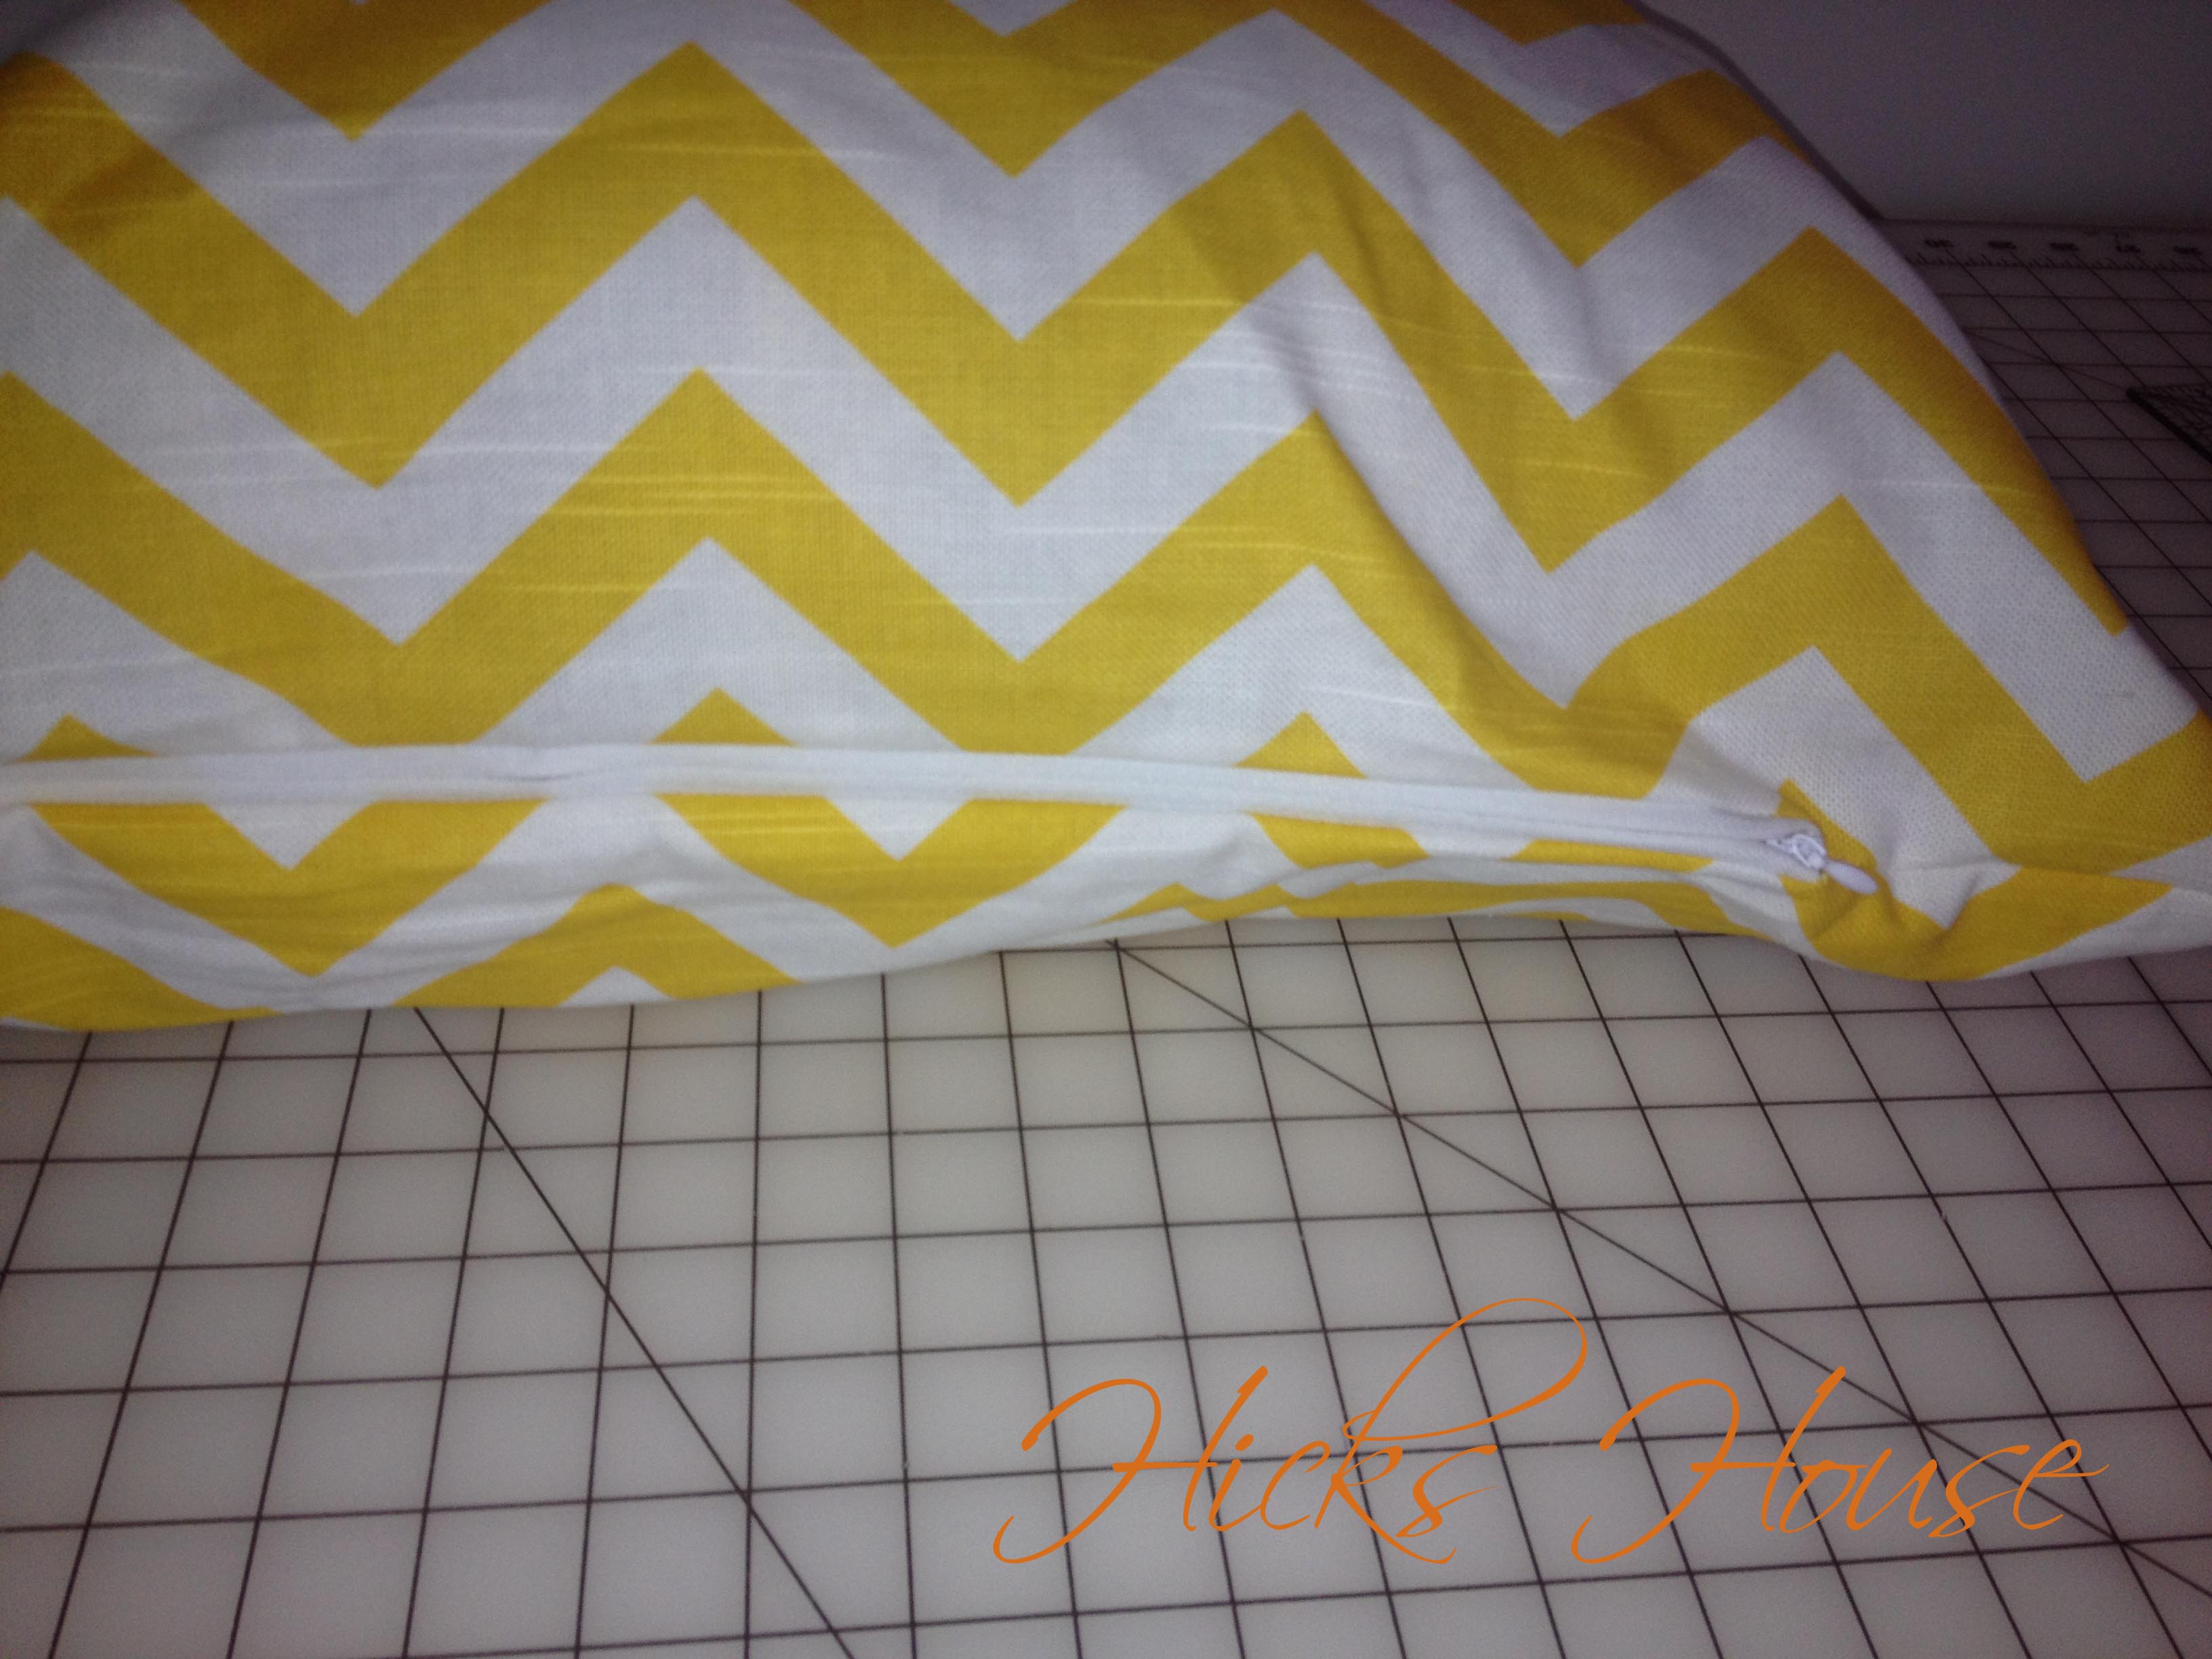
zippered bottom
Add it to your bed or sofa and change out the cover to your hearts content!

Zippered Pillow Tutorial