Hicks House

From Builder Basic to Beautiful


1 Comment

Make it Blue

I’m back!  I know it’s been a long time since I’ve posted (4 month’s!), a lot was going on in outside of home improvements.  I was searching for a new job – which any of you who have done this can attest to – is like a full time job in and of itself.  So the majority of my free time outside of work was spent looking for new work.  Plus it was a frozen tundra in Connecticut pretty much through March which makes me just want to stay inside and hibernate – which we did with the free time we had.

I’m pleased to say we’ve thawed out (it was 80 out this past Saturday!), and I’ve started at a new job. I’m hoping I can get back to posting at a somewhat regular schedule.

Anywhoo, how did you spend your first warm weekend of Spring? I painted our front door… again… Remember when it looked like this:
Hicks House | Yellow Door

Yeah… that was a learning experience in choosing paint colors. The yellow lasted through the entire winter of 2013/2014 as I had painted it the last warm weekend of the year. Come Spring 2014 the builder replaced the door and we were back to basic primer white. Well we finally picked out a new color over the winter and it was warm enough to get it done I used the same technique I highlighted here, so here we go…

Hicks House | Blue Door

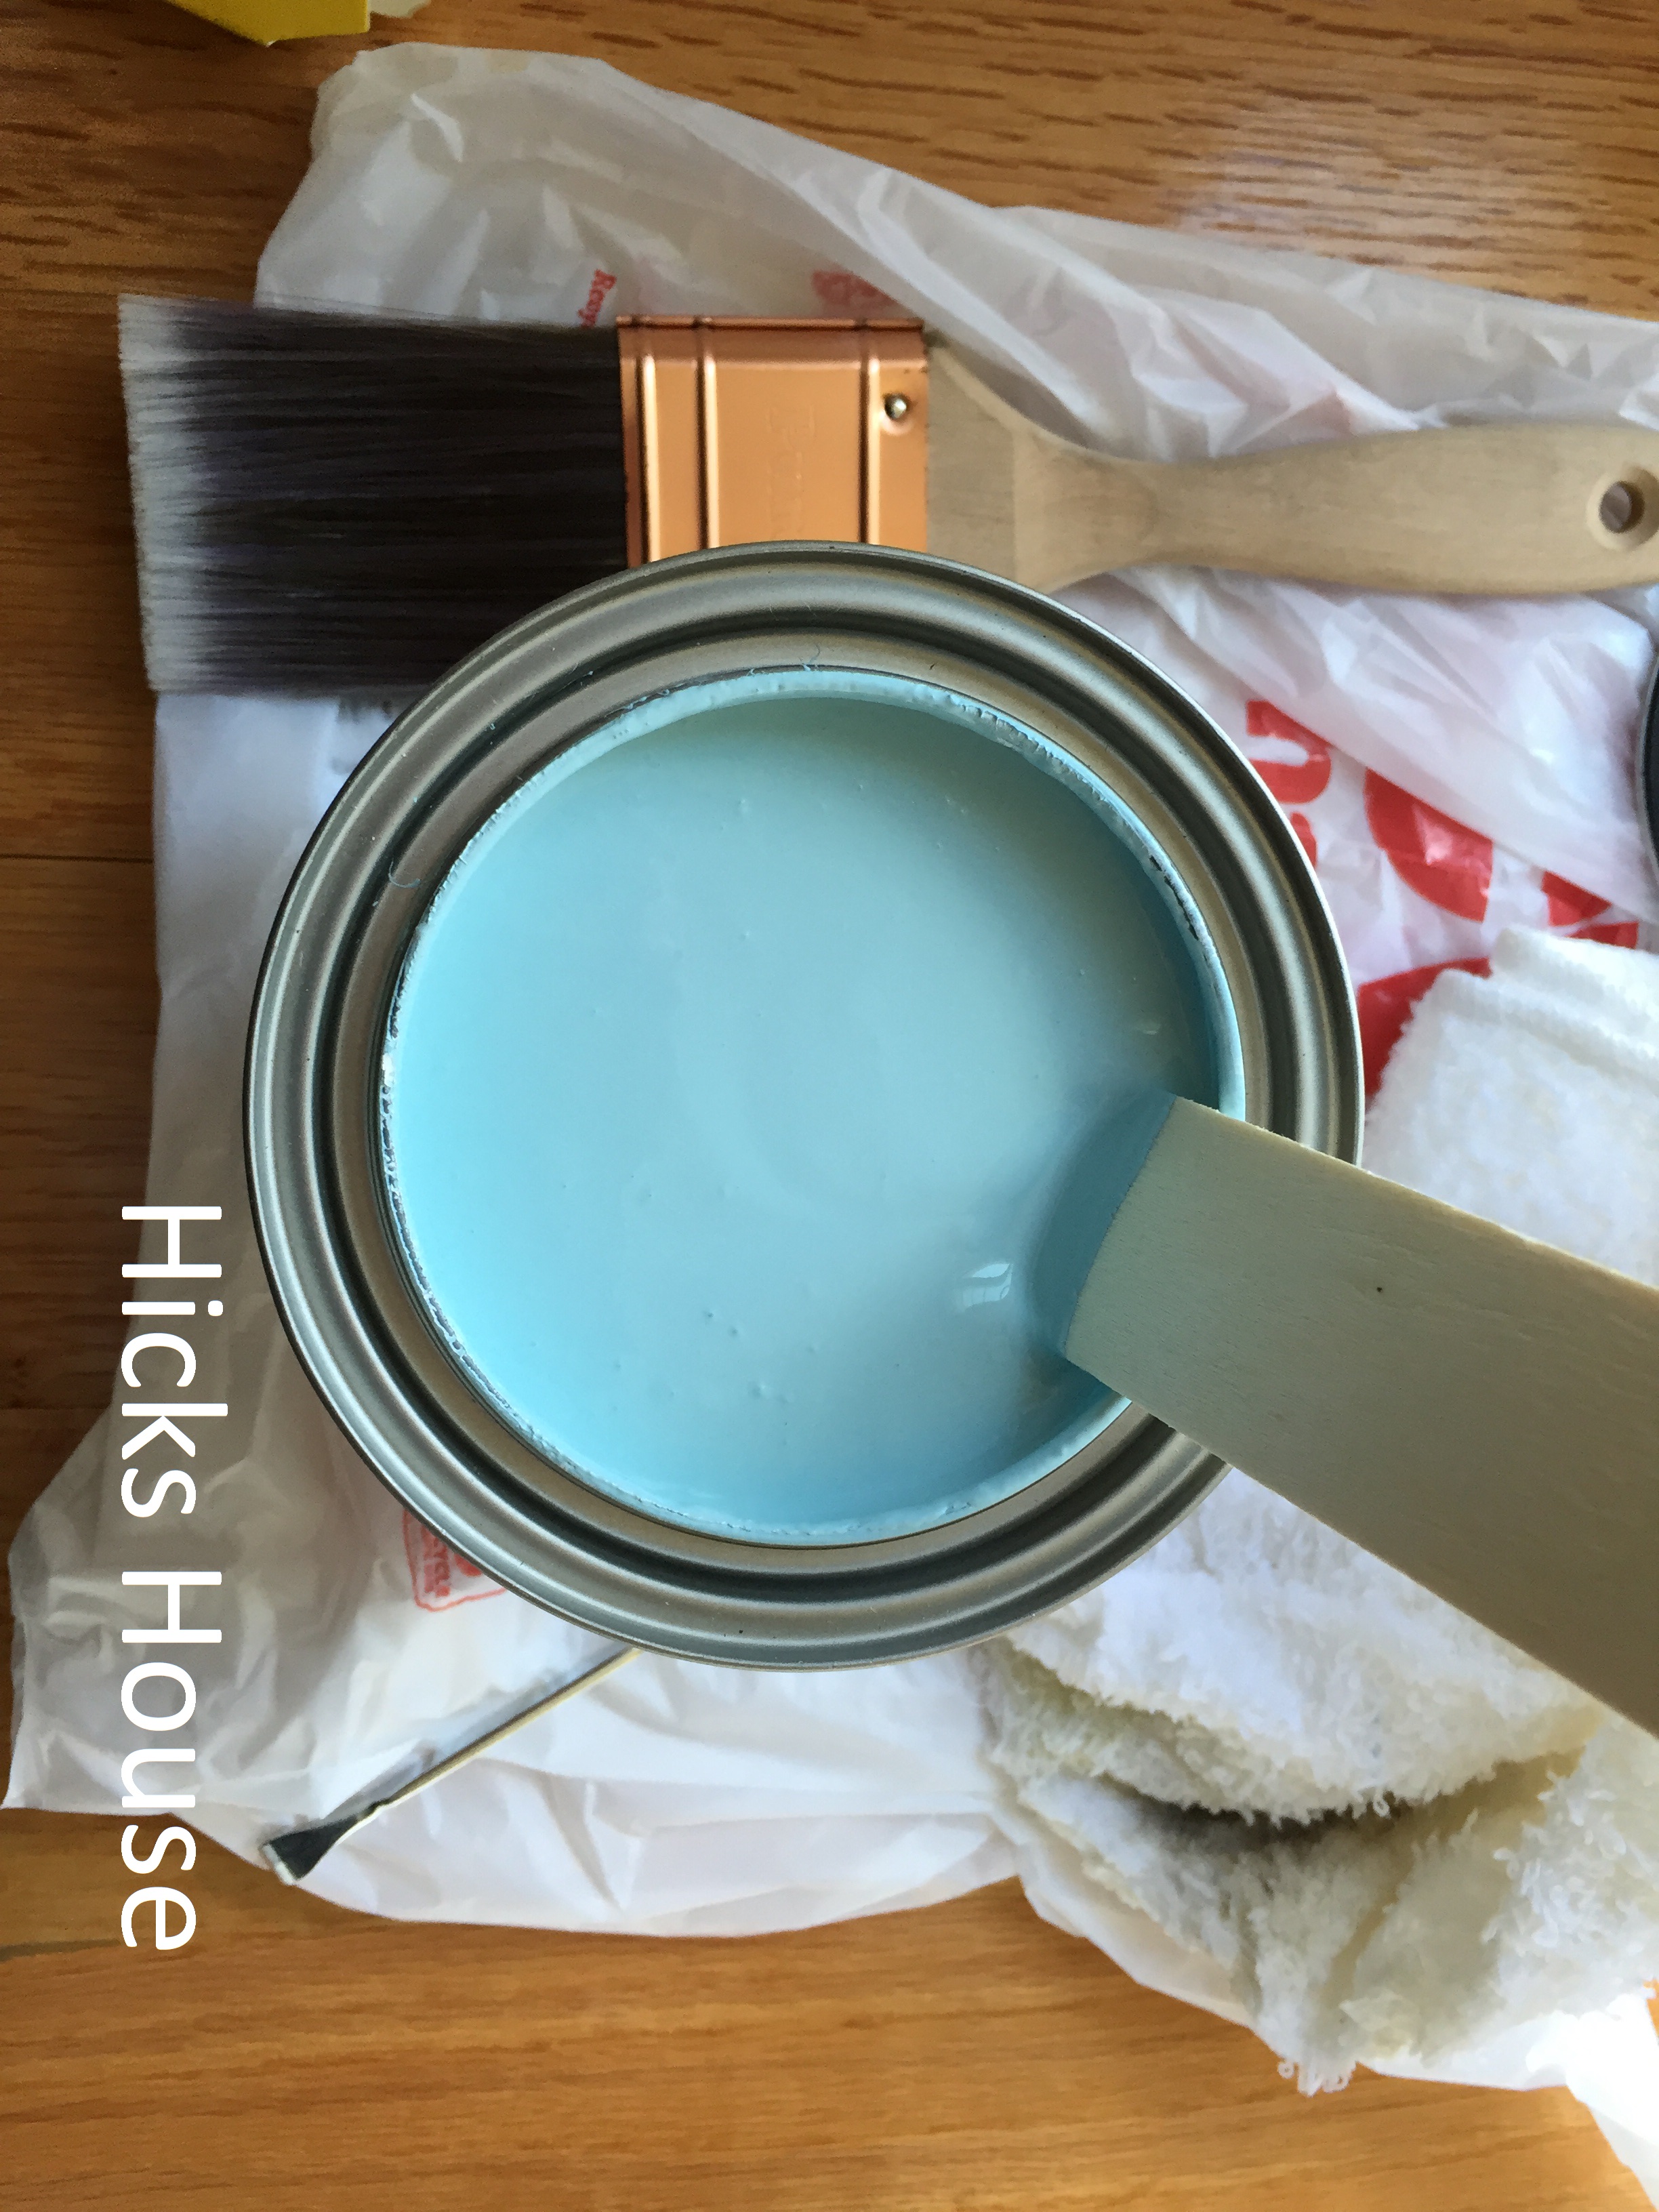
Still a bright fun color. Here’s a close-up of the completed door:

Hicks House | Blue Door

And a view of the whole house:

Hicks House | Blue Door

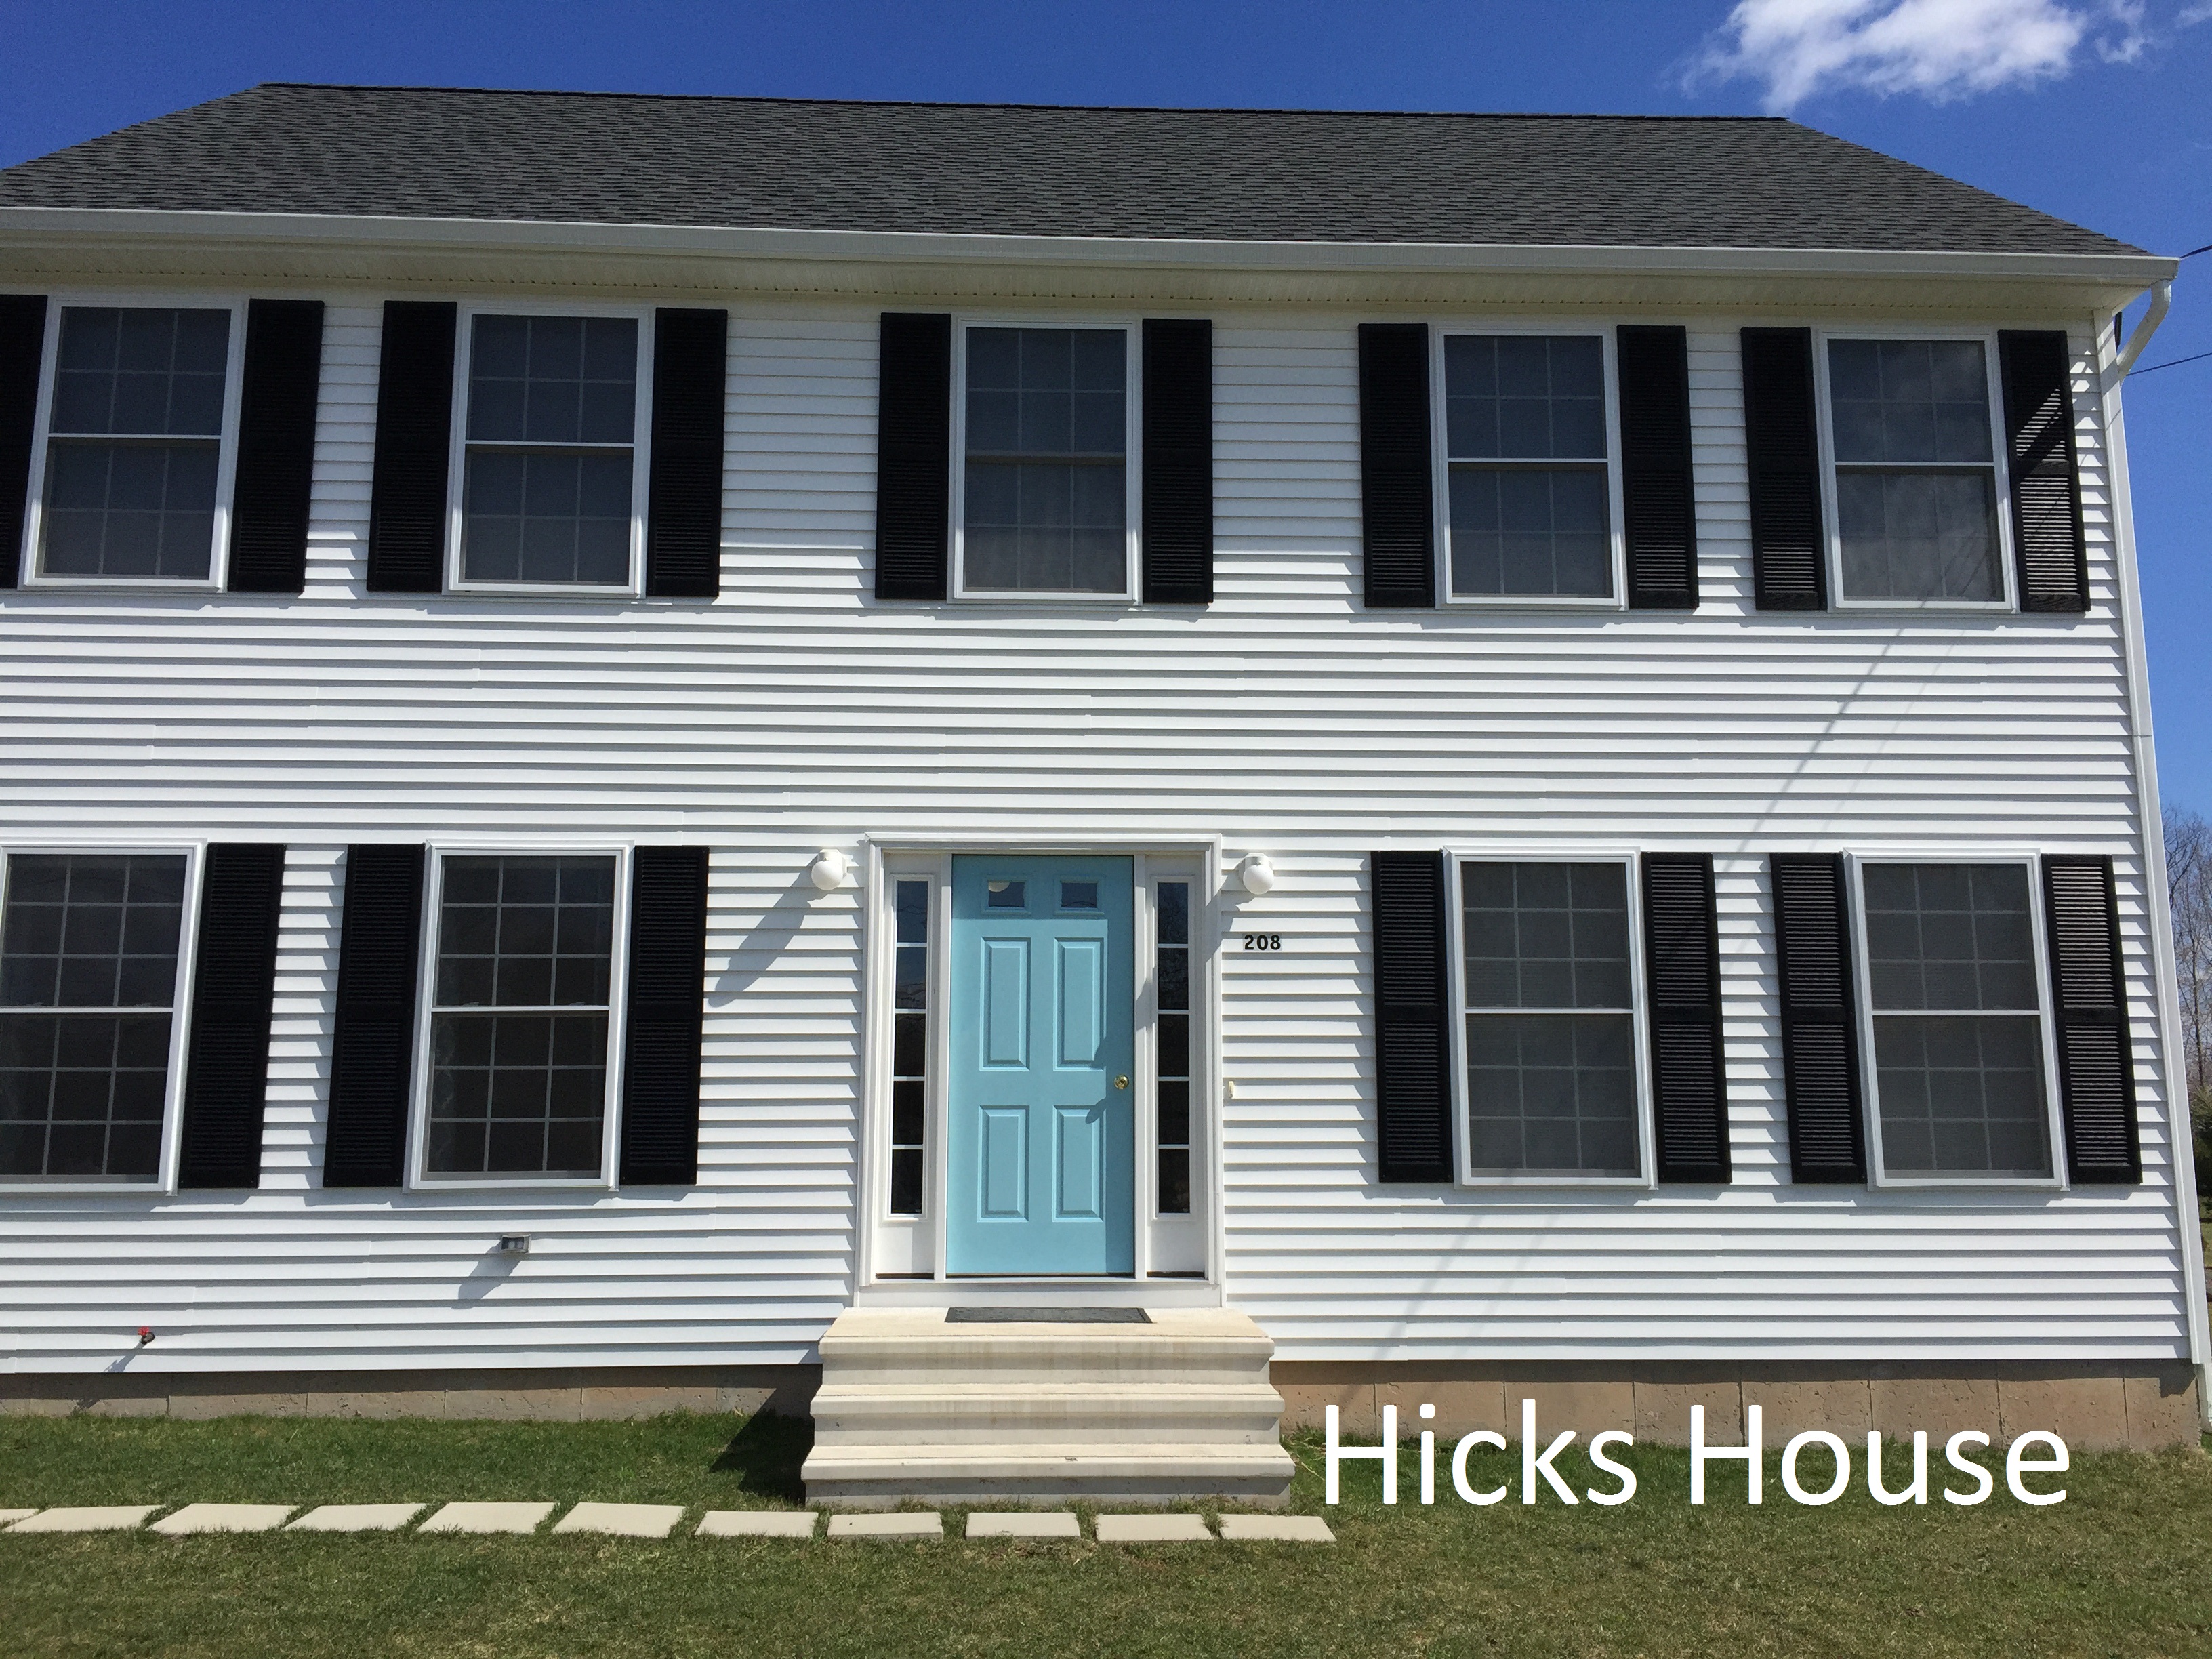
So what do you think? Do you like it, is it better than the yellow? I’d love to hear your opinion – love it or hate it! Currently we’re liking it and are looking forward to seeing how it looks once we have some plantings out front.

On the agenda for this spring is having a paver walkway and flower beds installed out front which should bring some additional color and life the yard.

Until next time,
Hicks House


2 Comments

Lofty Ideas

One would think that after all of the hoopla surrounding the shed foundation and the delivery of the shed that we would have immediately started using it for storage and moving all of our possessions out of the garage. You must not be too familiar with this blog… nothing is ever that easy in the Hicks Household… everything must be customized :-).

What the shed was missing was a loft, what better way to store things you don’t need constant access to without taking up space on the precious ground level? You may be wondering, how does one build a loft? Is it hard? Well I actually had no physical part in this, but I can say as far as difficulty that it only took Ken one day, and he was done by dinner time.

The inside of the shed looked like this with all of the wall supports exposed:

Lofty Ideas | Hicks House

Ken was able to take advantage of that by cutting several two by fours to the length of the shed and attaching them to the existing supports with wood screws.

Lofty Ideas | Hicks House

It then looked like this:

Lofty Ideas | Hicks House

He then measured the length and width of where the loft would go and cut some mdf boards to fit. It ended up using 2.5 boards with the larger ones on the sides and a skinnier one in the middle. (I did help with this part, holding the mdf still while he cut – I like to think I played an integral part in this project but I’m not fooling anyone).

Lofty Ideas | Hicks House

The mdf was then placed on the support beams,

Lofty Ideas | Hicks House

And then Ken crawled up there and used nailed them in along the supports to ensure they didn’t go anywhere.

Lofty Ideas | Hicks House

Now its all ready for extra storage space!

Lofty Ideas | Hicks House

Once we’ve filled it, we will finally have both cars in the garage! Just in time for fall and the upcoming cold temperatures.

What do you think? Do you want to install a loft into your shed or garage now? If you missed us building the shed foundation and getting the shed delivered you can catch up here:

shed foundation

shed delivered

Hicks House