If you drove by the Hicks House a couple of months ago you wouldn’t really be able to tell anyone lived there. Blah boring white door, no landscaping, no real pizzazz. But that was before “Project Curb Appeal” started with the painting of the front door. And then the walkway went in, complete with glorious raised flower beds on either side of the front porch. Now it looks like this:
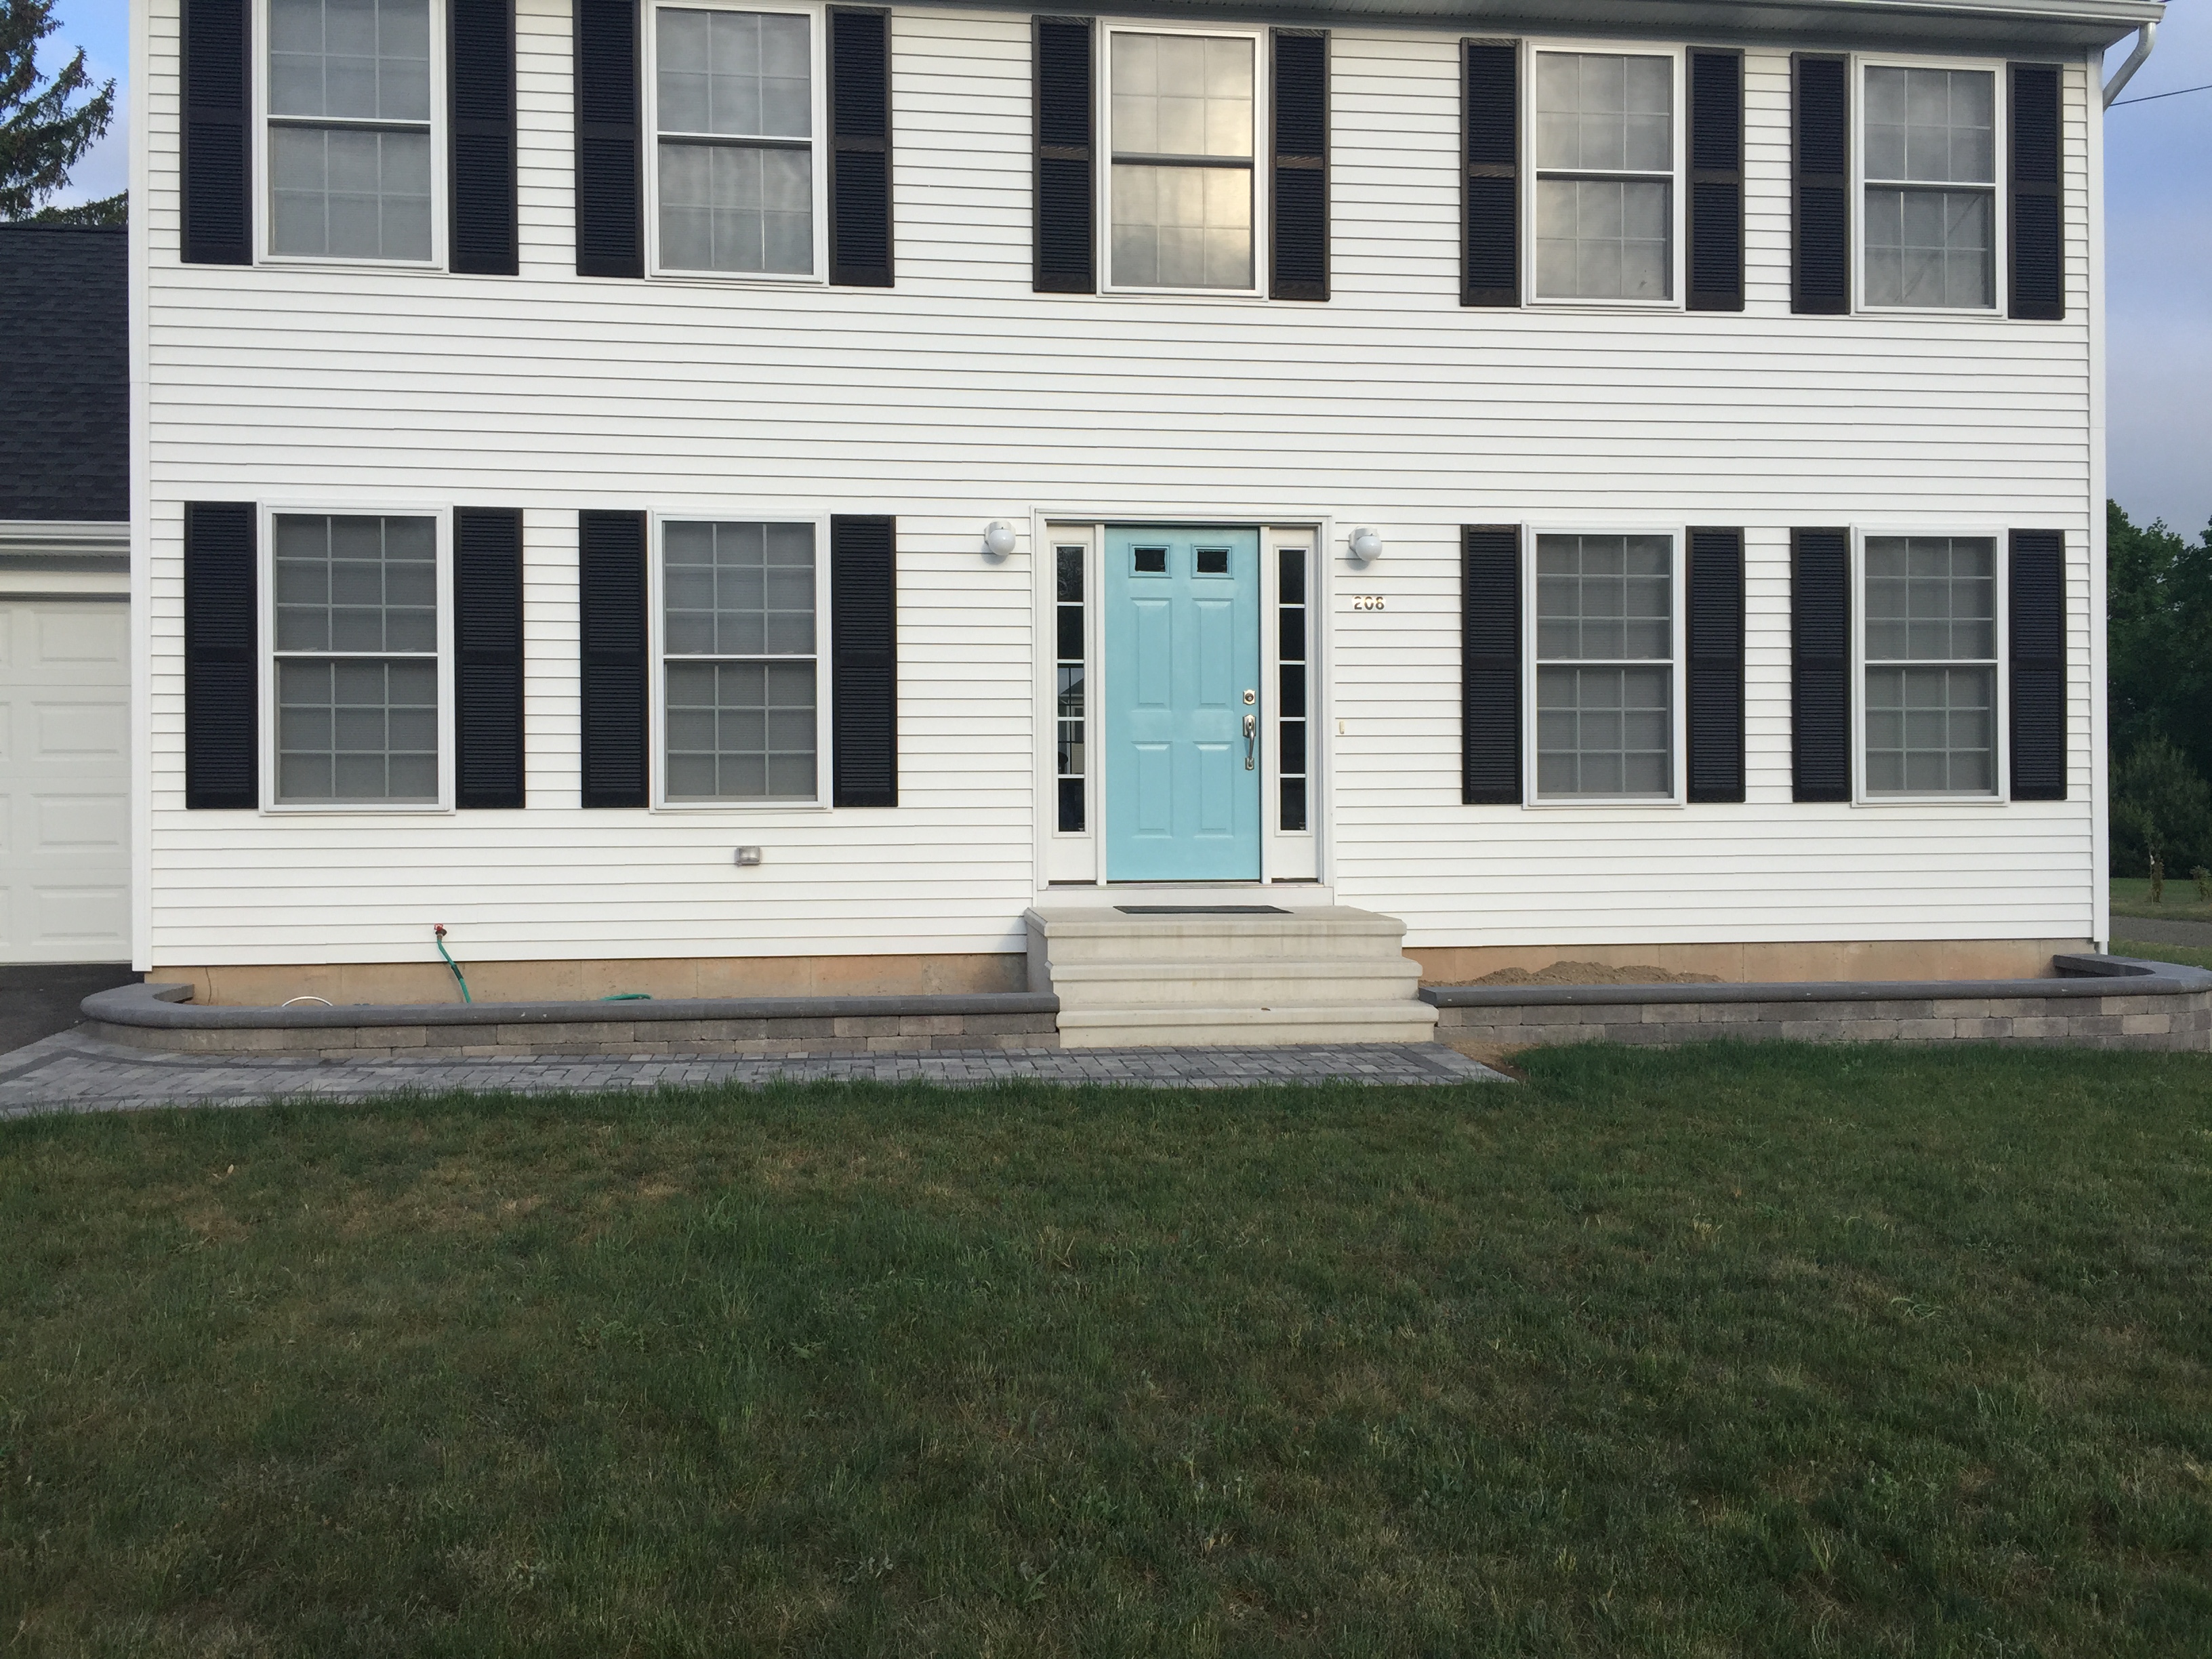
A little hard to see from there, not to worry I have some close ups. As this was a large and pretty permanent addition, we decided to hire this out and leave it to the professionals. (The fact that they could do this in three days and it would have taken us all Summer helped sway that decision as well.)
One thing that occurs when hiring out professionals unfortunately is a lack of communication or misunderstanding. It seems to happen without fail and we experienced it with this project as well. When we originally met with the contractor who would be doing the work it was November, we went over our wishes for a light gray curved walkway leading up to the stairs with a 90° herringbone pattern, a charcoal border and raised flower beds.
Luckily halfway through day 1 while Ken and I were both at work the contractor blew a fuse requiring him to call Ken who wisely asked for photos of the progress and was sent this:
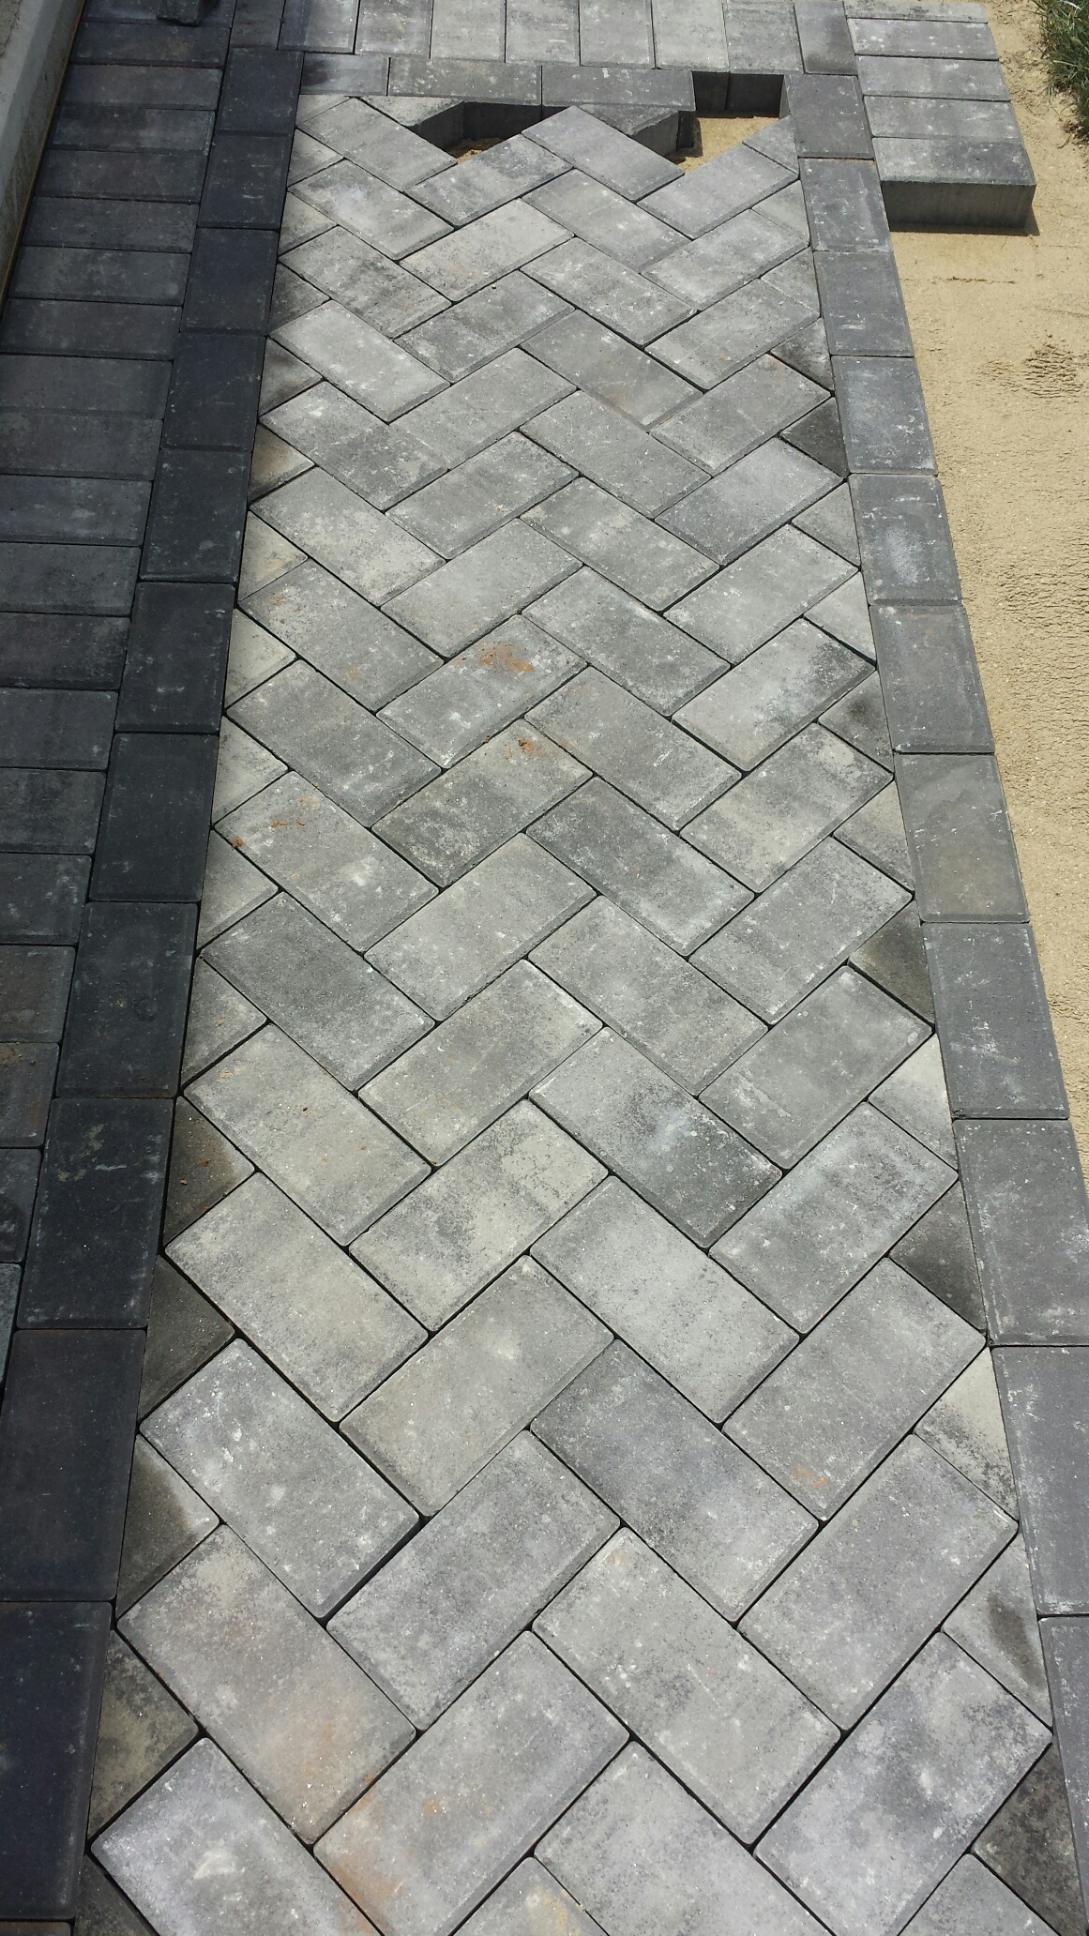

Now if you’re not in the process of installing a walkway you wouldn’t know this because you wouldn’t have done hours of annoying research on stone patterns like we did BUT that is a 45° herringbone. Normally that wouldn’t be a huge deal except for the fact that in my mind the pattern gives the feeling of walking you past the porch rather than leading you up to it.
You may also notice that its straight. (Cue minor meltdown during my lunch break at work). After Ken played bad cop with the guy (i.e. “My wife hates this you need to fix it”) the contractor explained that the walkway wasn’t curved due to the fact that we didn’t want a gap between the flower beds and the walk so with the width of the walkway it was near impossible to make a curve. He did however agree to fix the herringbone pattern as well as the icky corners that we hadn’t even thought of. (If you look at the second picture there is a half block at the end of the walk and then the blocks turn the other direction)
When I came home from work that day I was met with this:

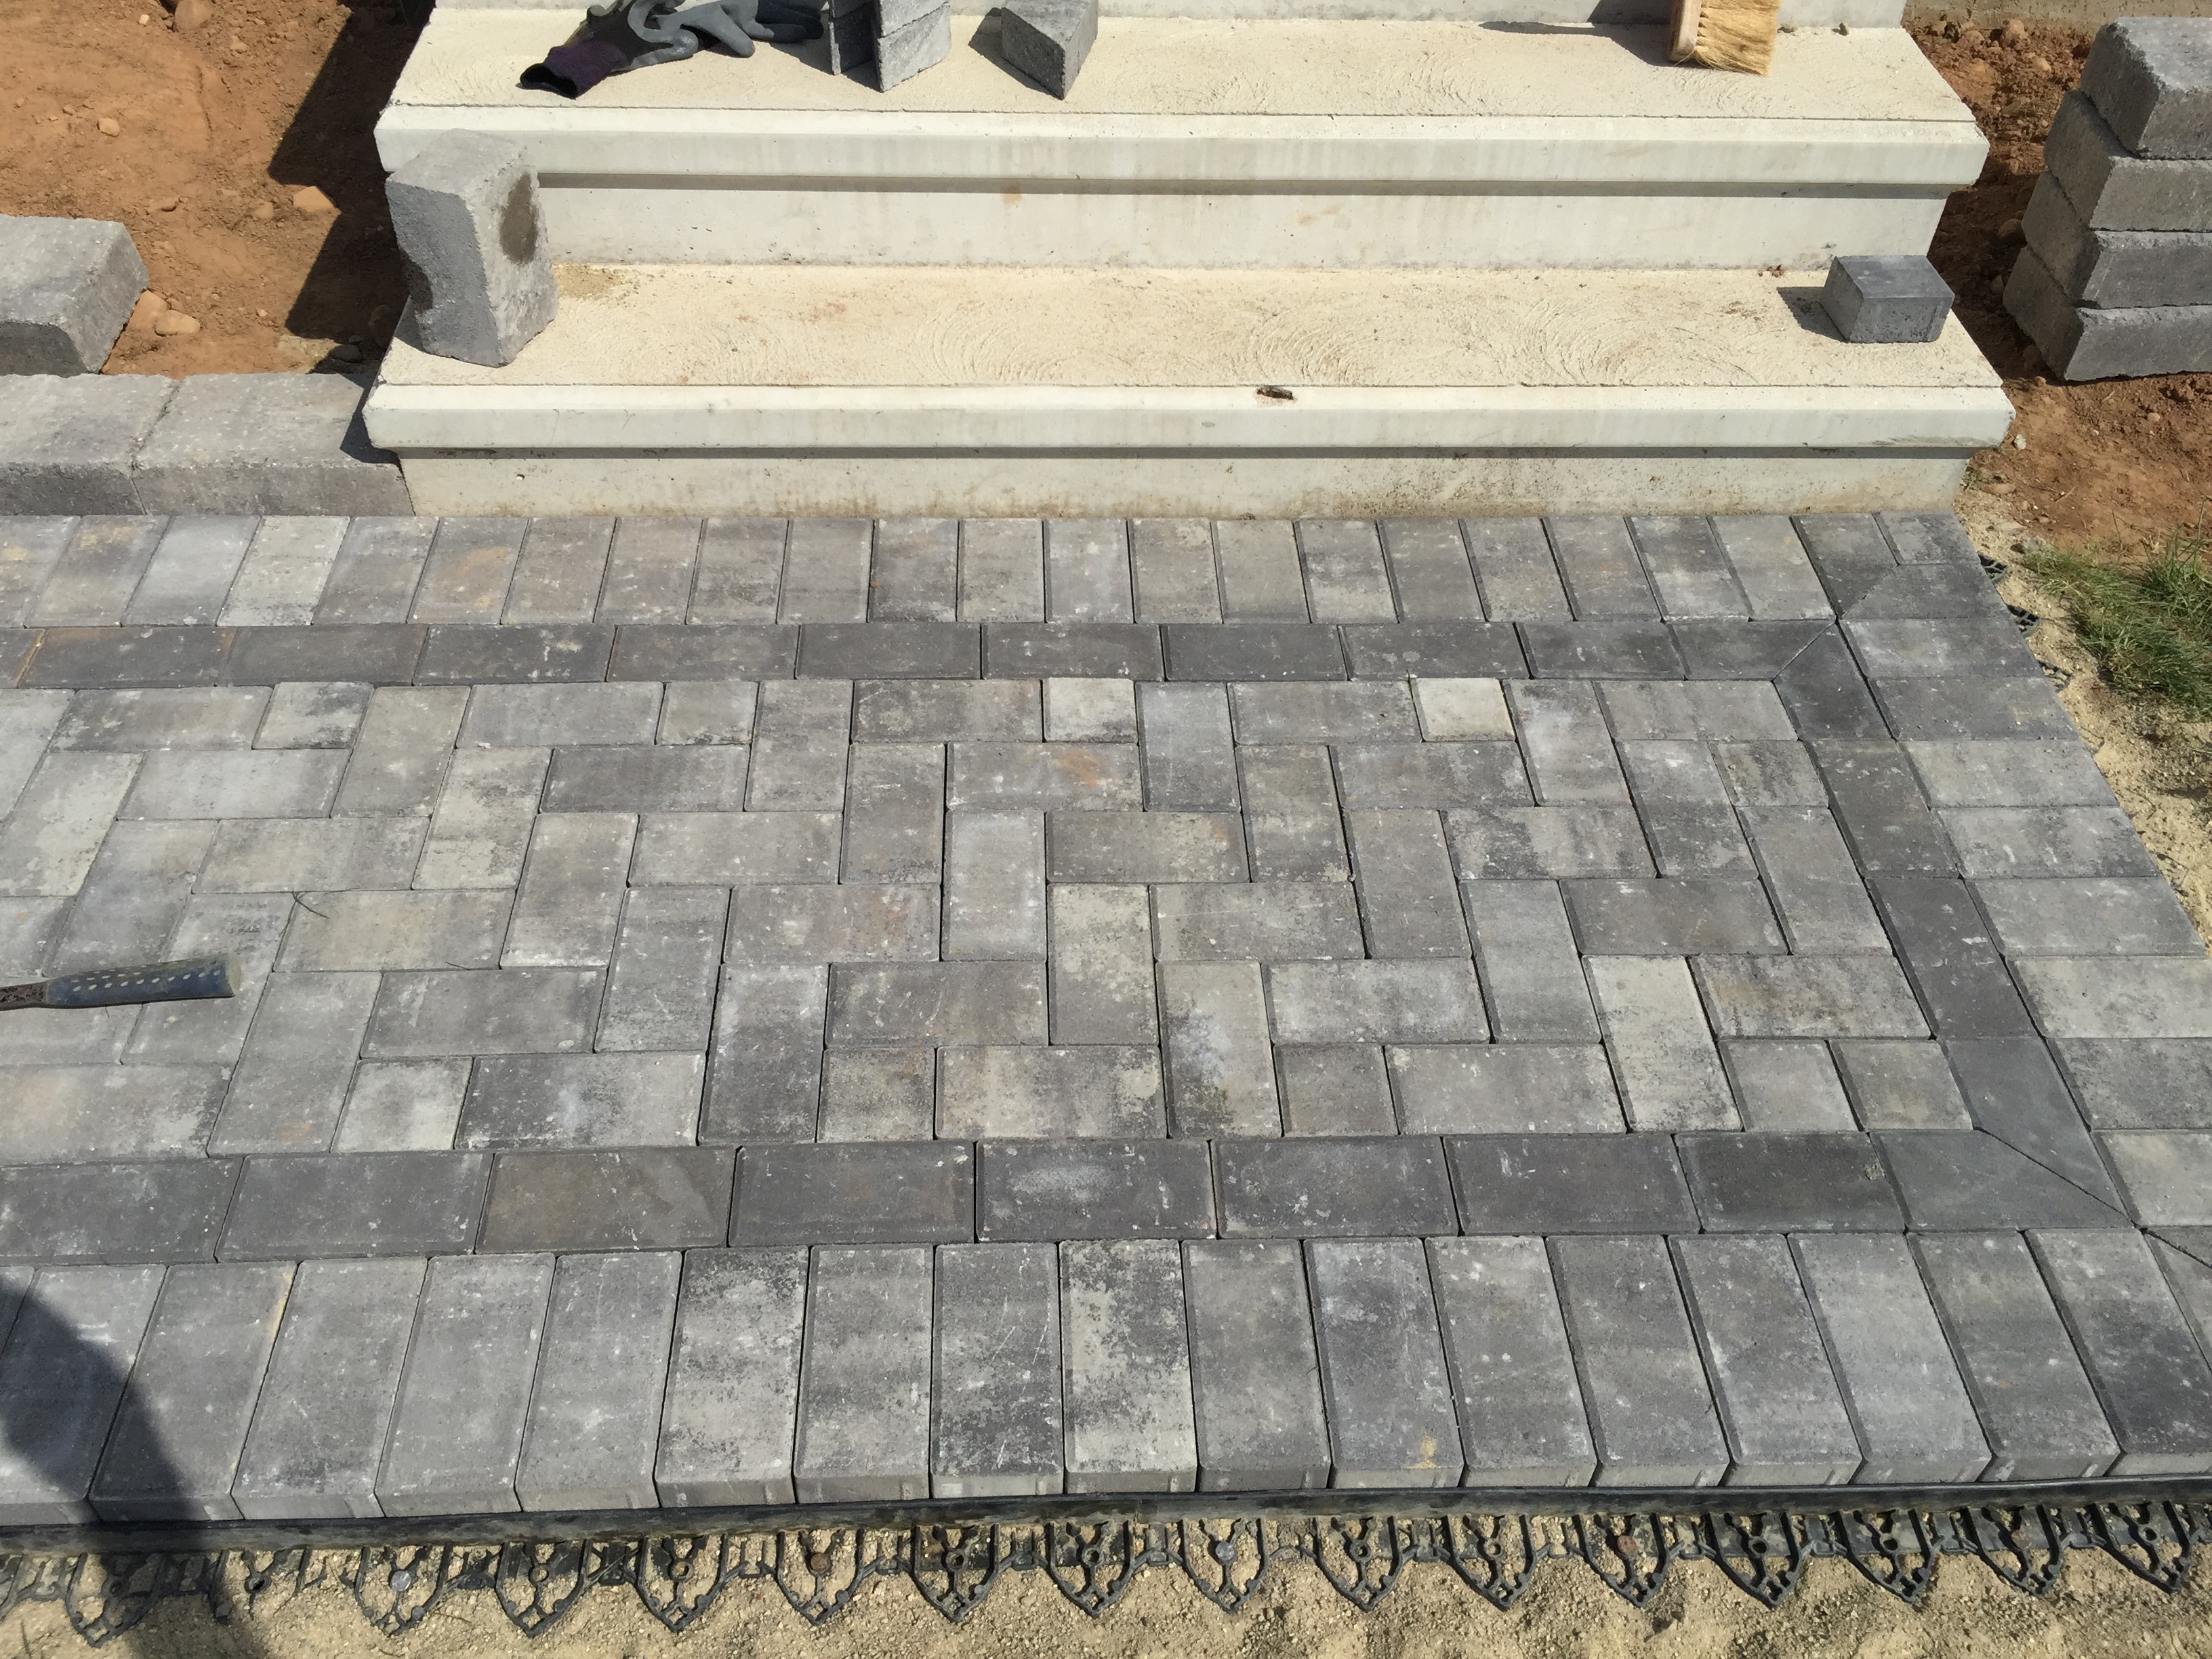
Look at those beautiful corners now!

Another day and a half of building the flower beds and finishing the flare out at the driveway and we are one step closer to curb appeal!

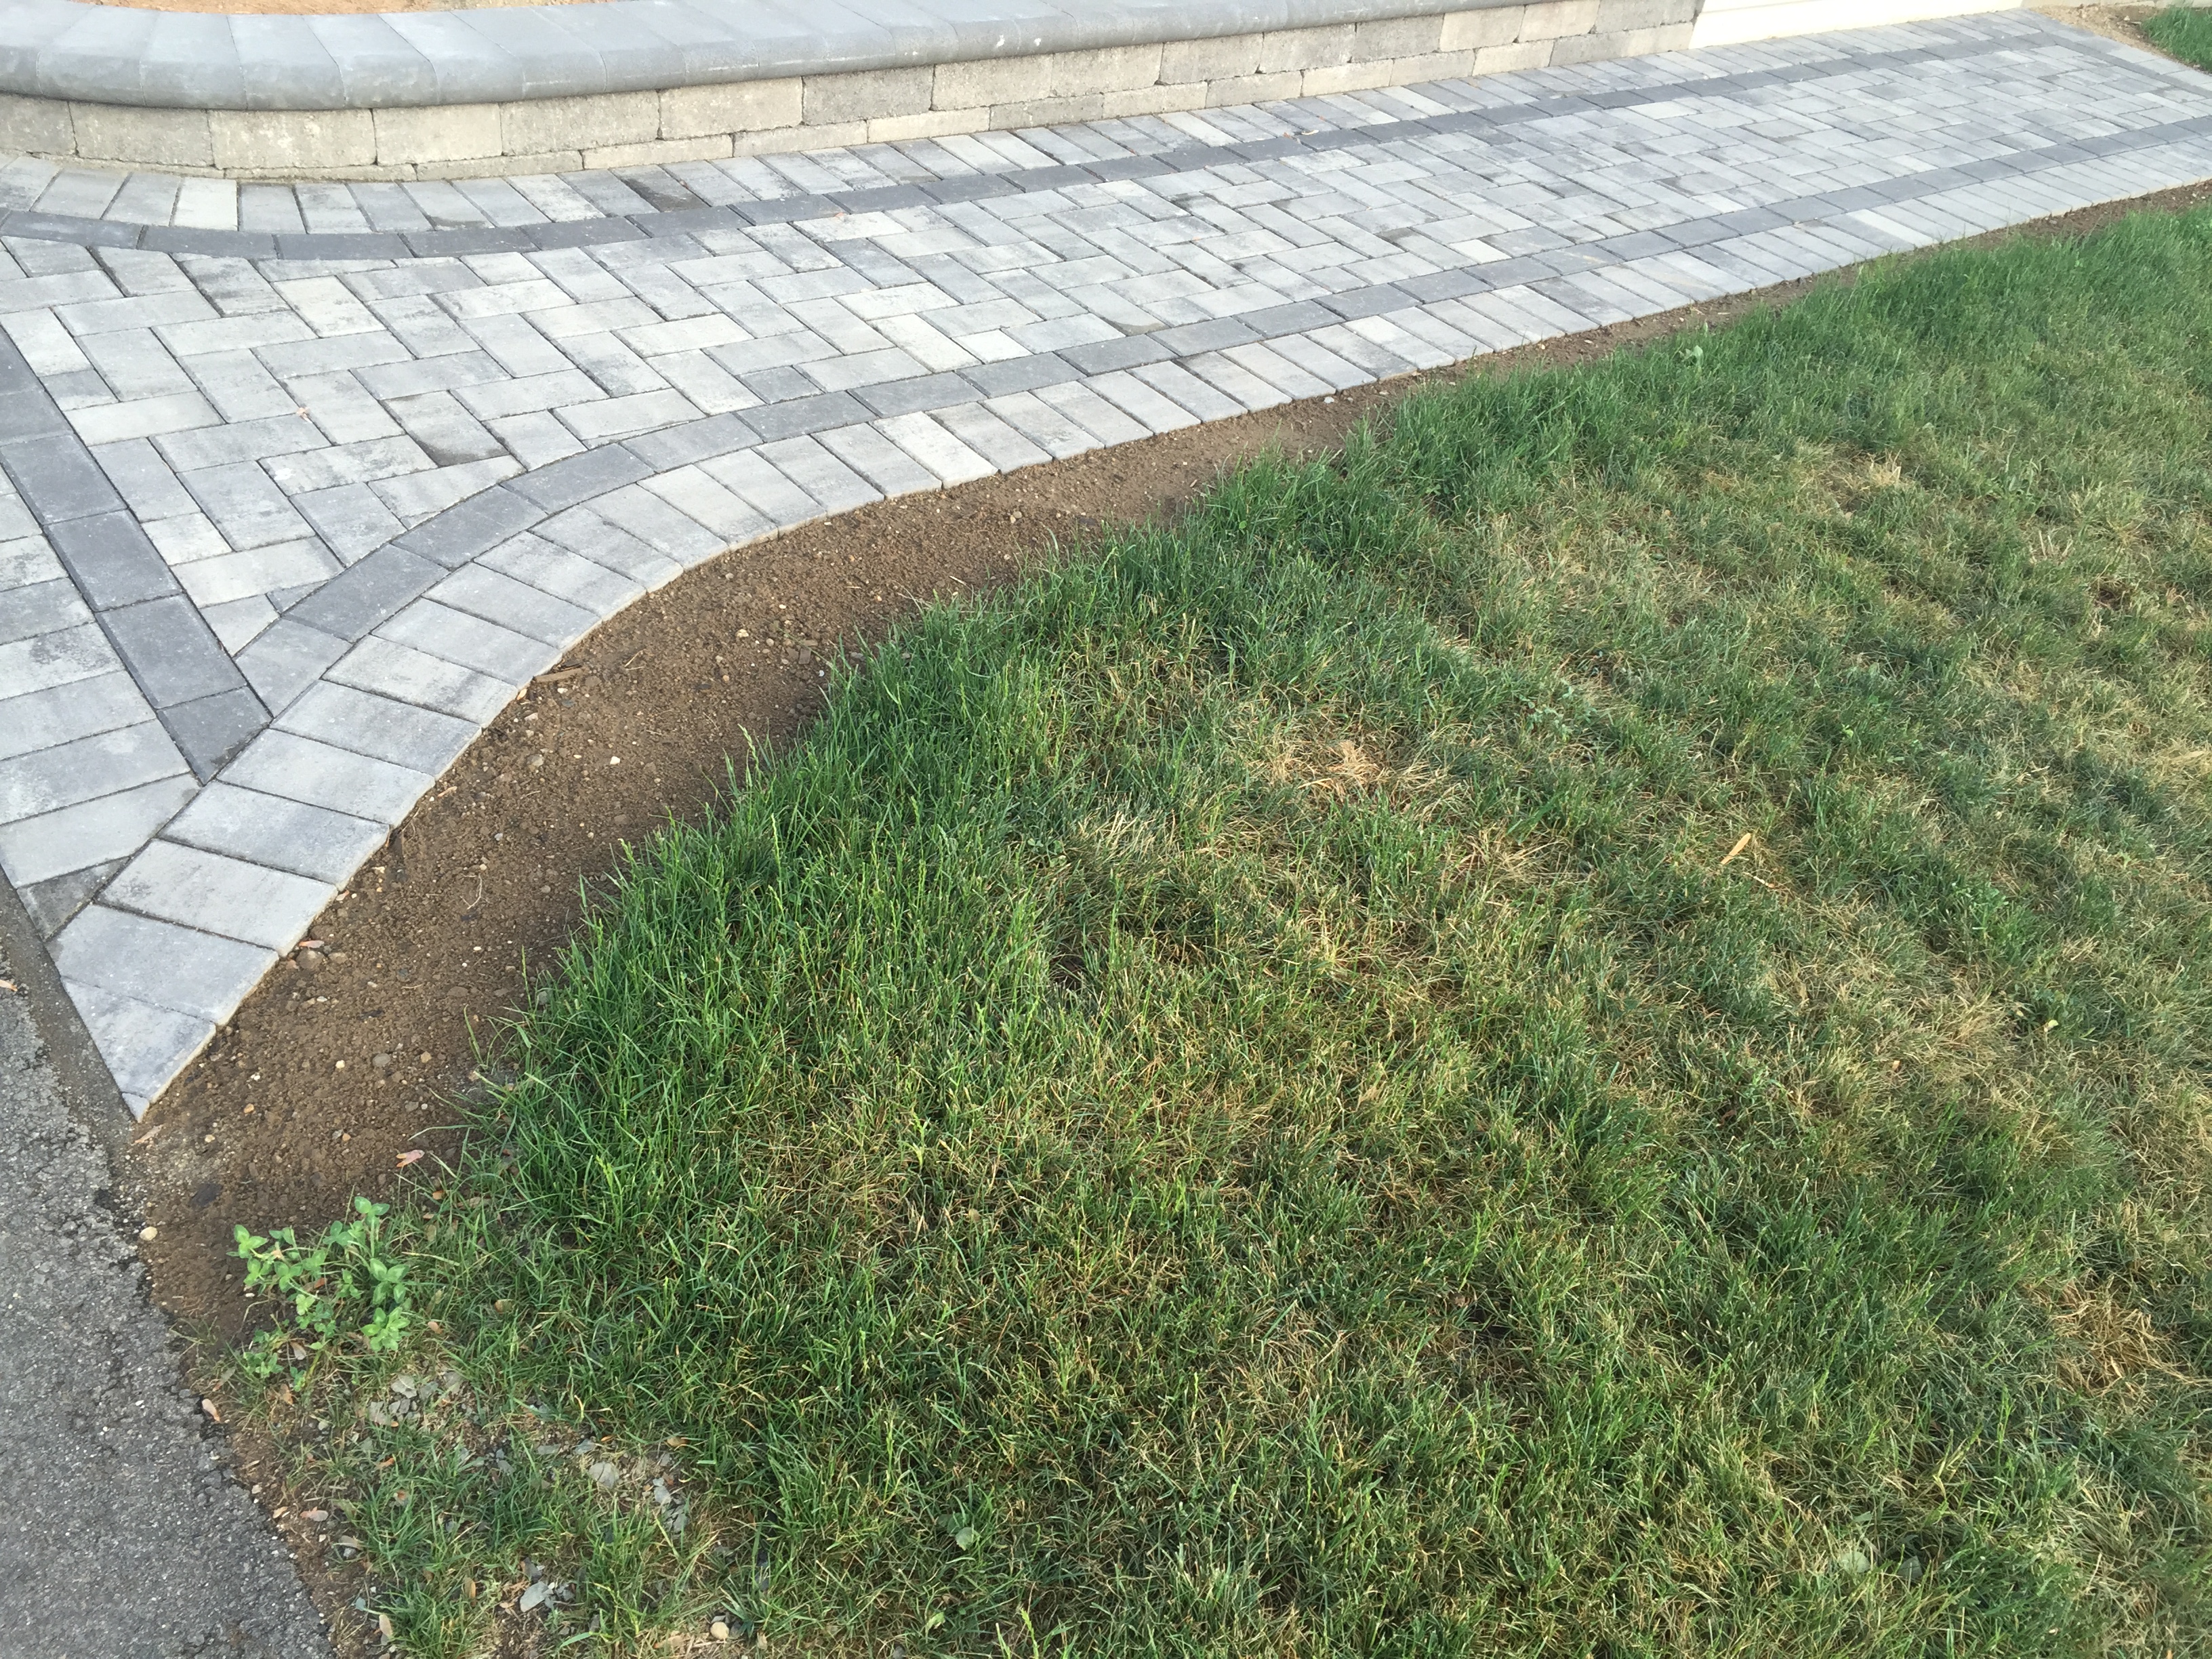
Next step flowers! I’d love to hear what you think, are you tackling any curb appeal projects this summer?