Hicks House

From Builder Basic to Beautiful


4 Comments

Turn Up the Curb Appeal

Why builders continue to use brass furnishings when building a house is beyond me.  Every time I look at door knobs, hinges and lamps in the hardware store the brass is the same price as the nickel and oil rubbed bronze fixtures so it’s not a budget decision.  It will forever remain a head scratcher to those of us destined to replace ALL THAT BRASS.

Anywhoo, last summer our outdoor projects included staining the deck, un-staining the house (oops), and attempting to tackle the lawn.

This year we are going to be making some more noticeable improvements to the curb appeal. The first step was painting the door blue, and you guessed it next we had to change out that lovely brass hardware.

Hicks House | Blue Door

This project was a bit more involved than when we replaced the knobs and hinges throughout the interior of the house. Because the door knob we selected had a deadbolt and the more sturdy handle holes had to be drilled. If you like the look here is the set we used: Schlage F62PLY619 Plymouth Handleset Keyed 2-Sides with Plymouth Knob, Satin Nickel (affiliate link).

Hicks House | Turn Up

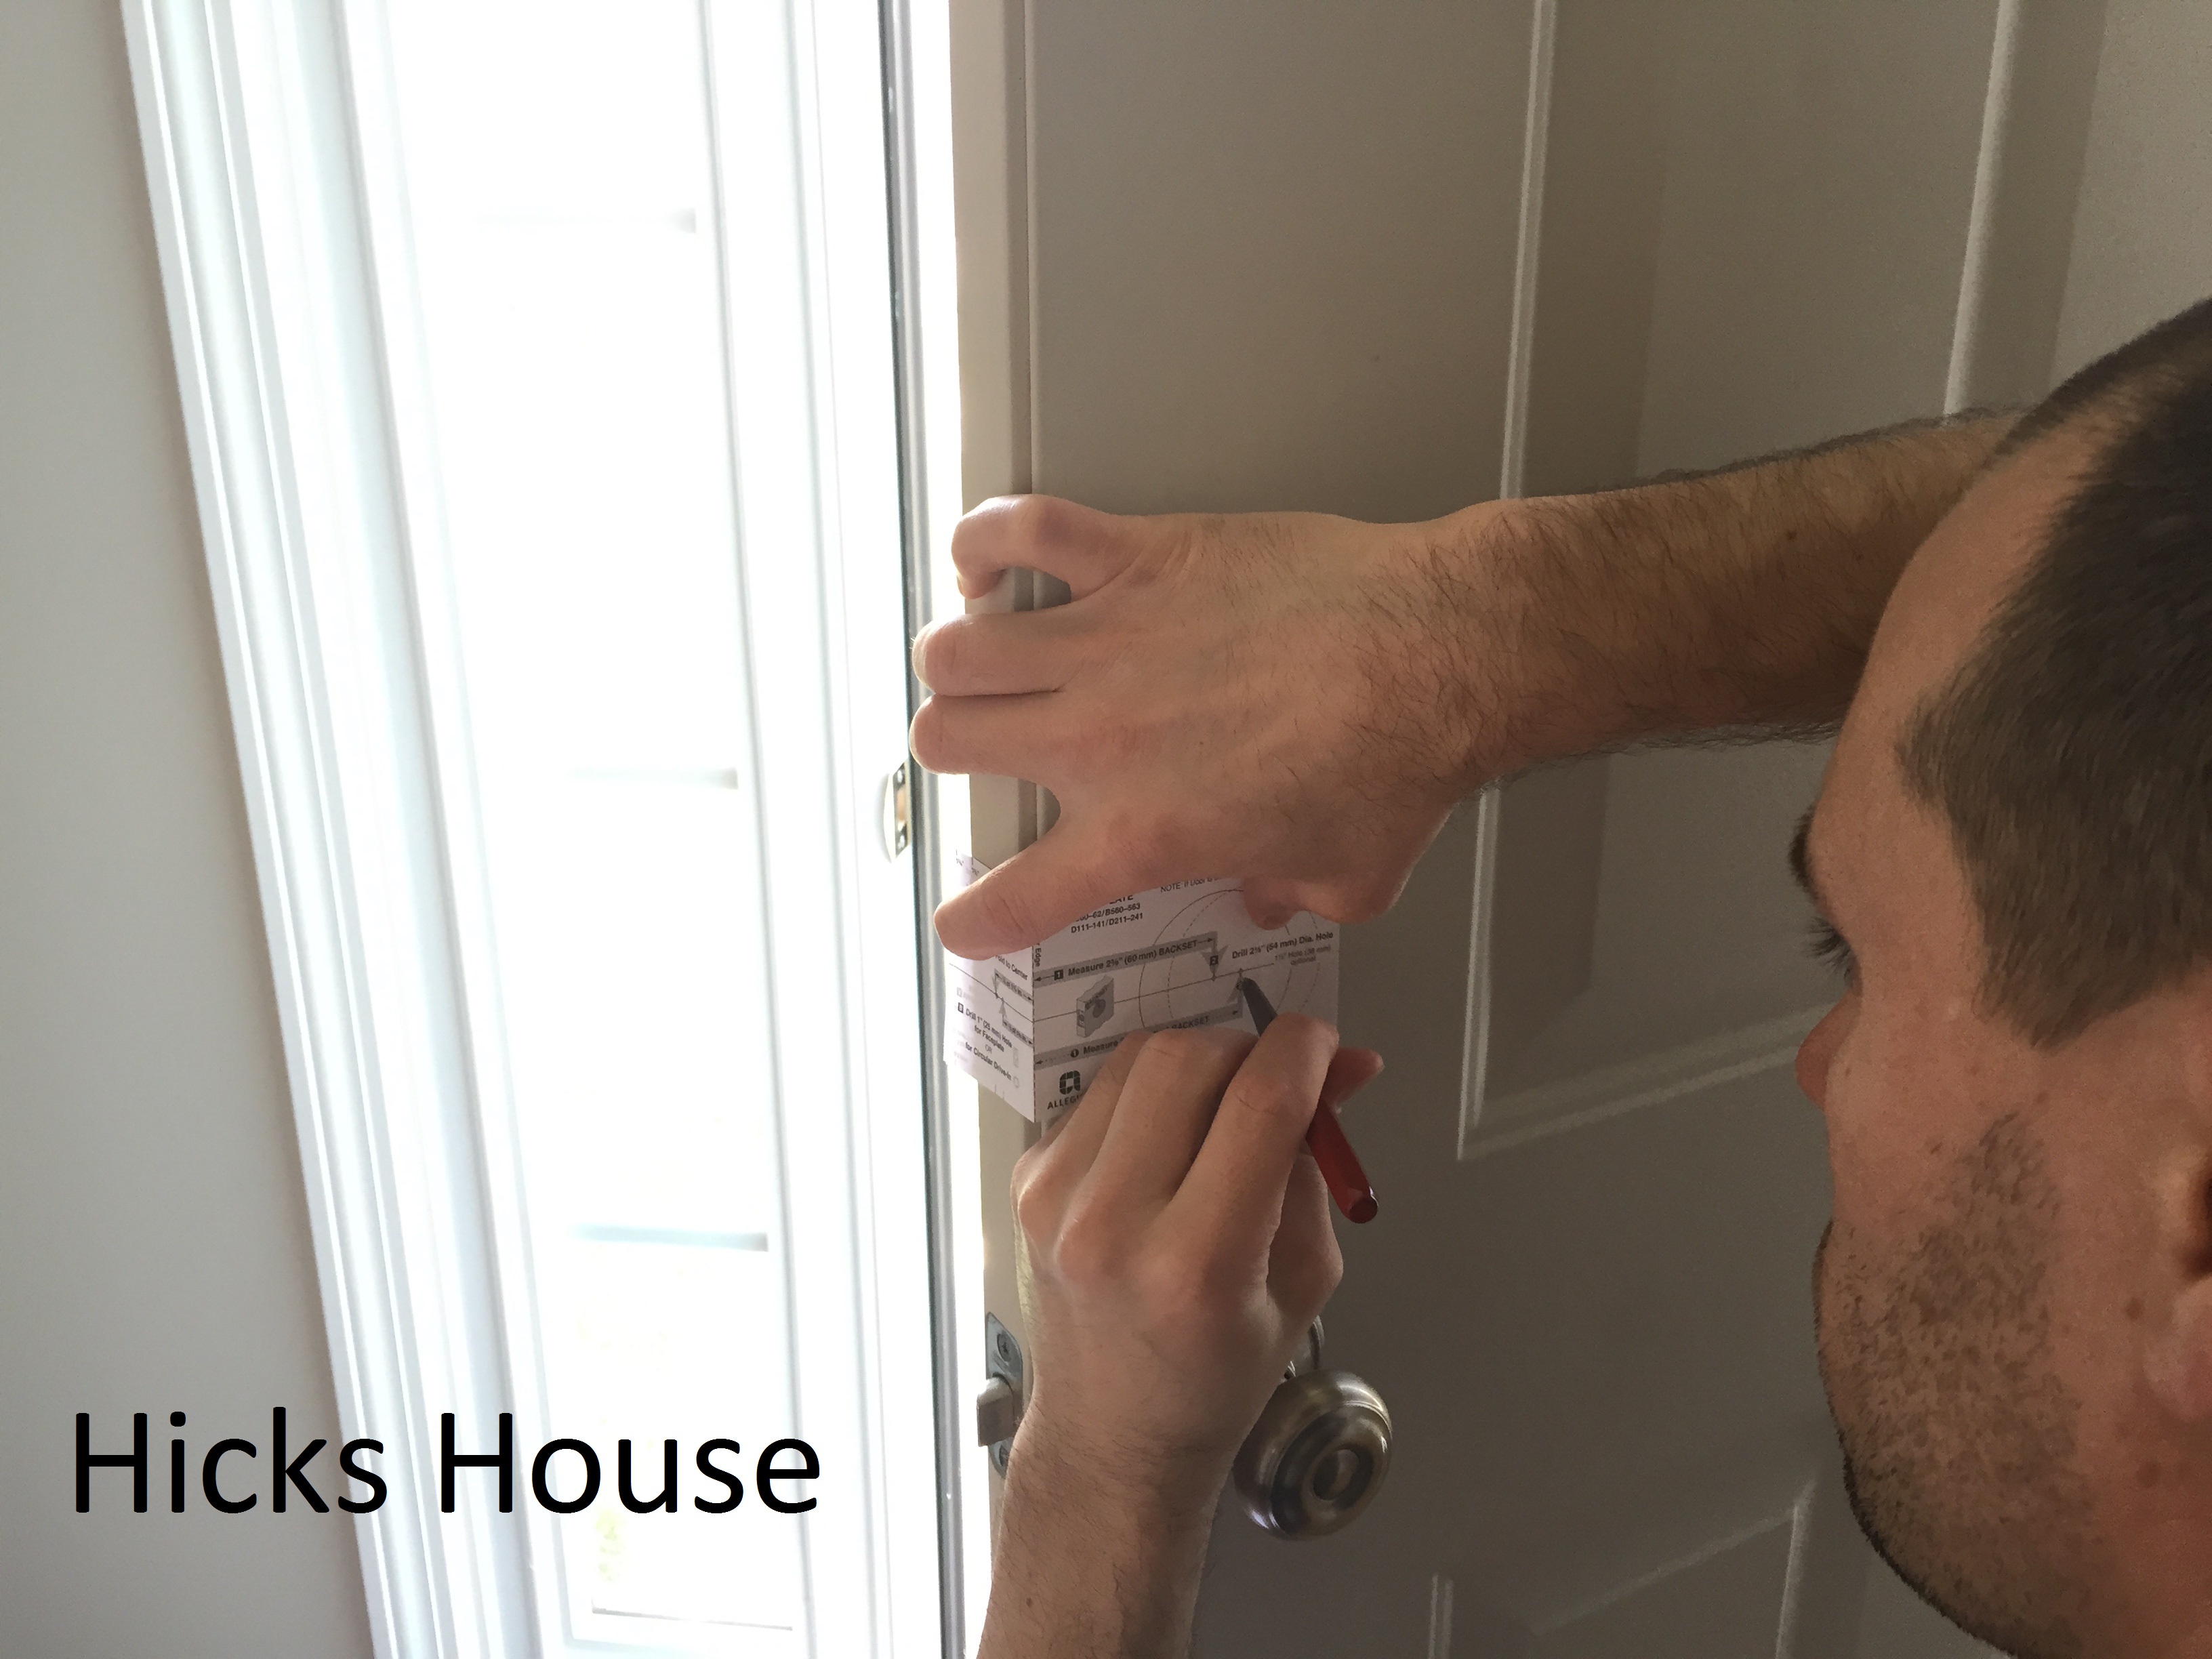
Now for the step by step of how it was done. First remove the old door knob. The Schlage kits are great because they come with handy templates to let you know where to drill. Ken first drilled the hole for the bottom of the handle.

Hicks House | Turn Up

Then the bottom part of the handle was installed and Ken moved on to drilling out the hole for the deadbolt.

Hicks House | Turn Up

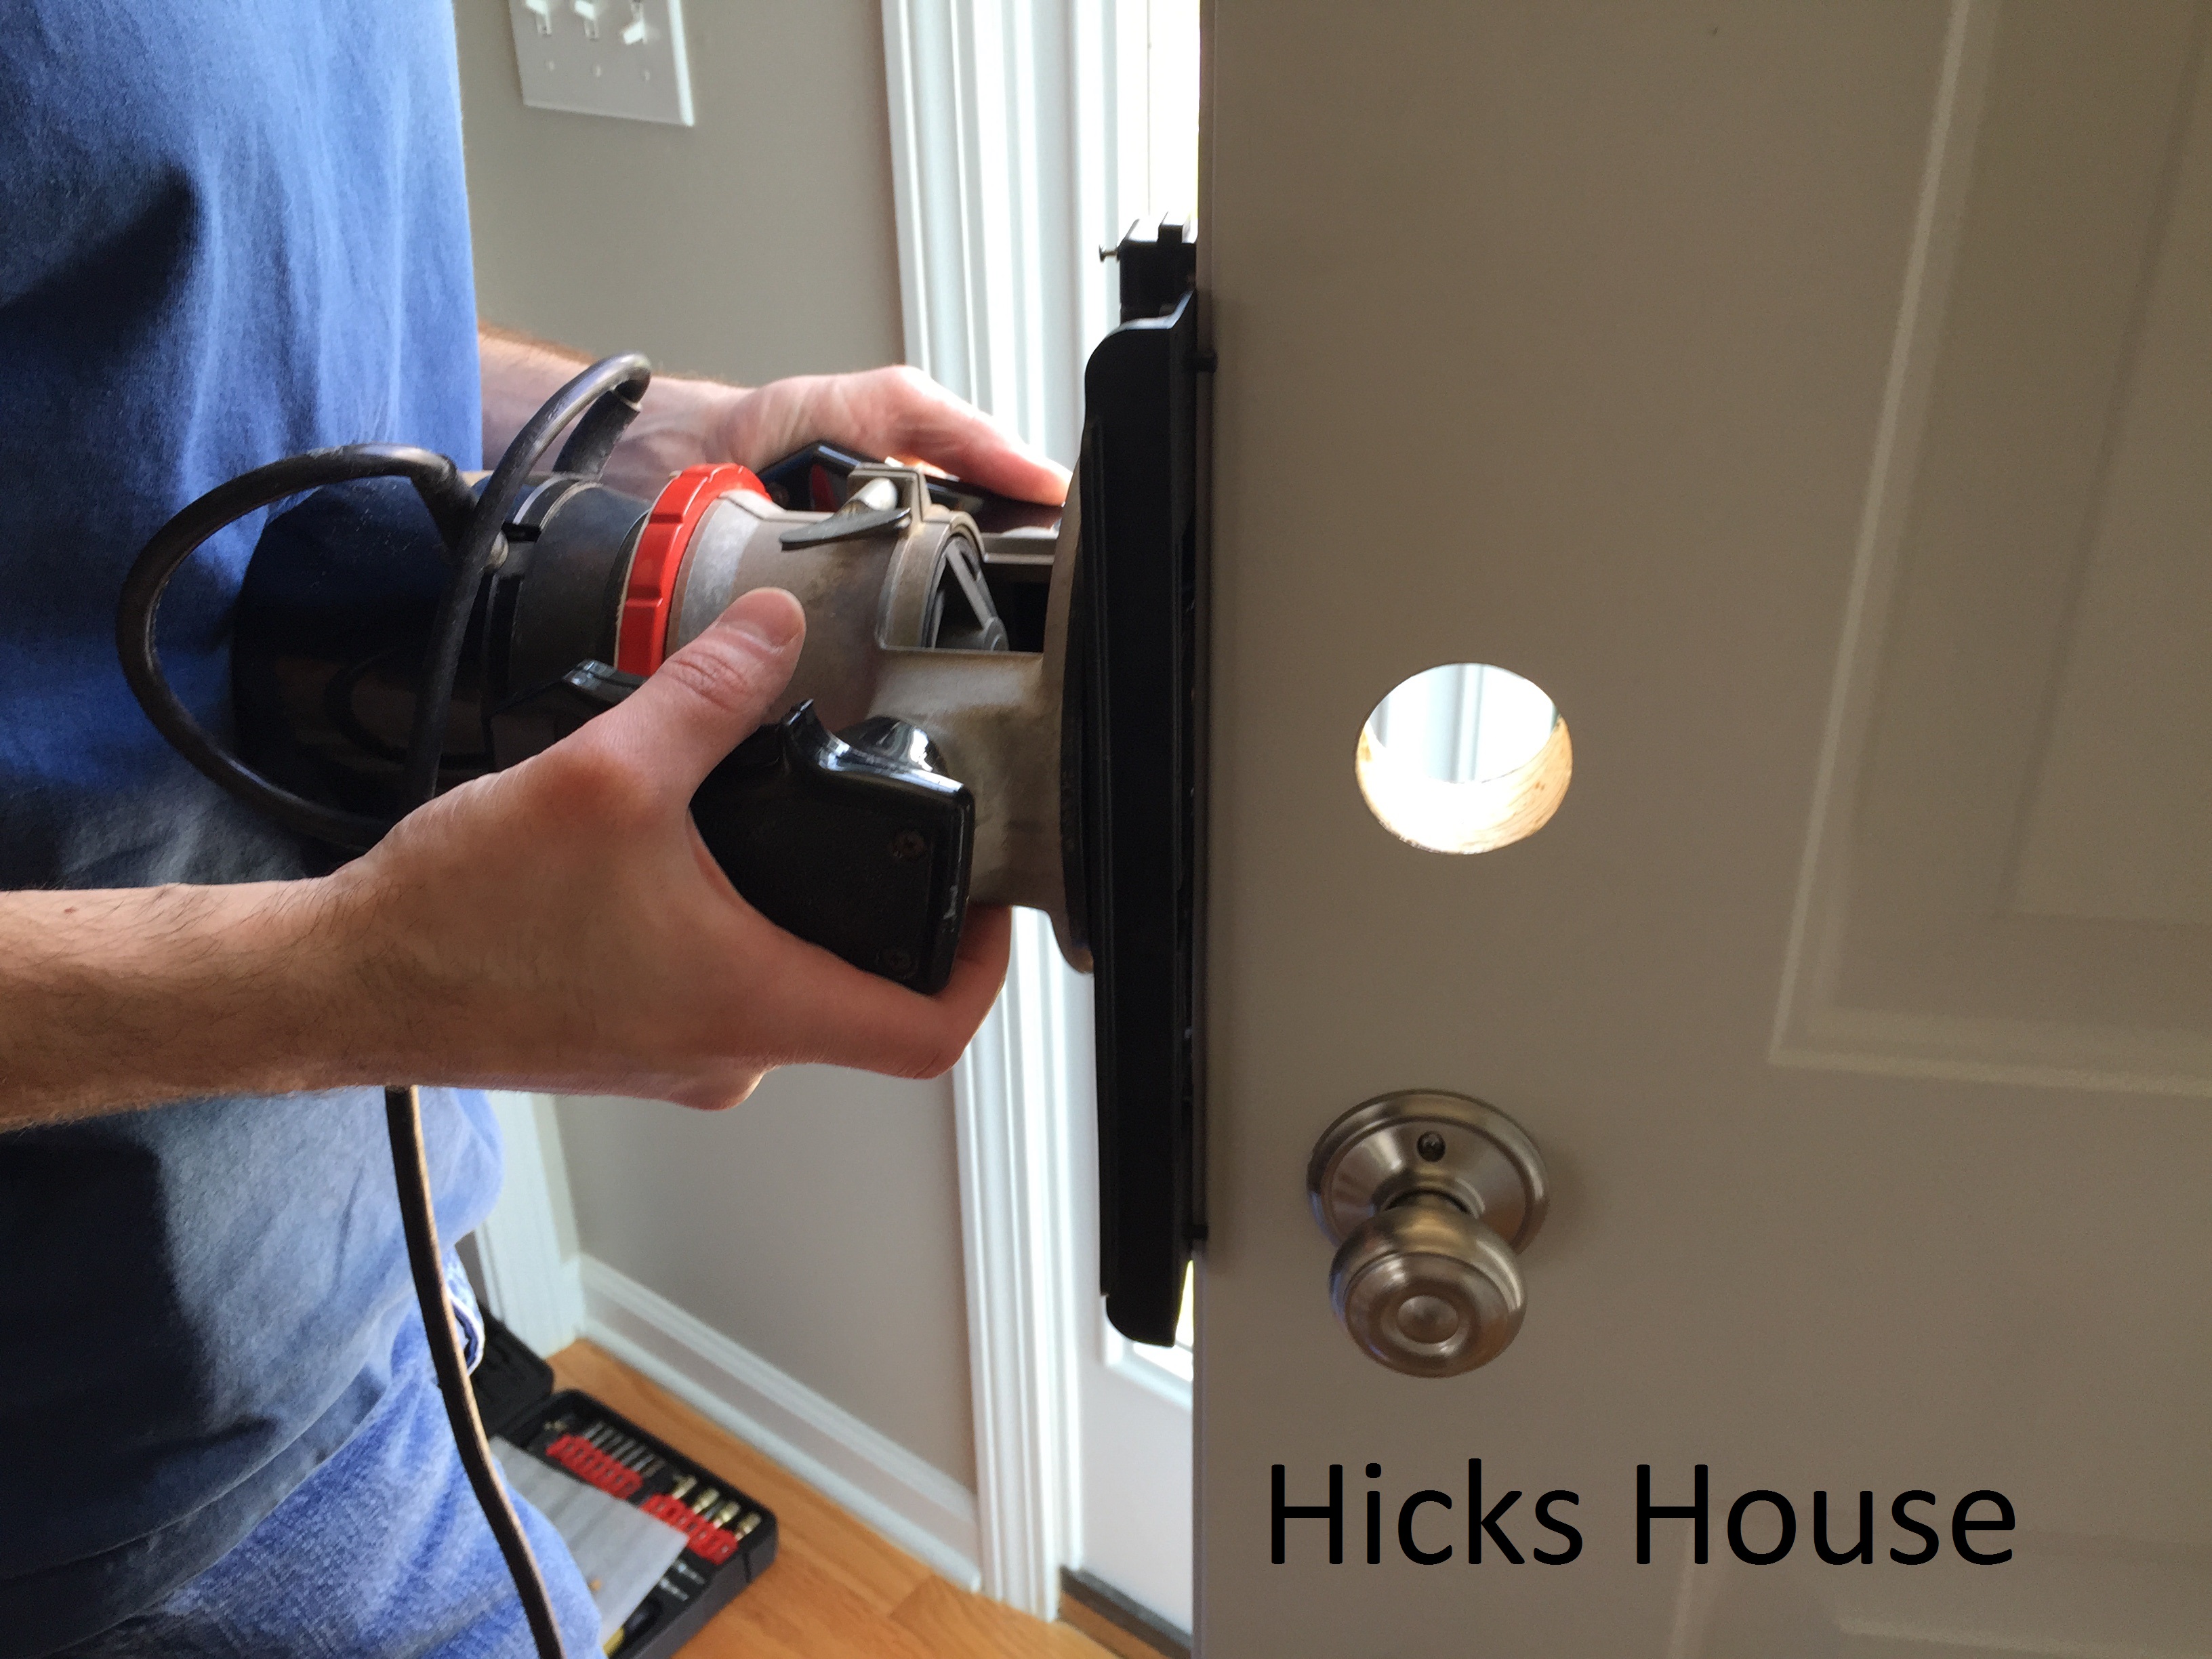
Once the deadbolt hole was drilled through front to back, a hole needed to be made from the inside of the door to the hole.

Hicks House | Turn Up

Then it then needed to be rotered using a door knob jig to create the cut out for the plate around the deadbolt.

Hicks House | Turn Up

A corresponding hole was also drilled and routered into the door frame to accept the deadbolt.

Hicks House | Turn Up

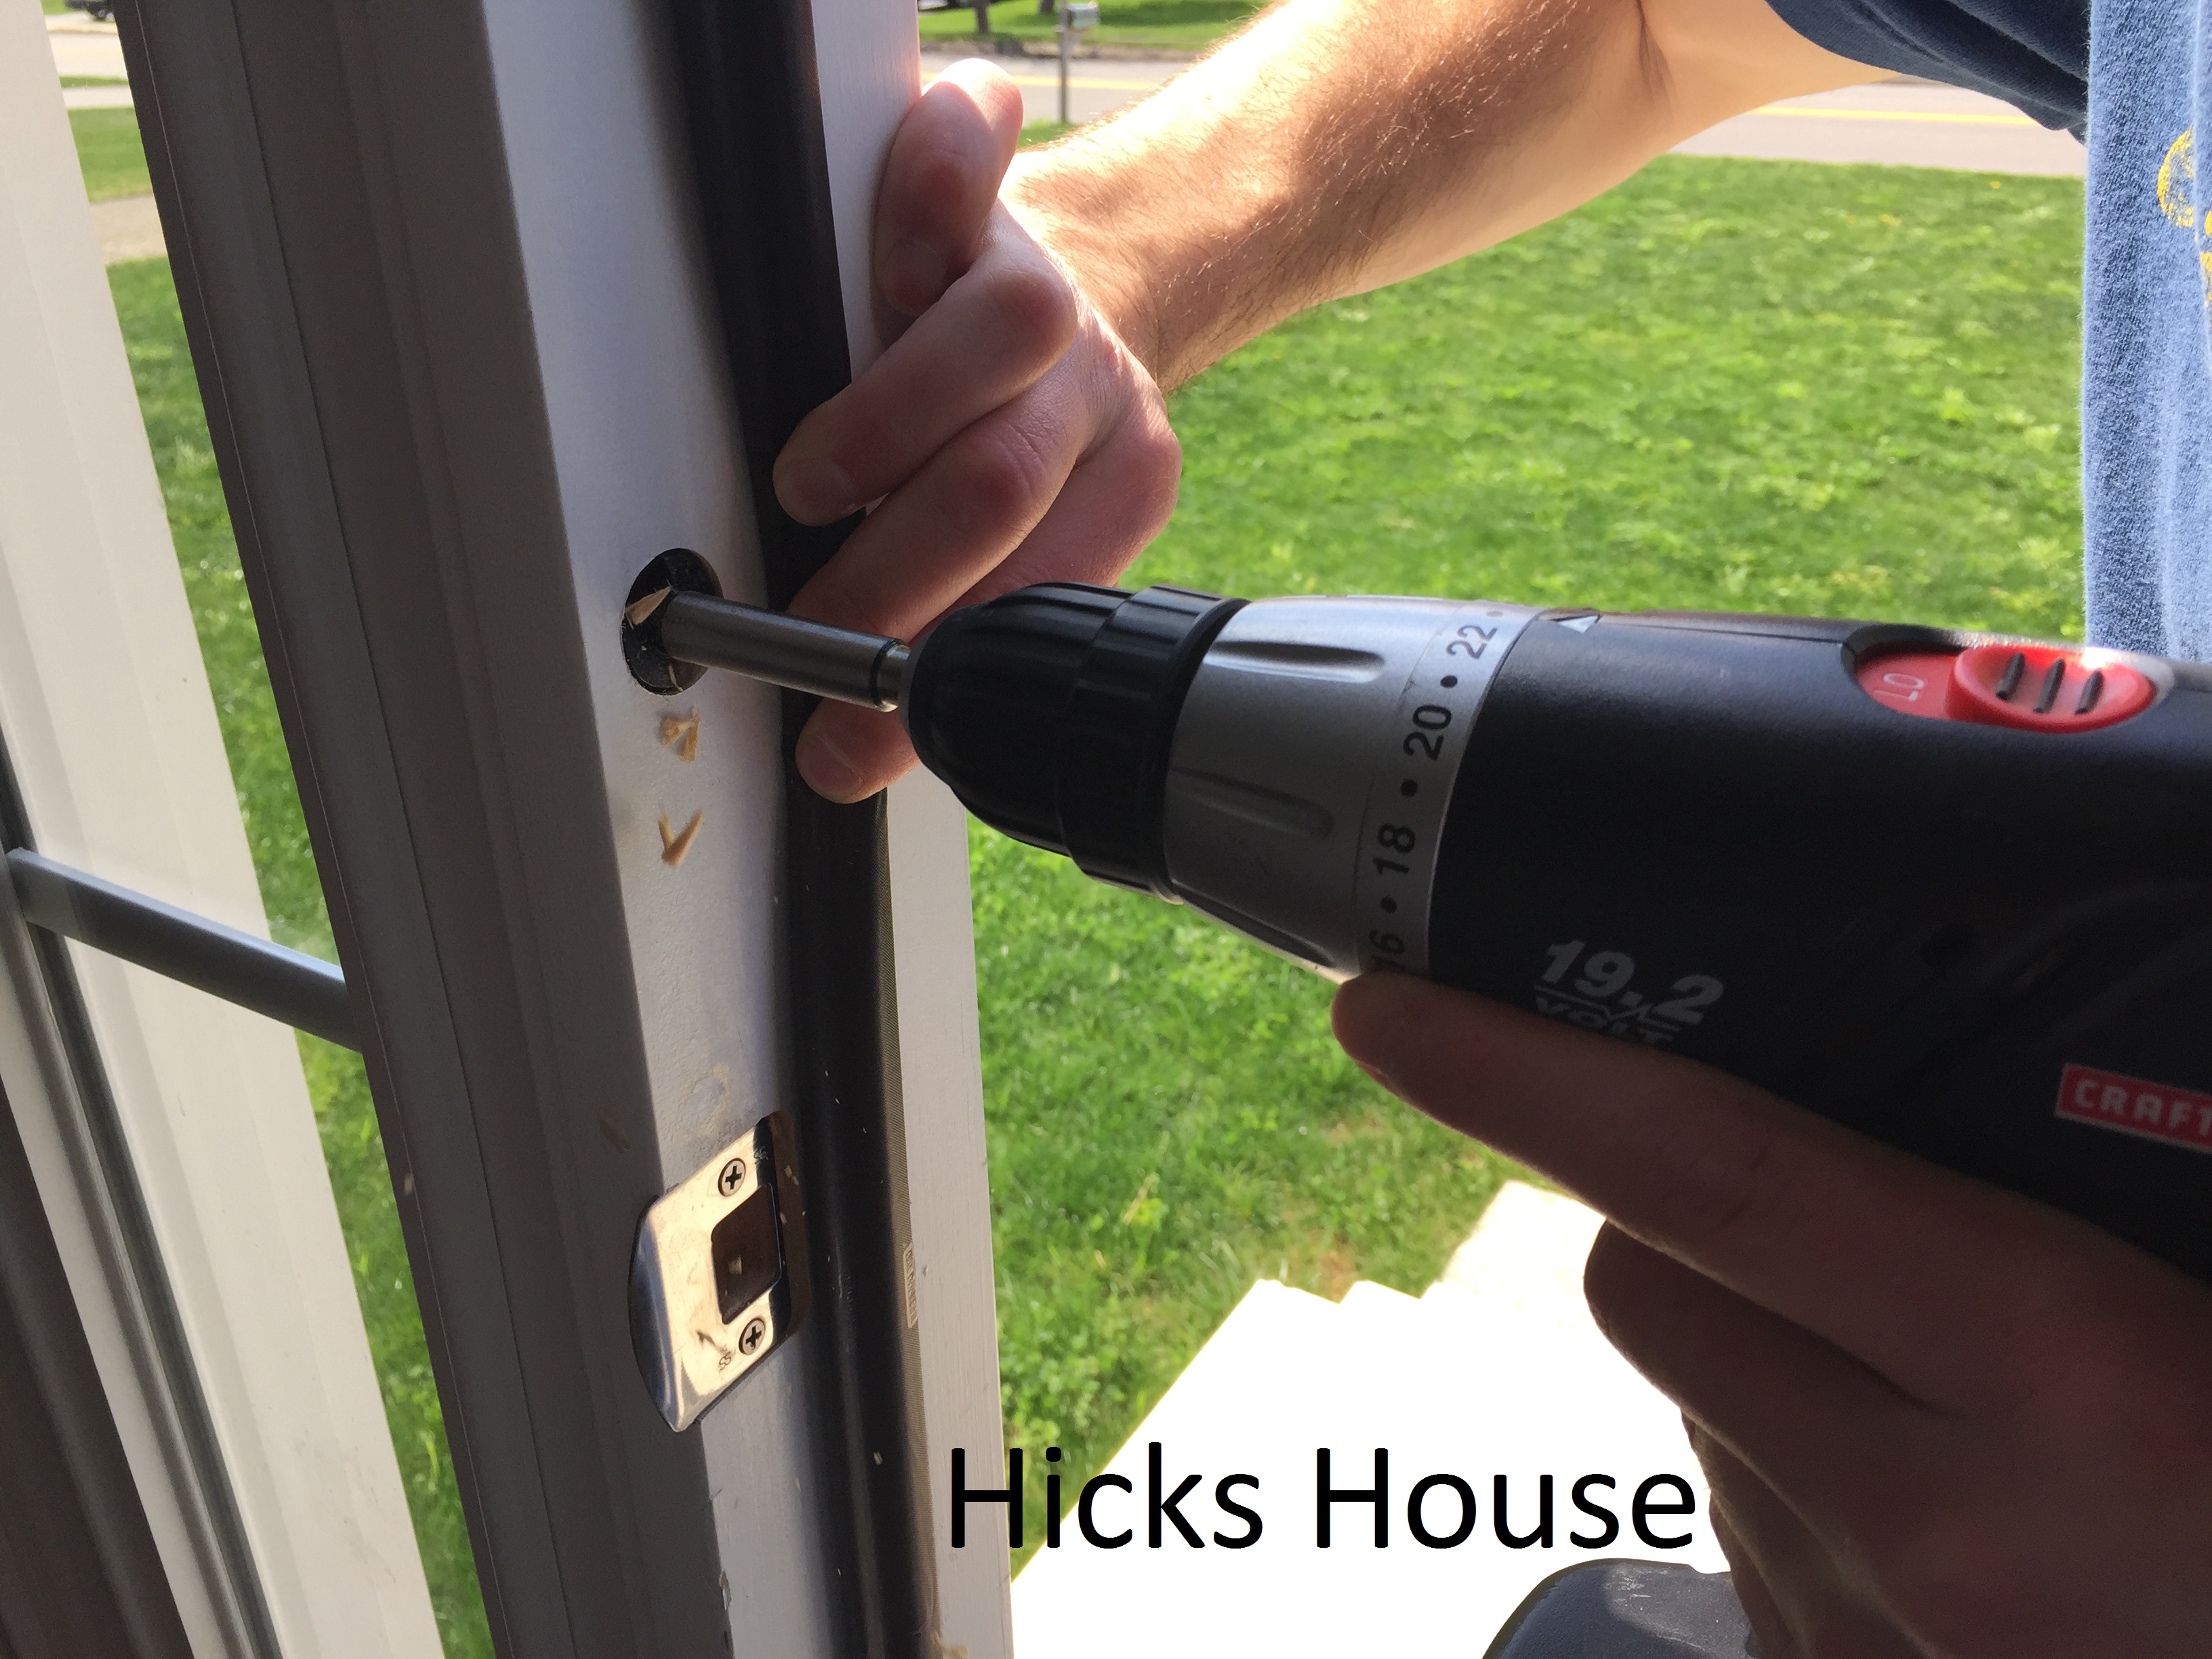
The plates were screwed in …Hicks House | Turn Up

and Ta Da!!!!

Hicks House | Turn Up

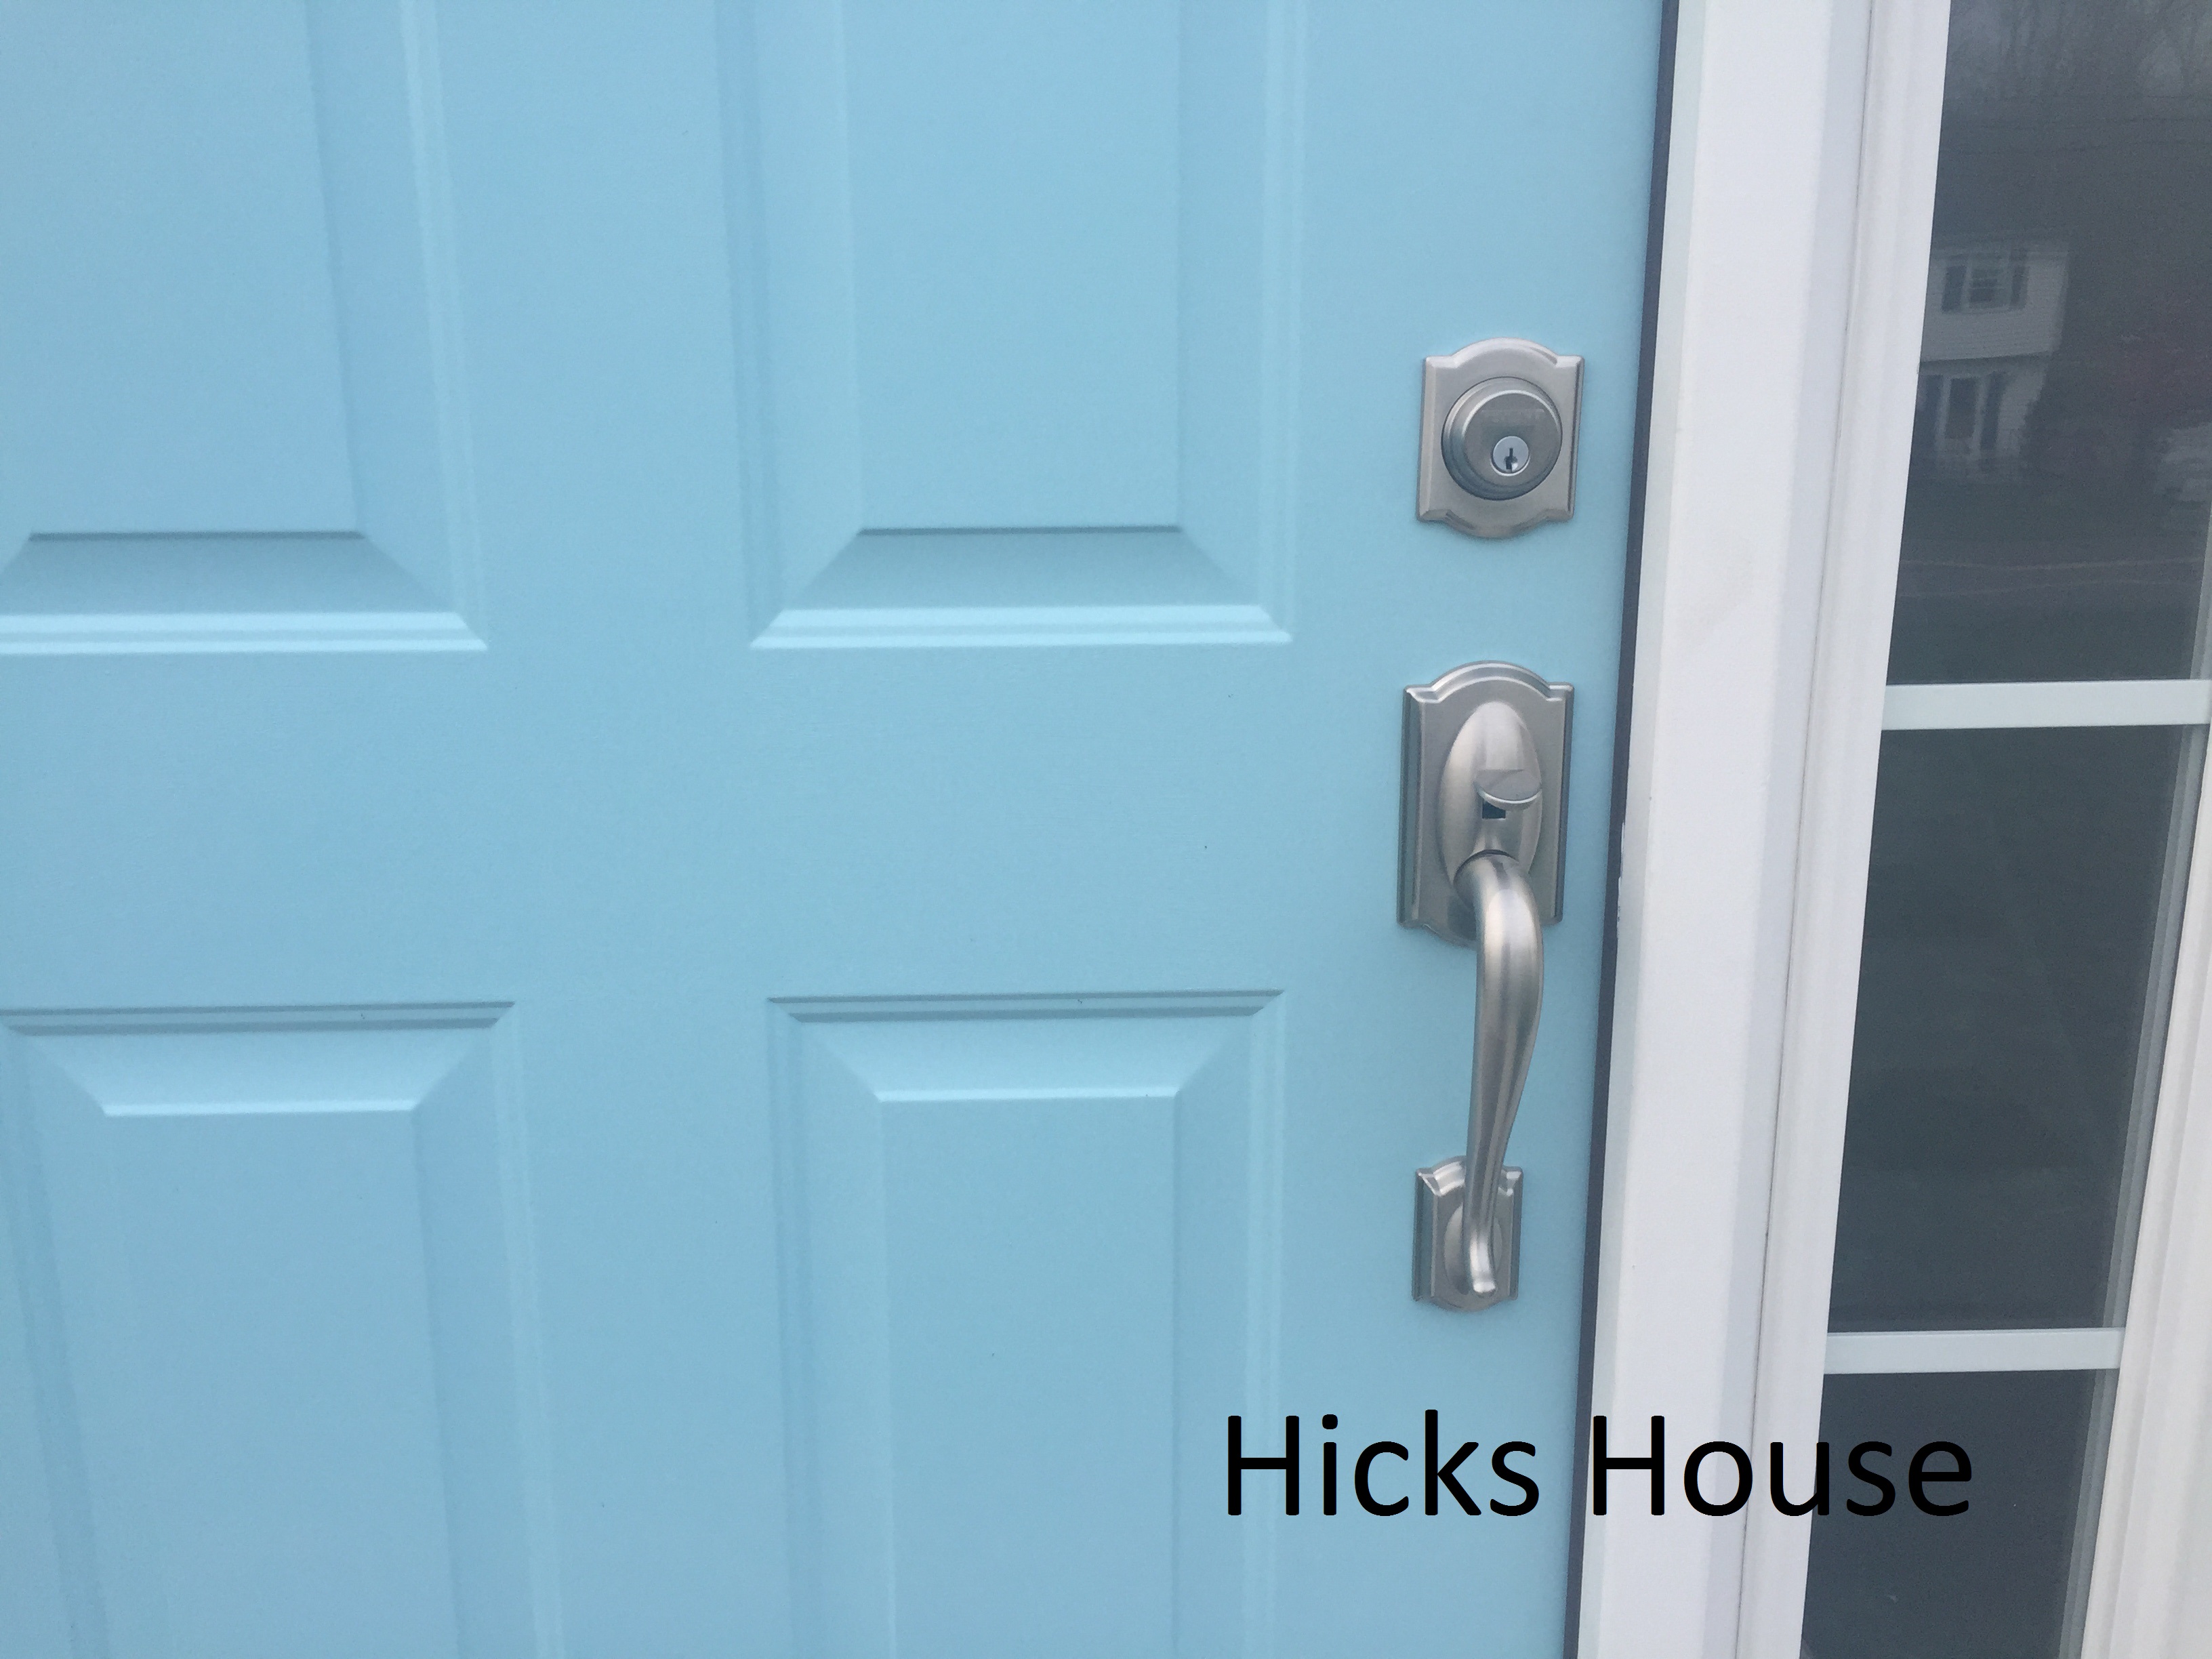
Doesn’t it look fantastic?!

Next on the list for project curb appeal is a paver walkway and raised planter beds to line the front of the house. What do you think of this small update that makes a big difference?

Hicks House


Leave a comment

Light it Up

Since we are in the process of making improvements and finishing off the kitchen (see the new back splash here) we thought it was time to tackle another project we’ve wanted to do since the first night we cooked in this kitchen. Install under cabinet lighting. The kitchen is low on the lighting to begin with (one lone light above the island and one over the sink), and although we are planning on upgrading from the ugly builder grade ceiling lights supplied, adding new wiring isn’t really in the plan.

Unless your prepping on the island itself, it can be pretty dark under the cabinets so we purchased some LED puck lights – these ones (affiliate link): Lightkiwi® C9203 3.5 inch Cool White LED Puck Lights Premium Kit (3 Pack).

We liked them because they were a much lower profile than a lot of the other LED lights we found and were extremely bright and the wires were nice and long. We did a dry fit to figure out where we wanted the lights to go and ensured the wires would reach up above the microwave where the spare plug was.

Then came the scary part… in order to successfully run the wires up to the plug in the cabinet above the microwave without them being seen, we needed to drill through the cabinets. Eeeek!

Hicks House | Under Cabinet Lighting

We drilled through the side of the single cabinet to the left of the stove as well as in between the two adjoining cabinets to the left of the stove.

Hicks House | Under Cabinet Lighting

This left some big scary holes.

Hicks House | Under Cabinet Lighting

We then fed the wires through the holes and up between the cabinets.

Hicks House | Under Cabinet Lighting

Hicks House | Under Cabinet Lighting

This left an intimidating jumble of wires hanging down.

Hicks House | Under Cabinet Lighting

We purchased some wire clips like these to attach the wires up under the cabinet out of sight.

Hicks House | Under Cabinet Lighting

Then attached the lights with some Command Strips.

Hicks House | Under Cabinet Lights

Hicks House | Under Cabinet Lighting

Drilled a hole through the top of the over-microwave cabinet and plugged them in.

Hicks House | Under Cabinet Lighting

Ta-Da! No more dark corners!

I highly recommend tackling this project if you could use some more lighting in your prep space. It went pretty quickly, Ken tackled it in a few hours after work one night. Now we have lights at the flip of a switch and no visible wiring for a nice clean professional look.

Hicks House