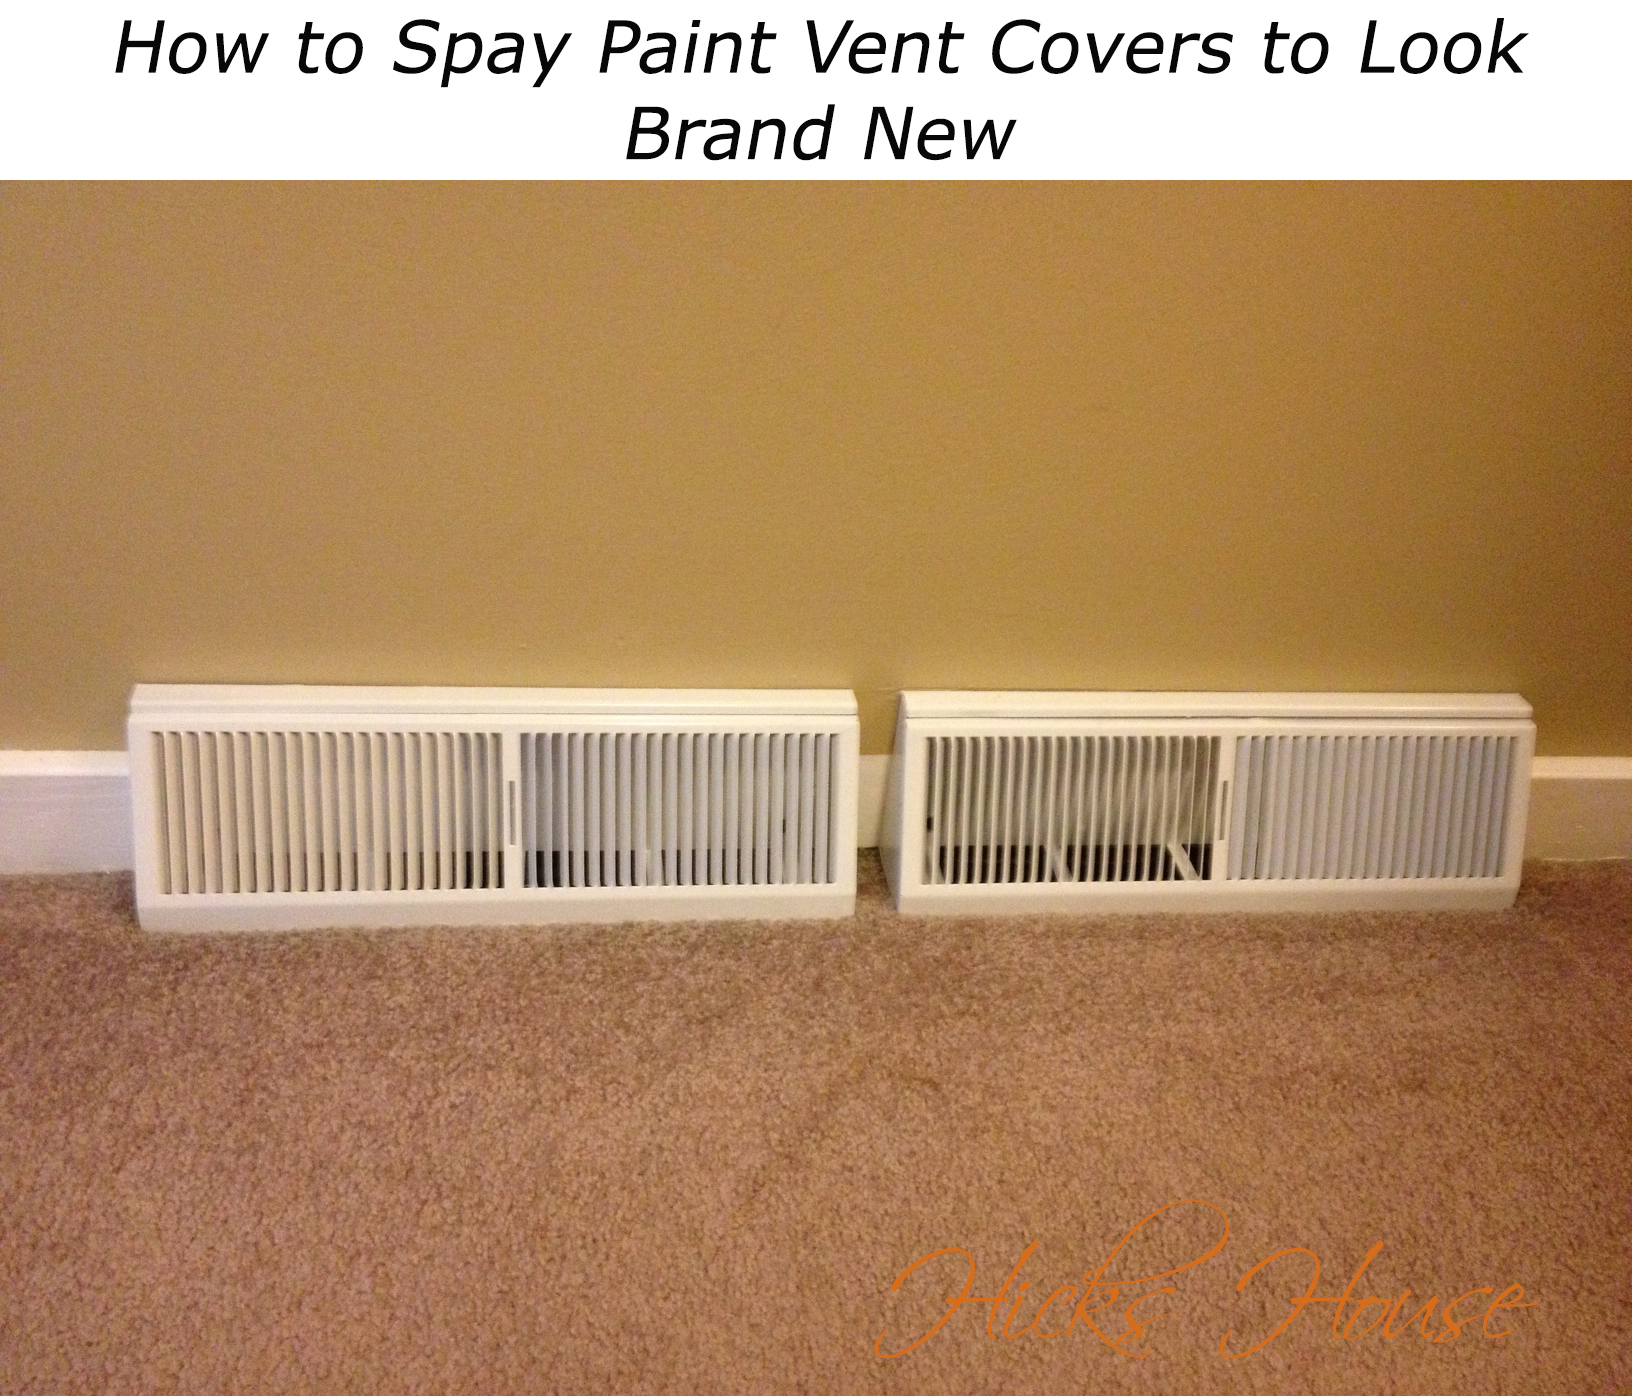
In the never ending work that is being done to get the condo ready for the rental market on that list came up what to do with the vent covers. We could either replace the wonderful almond colored vent covers with white ones for $10-$12 a piece :-0 for a total of over $100 for the entire place. OR spray paint the almond ones white for $6.
Given that option it seemed like a good idea to at least I try to spray paint before throwing another $100+ dollars into the place. Hey if it doesn’t work, we’re only out $6 and if it does hello savings.
So we bought two cans of this:

White Spray Paint
Then Ken got to work cleaning them with a wire brush to make sure they were smooth and there wasn’t any weird things that would show through the paint.

scrubbing the vent with a wire brush
Then we rigged another one of our handy dandy wire drying racks so all sides could be painted without having to flip them over.

hanging the vents from the garage ceiling
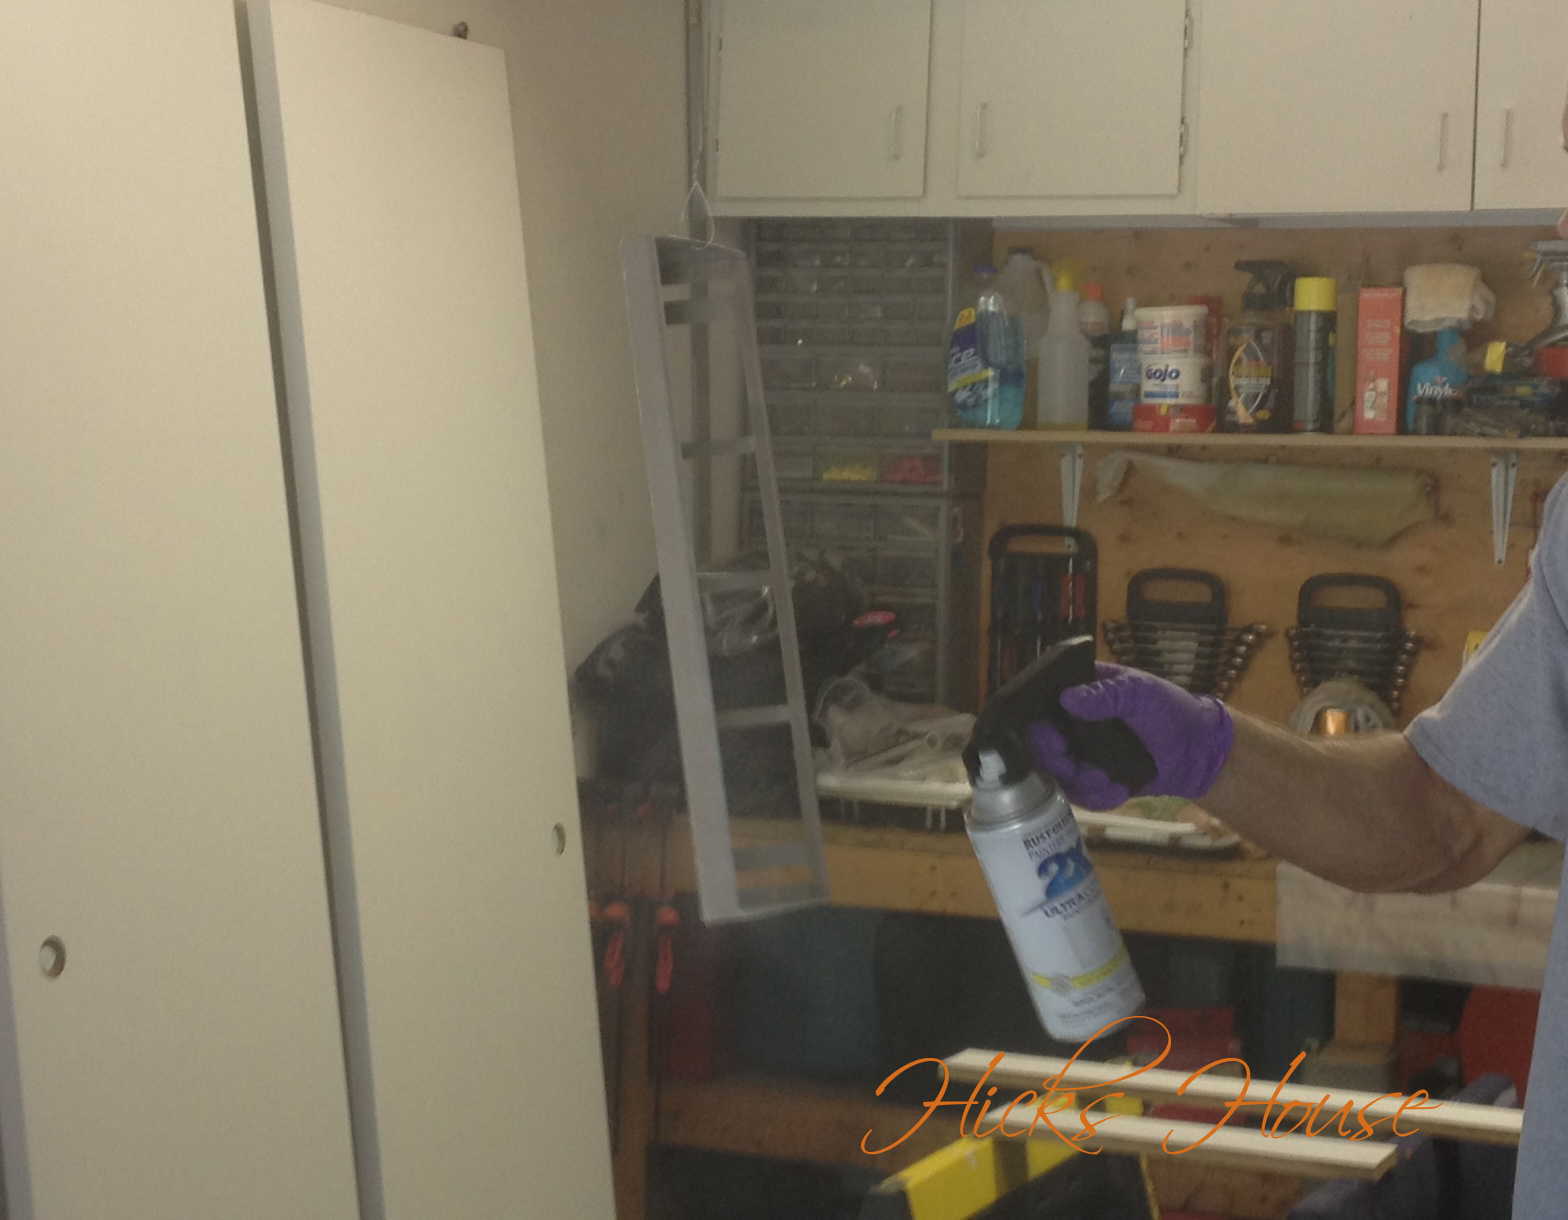
Spray away!
Can you see what a nasty color they were? Eeewwwwww See that handle attachment on top of the spray can, that is your best friend if you’re going to tackle a spray paint project. It will seriously save your trigger finger from feeling like it’s going to fall off.
Here is what it looked like freshly sprayed:

fresh coat of white
And here it is installed! (Yes you are getting a sneak peak at some white trim too)

Beautiful!
Doesn’t it look brand new?! Not bad for $6 huh? It makes me want to spray paint MORE things. I have already practiced on an old cabinet Ken got to hang in the garage and hold his tool accessories. I also have my eye on an old wooden dresser that the previous condo owners left in the attic. I think with a fresh coat of spray paint and some new knobs it could be the perfect addition to the guest room!