You may remember at the beginning of last month I posted about the new fancy crate we bought for our dog Chloe Read the original post here. In an an attempt to be good doggy parents we wanted to break her into the new crate gradually so she didn’t have to many new things to deal with all at once.
Things were going well… until the thunderstorm ... Then this happened:

chewed! Bad Dog!
Our well behaved dog that never chews turned into a monster trying to break free from doggy prison during the storm.
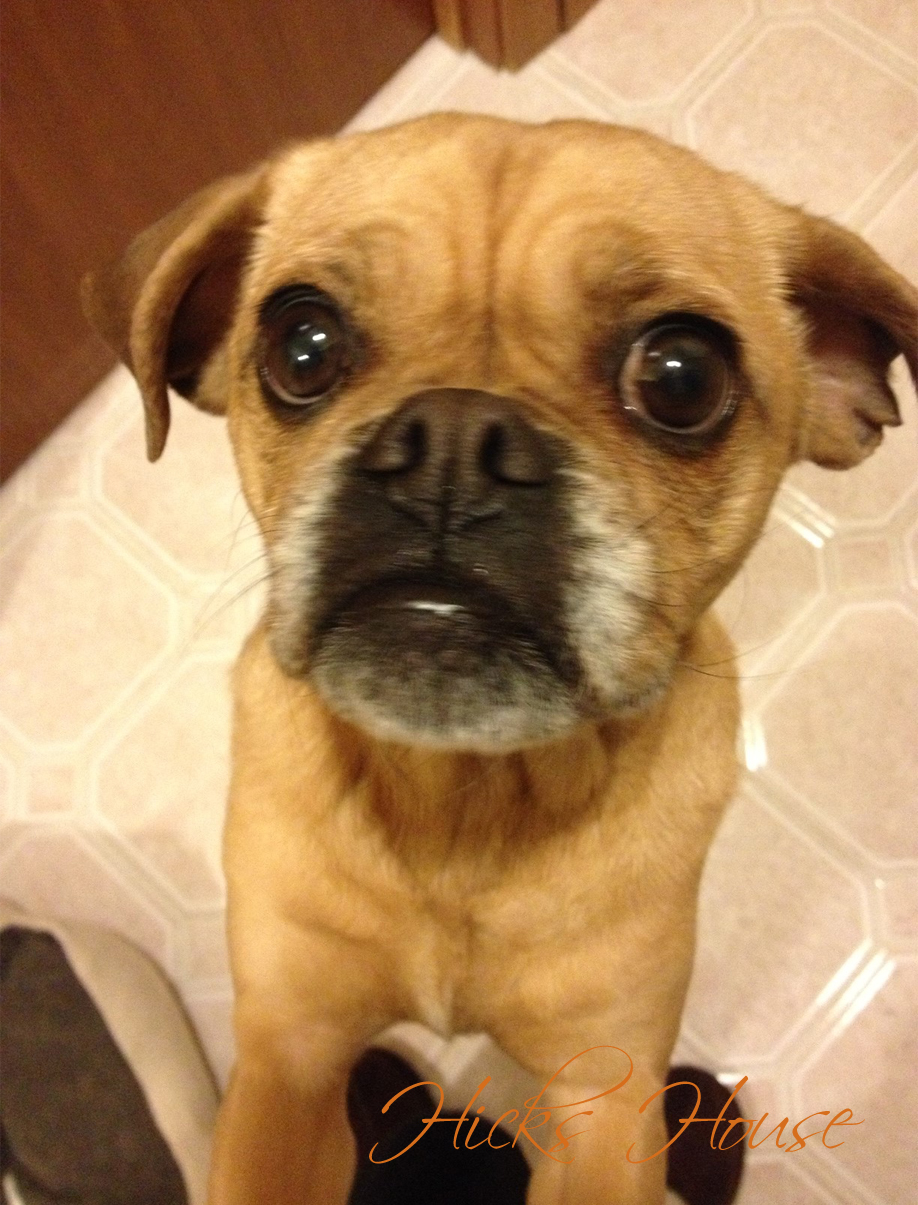
Don’t let this face fool you… she isn’t sorry
Due to this current turn of events, some alterations need to made to the crate. It took a couple of days of brainstorming and another chewing event (apparently once she knew it was chew-able she hatched an escape plan). Some ideas we vetoed –
- Putting one of those ugly wire crates inside her wooden crate. This option is quite pricey as those crate run about $100 and in order to fit in the wooden crate it would have to be smaller which cuts down on her room. We still love the booger so this got vetoed.
- Putting hot sauce or the sour spray they sell at the pet store on the crate bars to discourage chewing. Chloe actually likes buffalo sauce and wasabi peas so this option seemed like it would just get her to chew more.
- Buy a replacement door. Seemed like a viable option, the door is a separate piece that could easily be replaced. Unfortunately an internet search revealed the door is not sold separately, they want you to buy a whole new crate… greedy jerks.
Then Ken had a light-bulb moment… Wire meshing! It seemed like a perfect idea, nice holes so she can still breathe and look out, but will put a barrier between her teeth and the wooden slats. So off to the big Orange store Ken went and came home with a nice big piece for less than $10.
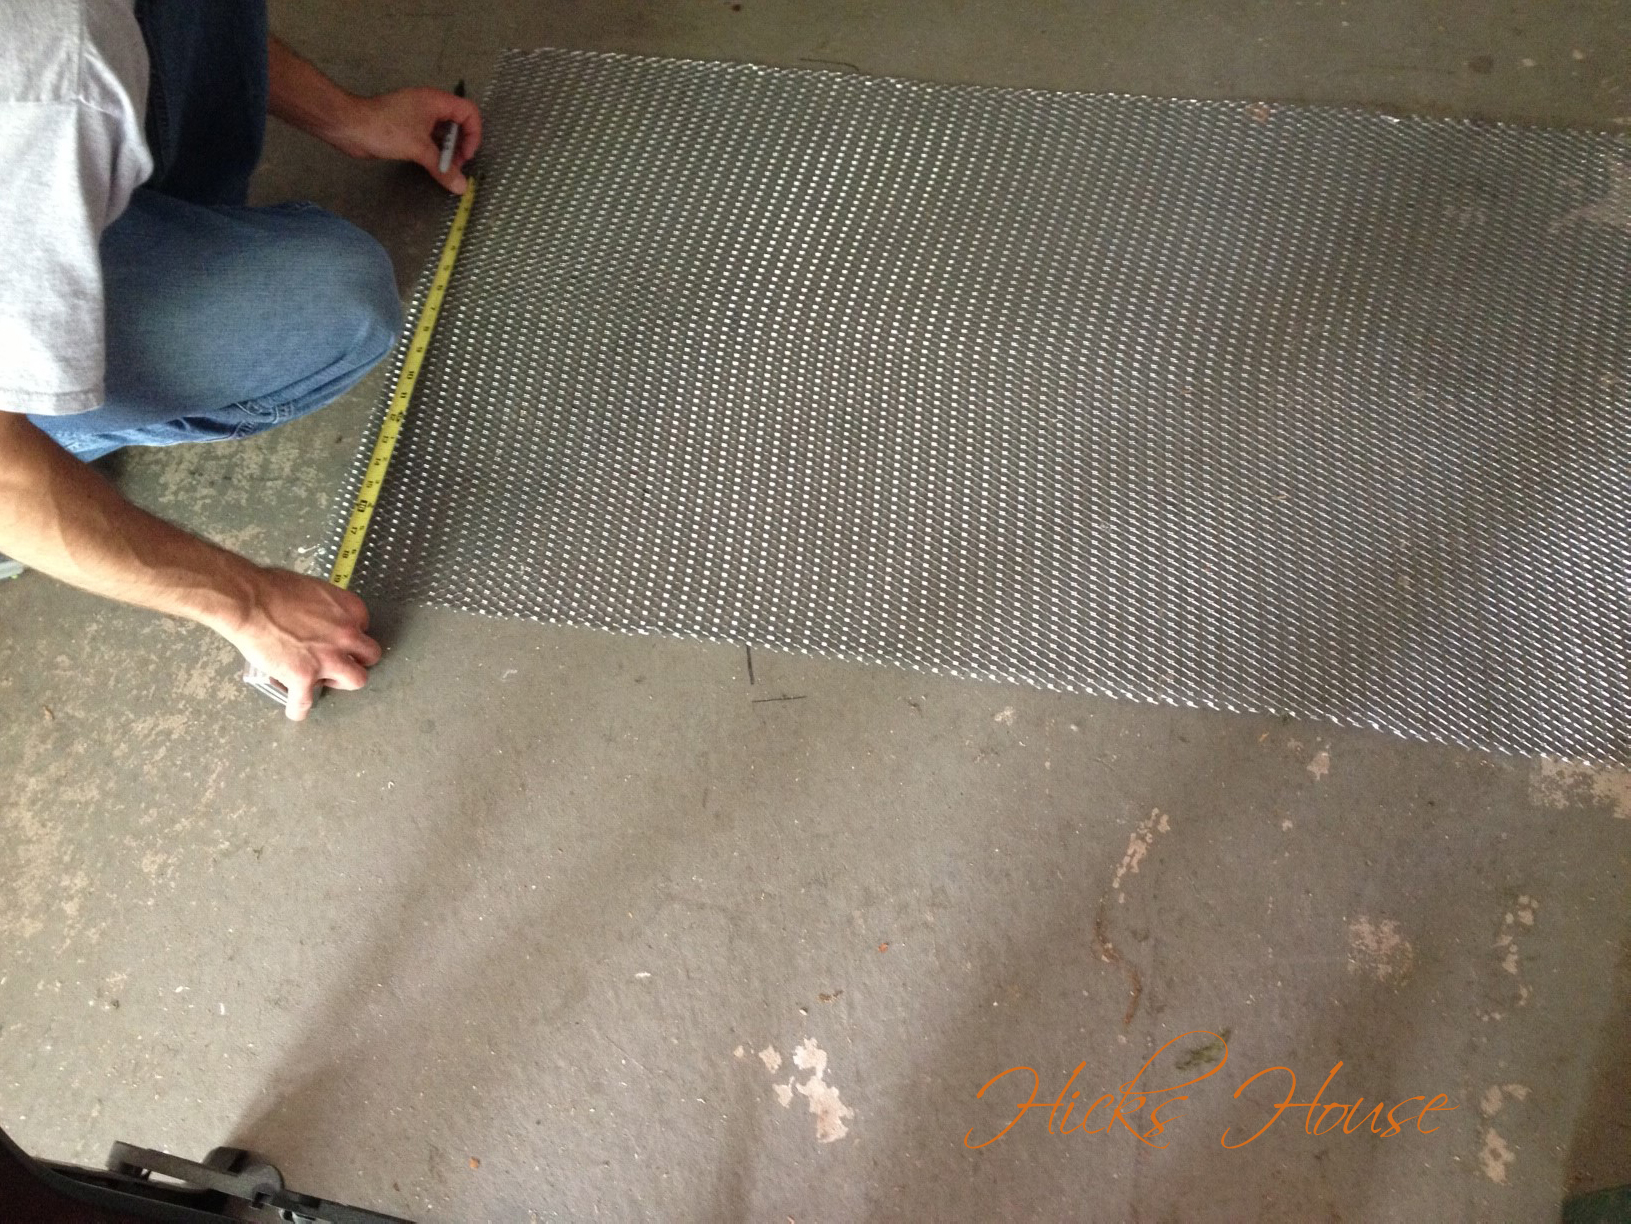
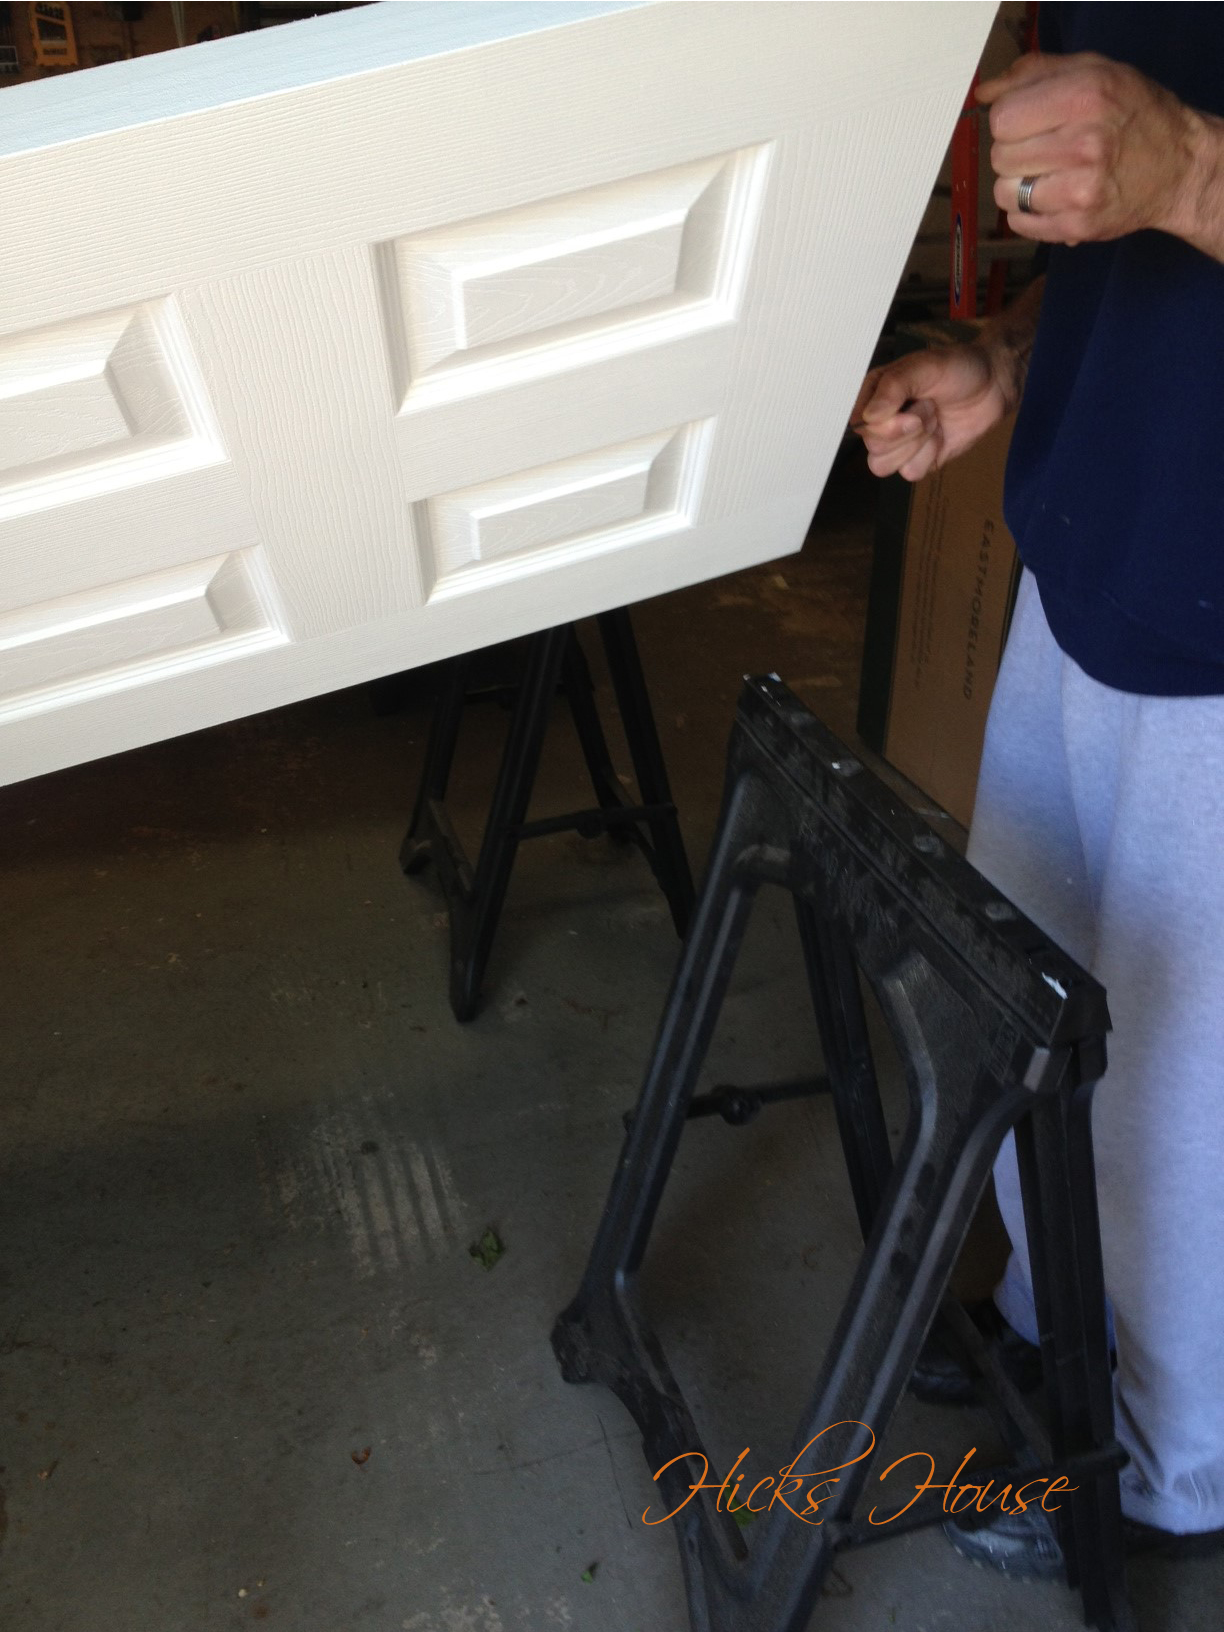
Measured to the size of the door
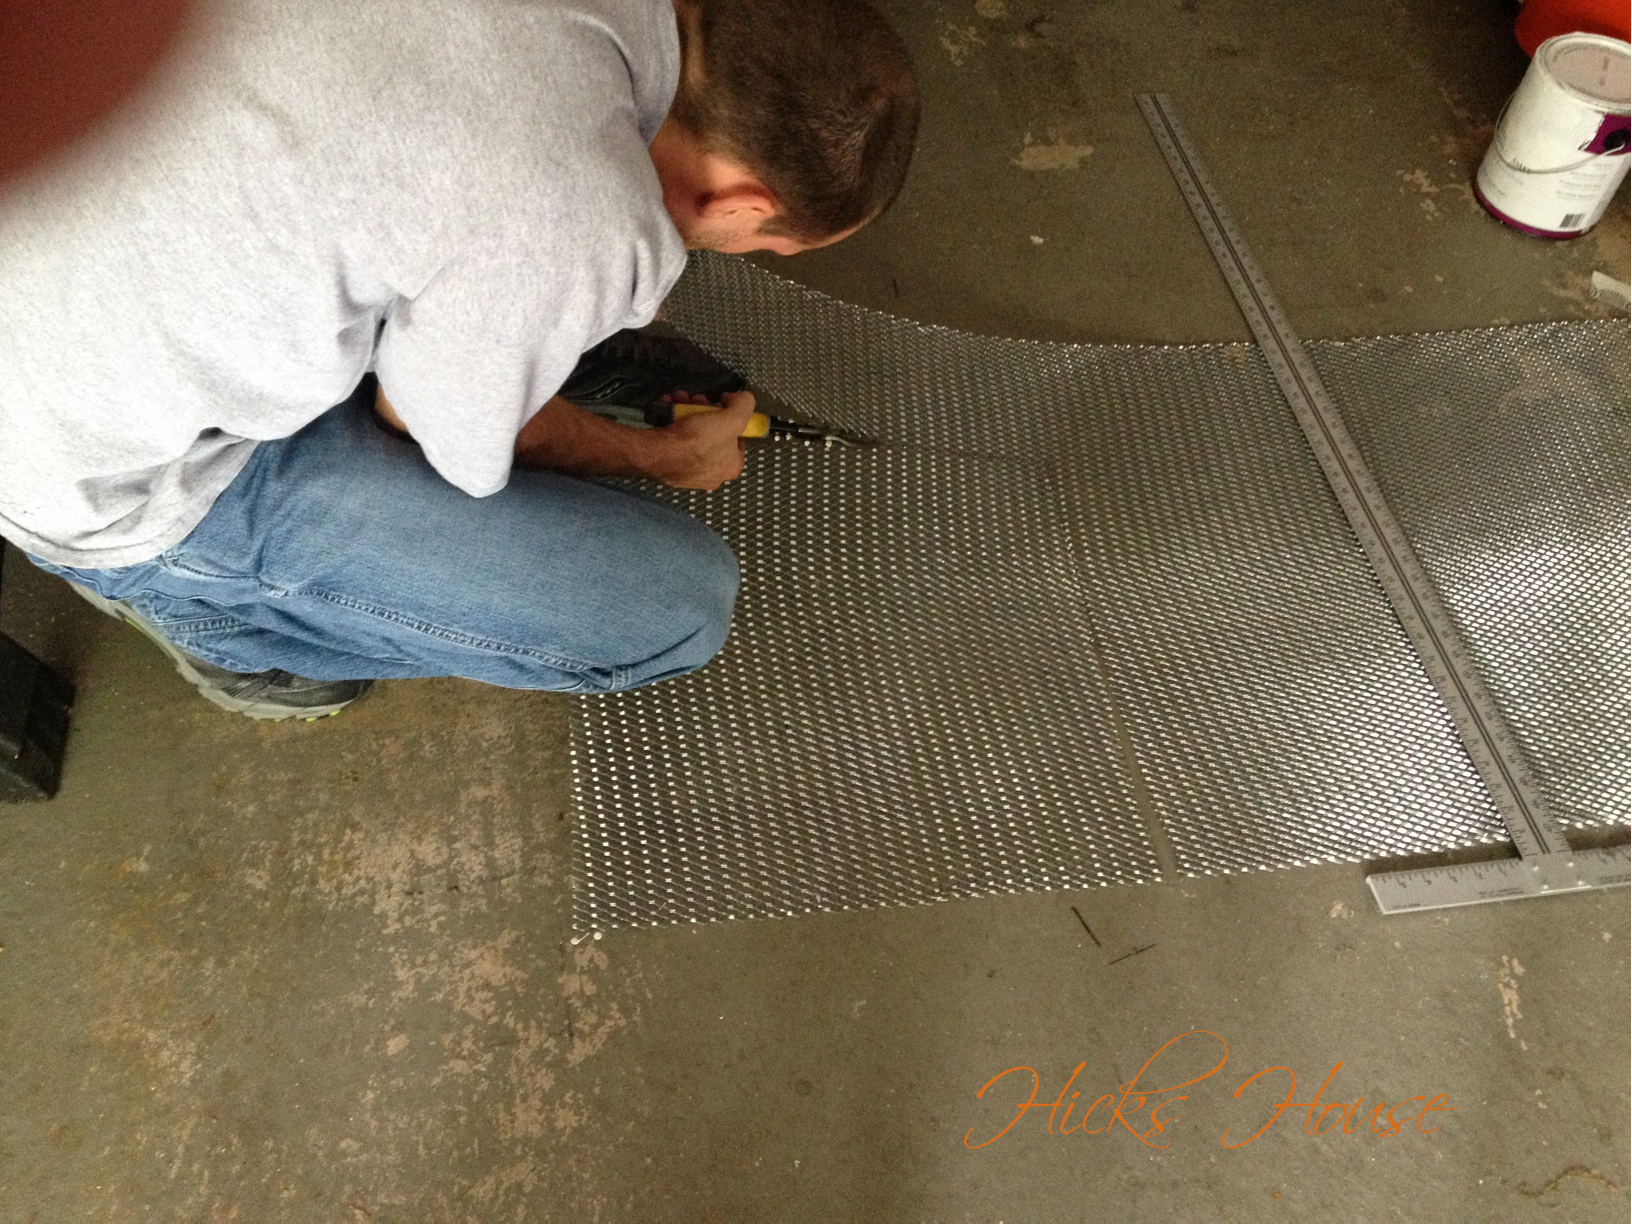
and cut it with wire cutters
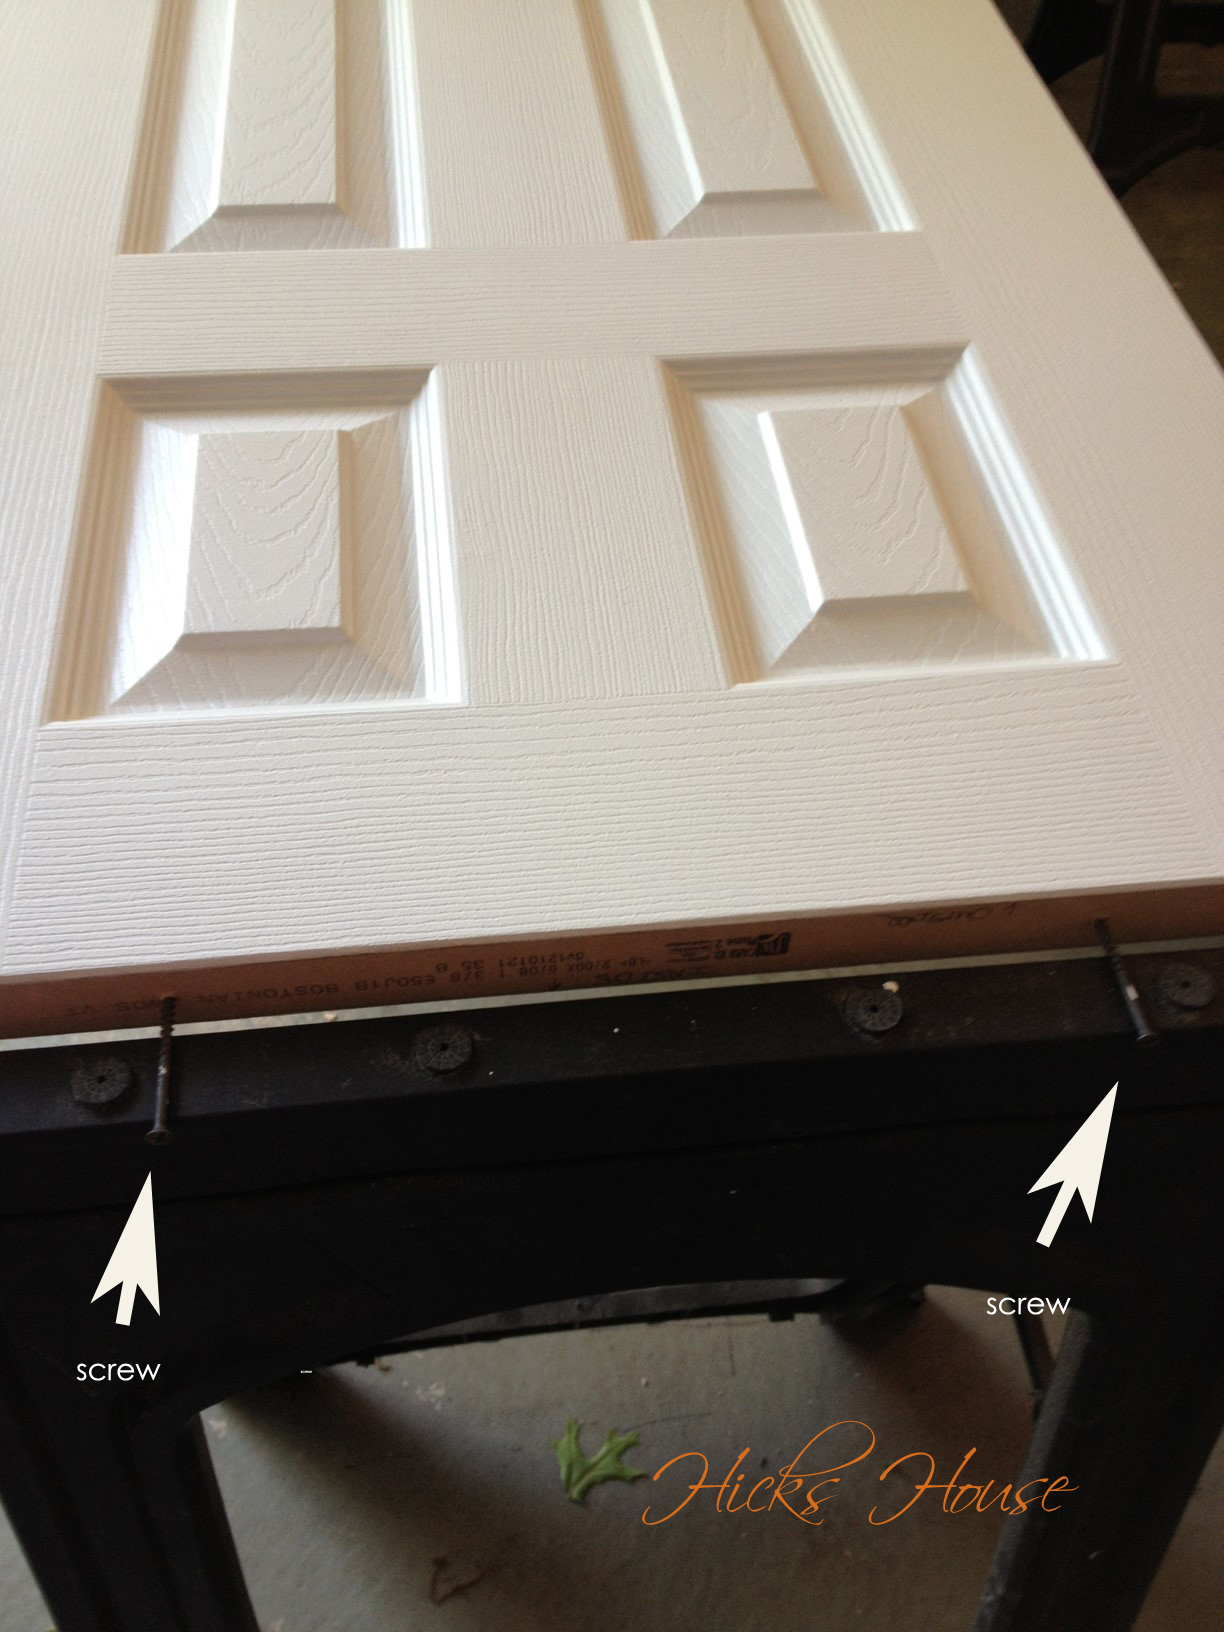
Then we took it upstairs to the crate, lined it up and used some painting tape to hold it in place.
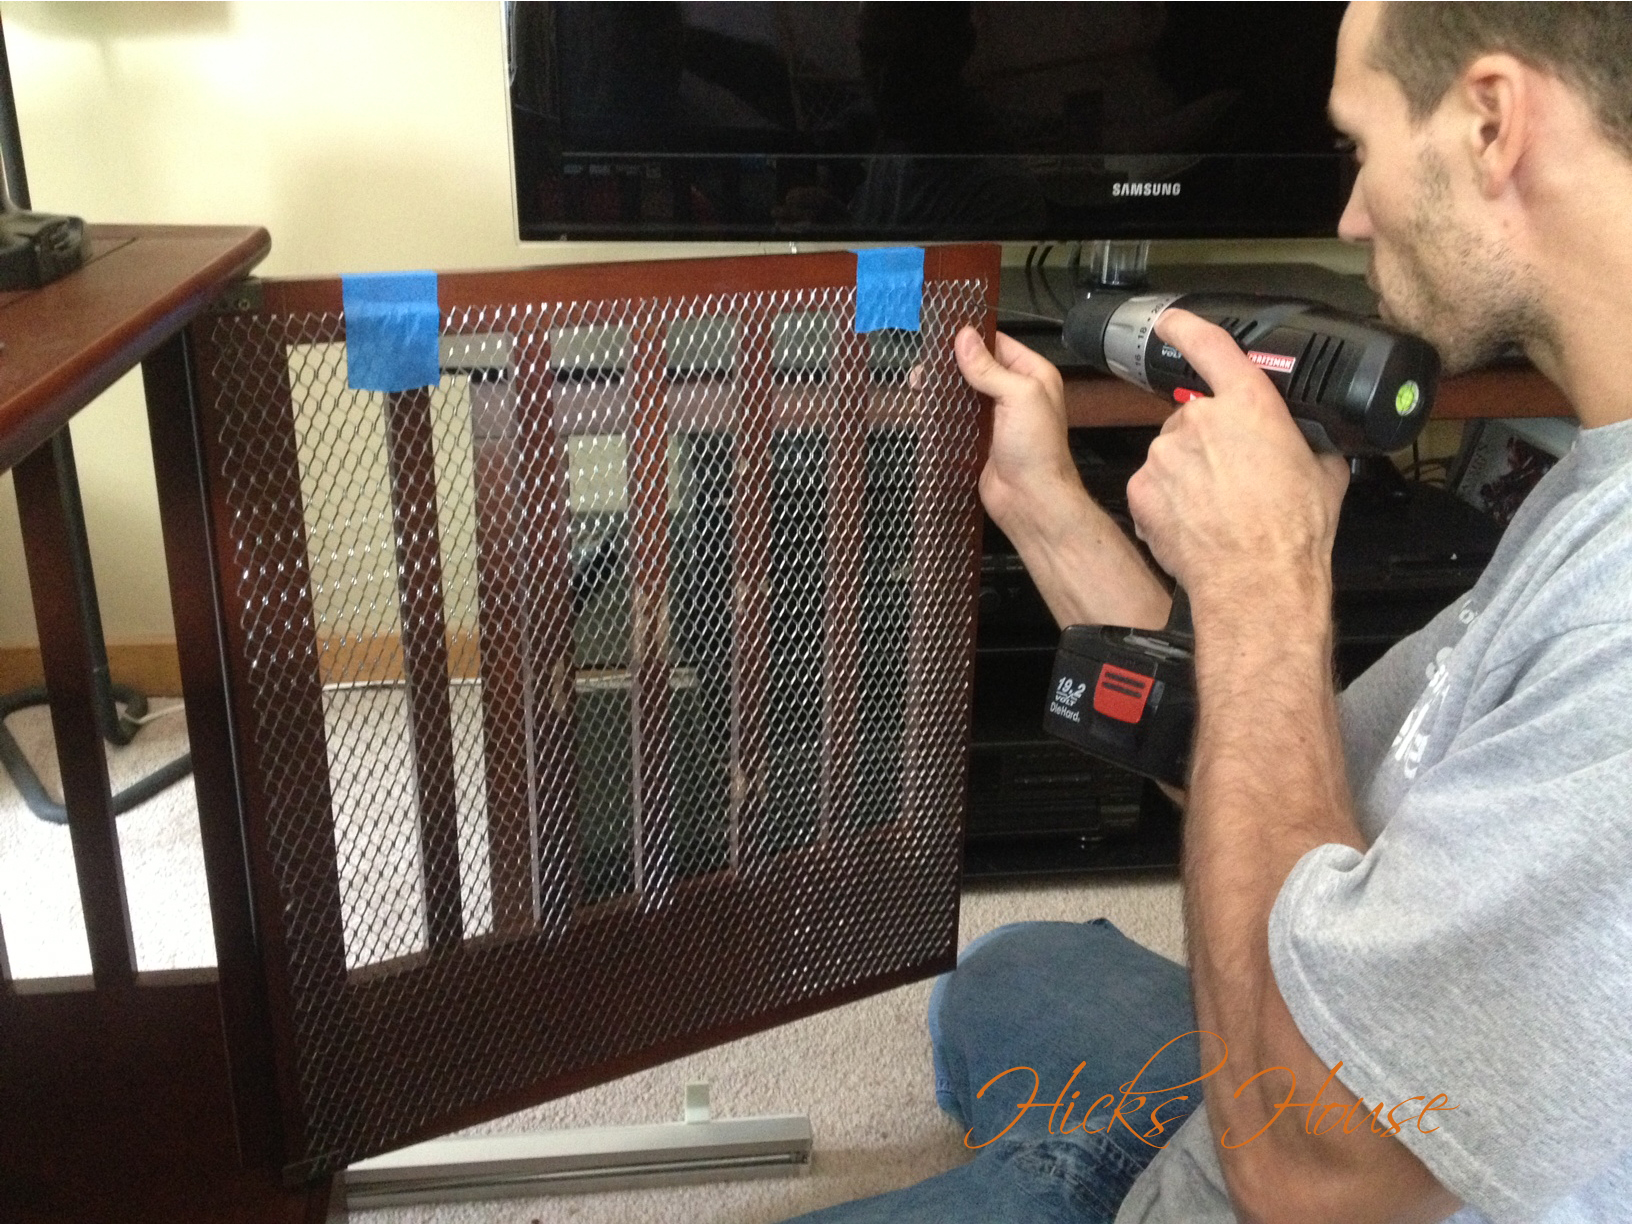
he pre-drilled in all 4 corners and 1 in the middle
Thanks to the chewing machine we were aware that it was made of cheap particle board and didn’t want to risk it splintering by screwing directly into it.

then screwed the mesh in place using the pre-drilled holes

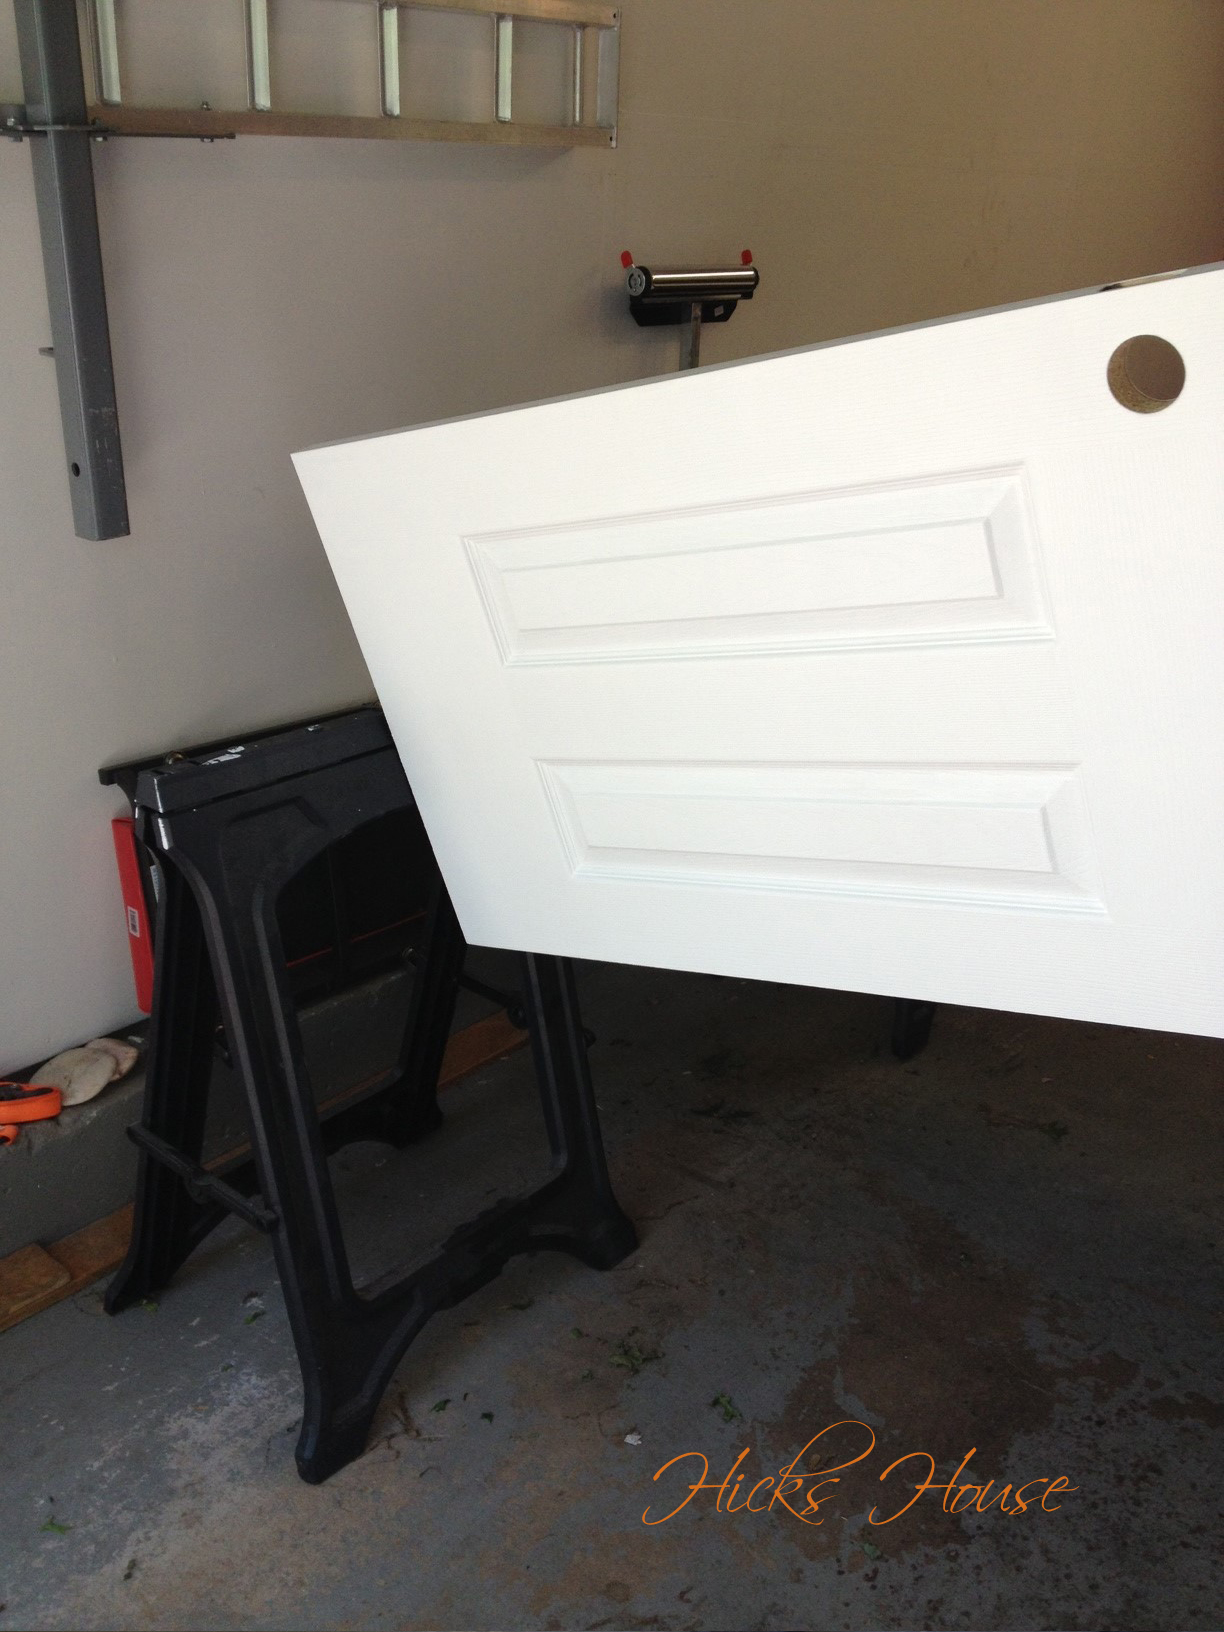
try and chew through that!
Doesn’t look to bad, some wood putty and stain on the few visible chew marks from the front and it should be good as new. And chew proof! We didn’t do the two sides yet, and Chloe has yet to figure out that they are chew-able as well… we’re hoping she remains blissfully unaware.
Peace and order has been restored in the Hicks House (until the next thunderstorm that is)