Hicks House

From Builder Basic to Beautiful


3 Comments

Grilled Avocado BLT

It’s been a little while since the last time I posted a recipe. When I first started this blog I never imagined I would post a single one, since my skills in the kitchen are quite limited. However once in awhile something is just too delicious not to share so I hope you enjoy reading the occasional food post as much as I like eating sharing them!

Luckily for me, Ken is more adept in the kitchen than I am and willing to indulge my sometimes odd food requests. Last weekend while in the grocery store pondering what to make for lunch we we’re staring a giant guacamole display in front of the meat counter (hello thick cut bacon) and the idea struck “what about avocado BLT’s?”

So with no other idea and the pains of hunger growing we decided to stop deliberating and just go with it. We purchased our avocado and headed home to assemble our sandwiches.

Once we started things slowly got out of control… “What if we grill the sandwiches rather than just toasting the bread – that would be yummy”… “If we’re going to grill it then we need cheese too – what’s a grilled sandwich without melted cheese”…

So that all led us eventually to this awesomeness:
Hicks House | Grilled Avocado BLT

Here it is step by step how we did it:

Ingredients:

  • 4 slices of bread
  • butter or margarine to spread on 1 side of each slice of bread (or cooking spray if using a panini press)
  • 6 slices of bacon cooked
  • 1 tomato cut into slices
  • 2 slices of cheese (or 4 if you had mini slices like we did)
  • spinach or lettuce – enough to cover one slice of bread
  • avocado cut into thin slices

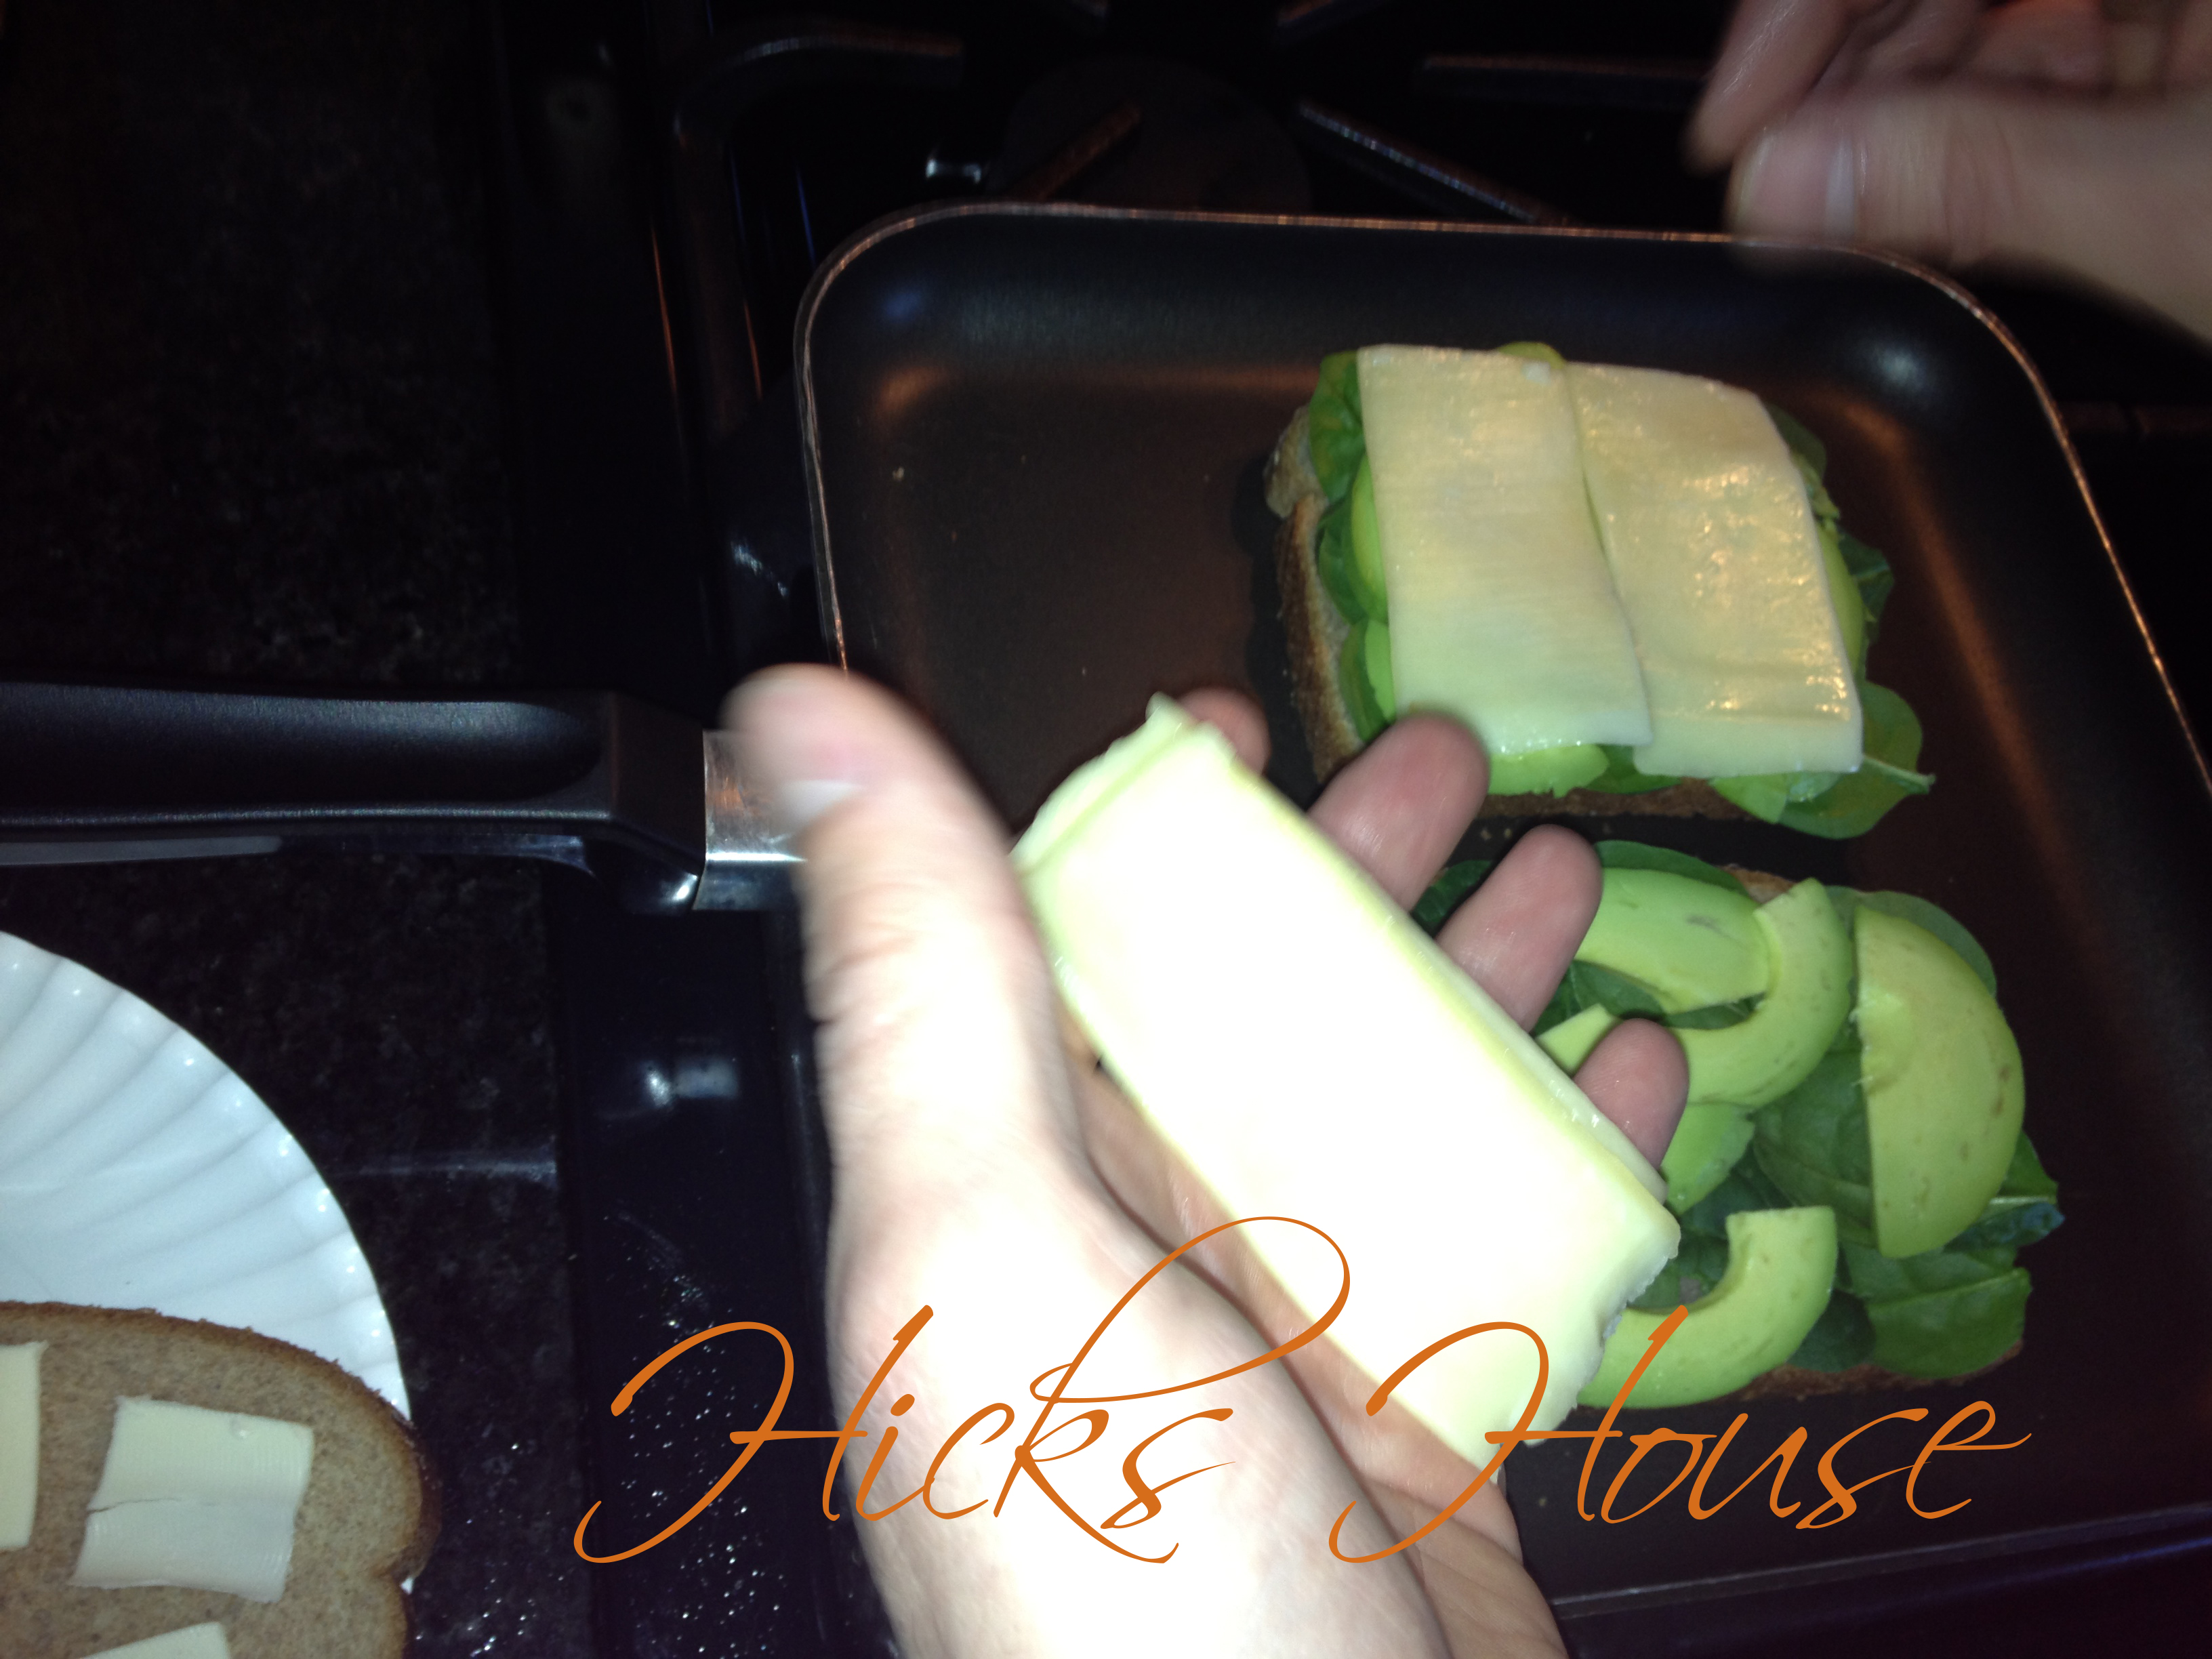
The first step is to prepare all your ingredients and cook your bacon. Spray your panini press or butter two slices of bread and place on a cold skillet.

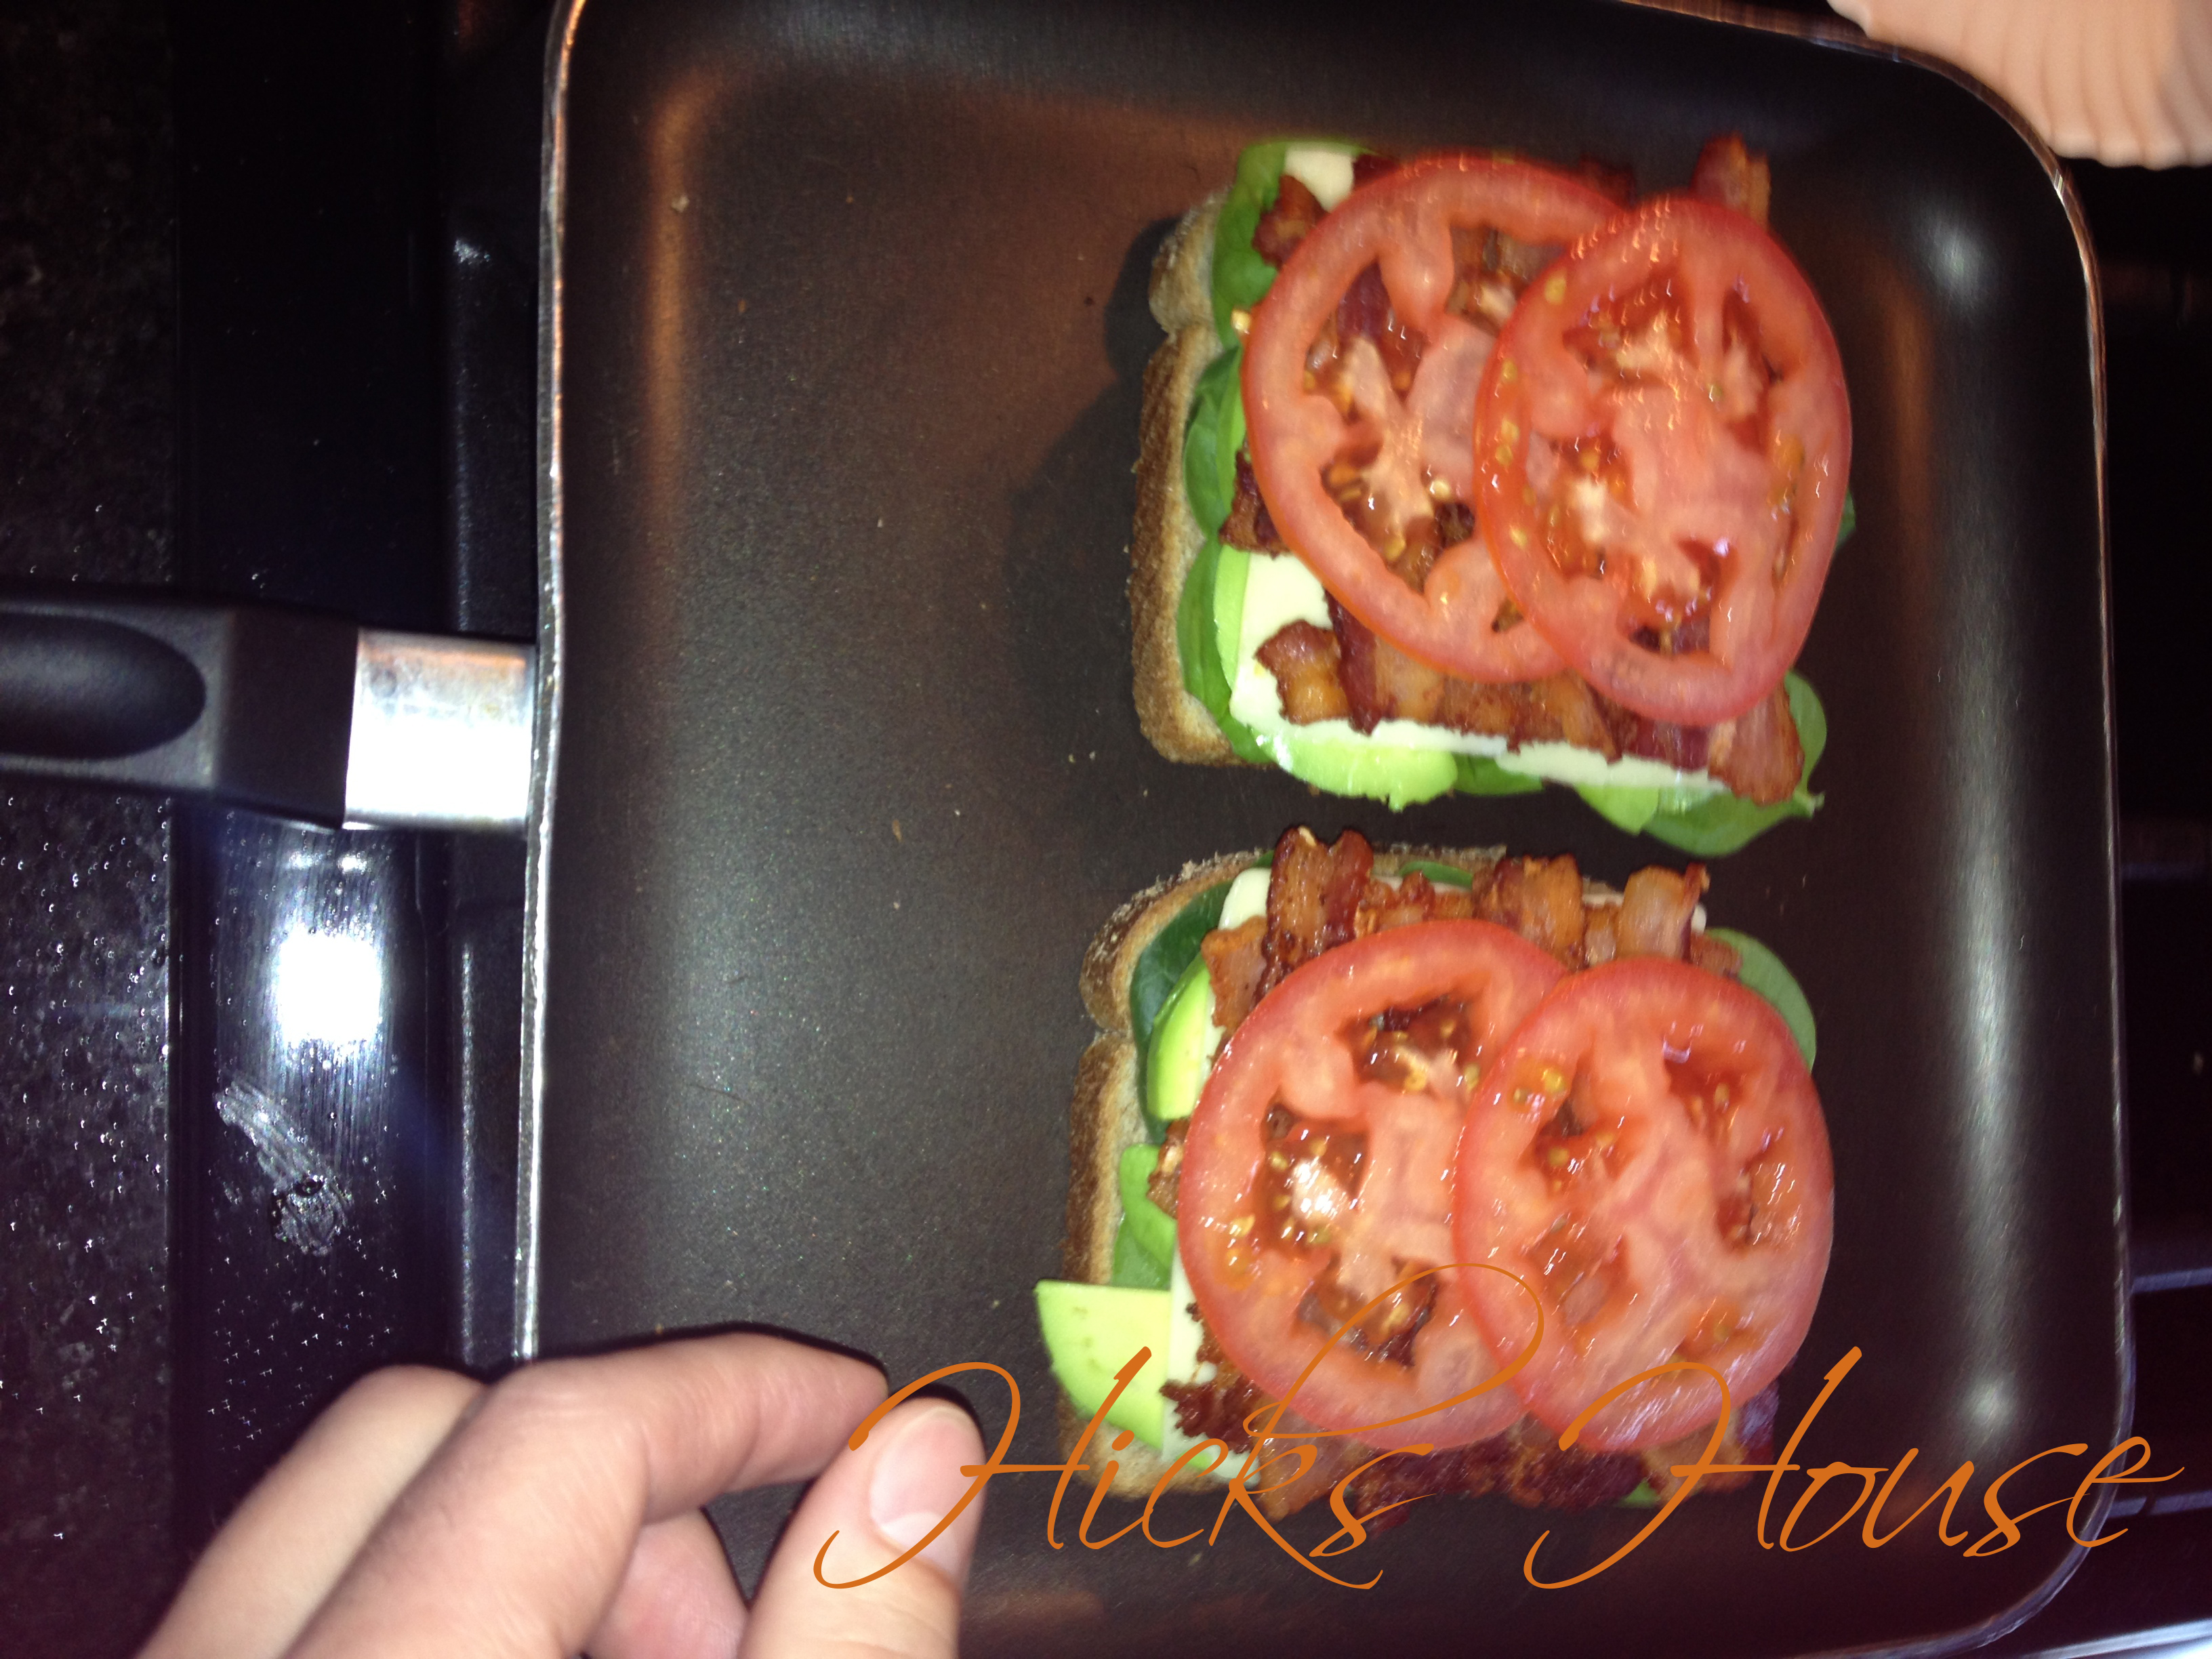
Start layering your ingredients. We did it in this order: spinach – avocado – cheese (we used monterey jack) – bacon – tomato.
Hicks House | Grilled Avocado BLT

Hicks House | Grilled Avocado BLT

Hicks House | Grilled Avocado BLT

Hicks House | Grilled Avocado BLT

Hicks House | Grilled Avocado BLT

At this point we remembered we own a panini maker and were wondering why we always make these large stack sandwiches in a skillet… So we transferred it to the panini maker and topped with the final slices of bread.

If you are using a skillet top with your second bread slices and turn the heat to medium until browned (just like grilled cheese) then carefully flip without loosing all your fillings. (This is an art that Ken has mastered due to our perpetual forgetfulness that we own a panini maker) Continue cooking until the other side is browned.

If using a panini maker turn it on and press till browned and cheese is melty.

Enjoy!
Hicks House | Grilled Avocado BLT


15 Comments

Revered Halls

Continuing with our painting, we’ve tackled perhaps the most complicated area yet: the hallway. The hall goes from the kitchen/living room to the front door up the stairs then down to the bedrooms. As I outlined in this post we selected Benjamin Moore’s Revere Pewter for the hallway.

Originally I was completely convinced that I wanted Revere Pewter in the kitchen/living room area. After looking at the swatch in various areas of the room, I loved it in the kitchen area and was underwhelmed in the living room. While it looked perfectly greige against the dark counters it looked much to beige against the oatmeal colored chairs and the curtains we’ve already purchased that pull in more of the oatmeal color.

However, we both really liked the color and hated to not use it somewhere. The perfect solution seemed like the hallway it would help tie in a lot of the more gray colors we’d chosen with the beige carpet that’s upstairs in the bedroom. However, before we could start there was A LOT of prep work to do, much more than in the dining room.

Instead of nail pops there were lots and lots of screw pops that looked like this:
wall patching 2

See the screw trying to work its way out of the wall? The big problem with this is you can’t patch it as is… you have to dig the drywall off the screw –
wall patching 1
then tighten the screw –
wall patching 5
then patch the screw –
wall patching 4
Allow the compound to dry, sand it then repeat 2 to 3 more times. Needless to say that took a couple of days. Once that was complete the cutting in could start. Ken set up an adjustable ladder on the stairs so that he could get to the ceiling above the stairwell.
hallway cut in 1
this made me kind of nervous… glad I didn’t have to get up there. I’m not comfortable with heights and this probably would have made me hyperventilate. Luckily Ken is braver than I am and accomplished this while I was at work.
hallway cut in 2
Once he got to this point and I arrived home we kind of just stood there and stared it a while. What we were both thinking is “Uh Oh… this looks DARK.” We both thought it would be lighter. But we bought several gallons of this color so no backing out now… the cutting in must continue!
hallway cut in 3
Once it was complete we were both still a little unsure. Did we make a mistake? Is it going to be really dark? This is such a large portion of the house what if we don’t like it? Is it really as dark as it looks, or does it appear dark because we’ve been living in a white box for so long? (I was hoping this was the case.) Only one way to find out roll it and finish it – reserve final judgement until its done.

Good thing we forged on because it’s awesome.
hallway painted 1
hallway painted 2
hallway painted 6
hallway painted 4
hallway painted 7
I love how it pops off the white trim, and once the entire wall was done it didn’t appear too dark at all. For comparison sake here is where the hall meets the dining room (also a great shot of how annoyingly close the window is to the trim… but that’s another story)
hallway painted 8
We’re very excited that we’re starting to inject some of our personality and style into the place!