Hicks House

From Builder Basic to Beautiful


Leave a comment

About Face

If you dropped in last week for the most amazing backsplash ever, then you are well aware that we are in the midst of a love affair with white marble. It was difficult to refrain myself from covering every surface with the gorgeousness that is cararra marble. But before we held ourselves back we committed to refacing the fireplace. I mean why not, the tile guy was going to be at the house… it was now or never…

Before I break out the step by step, how about a little before and after comparison:
Fireplace old | Hicks HouseFireplace Re-Do | Hicks House

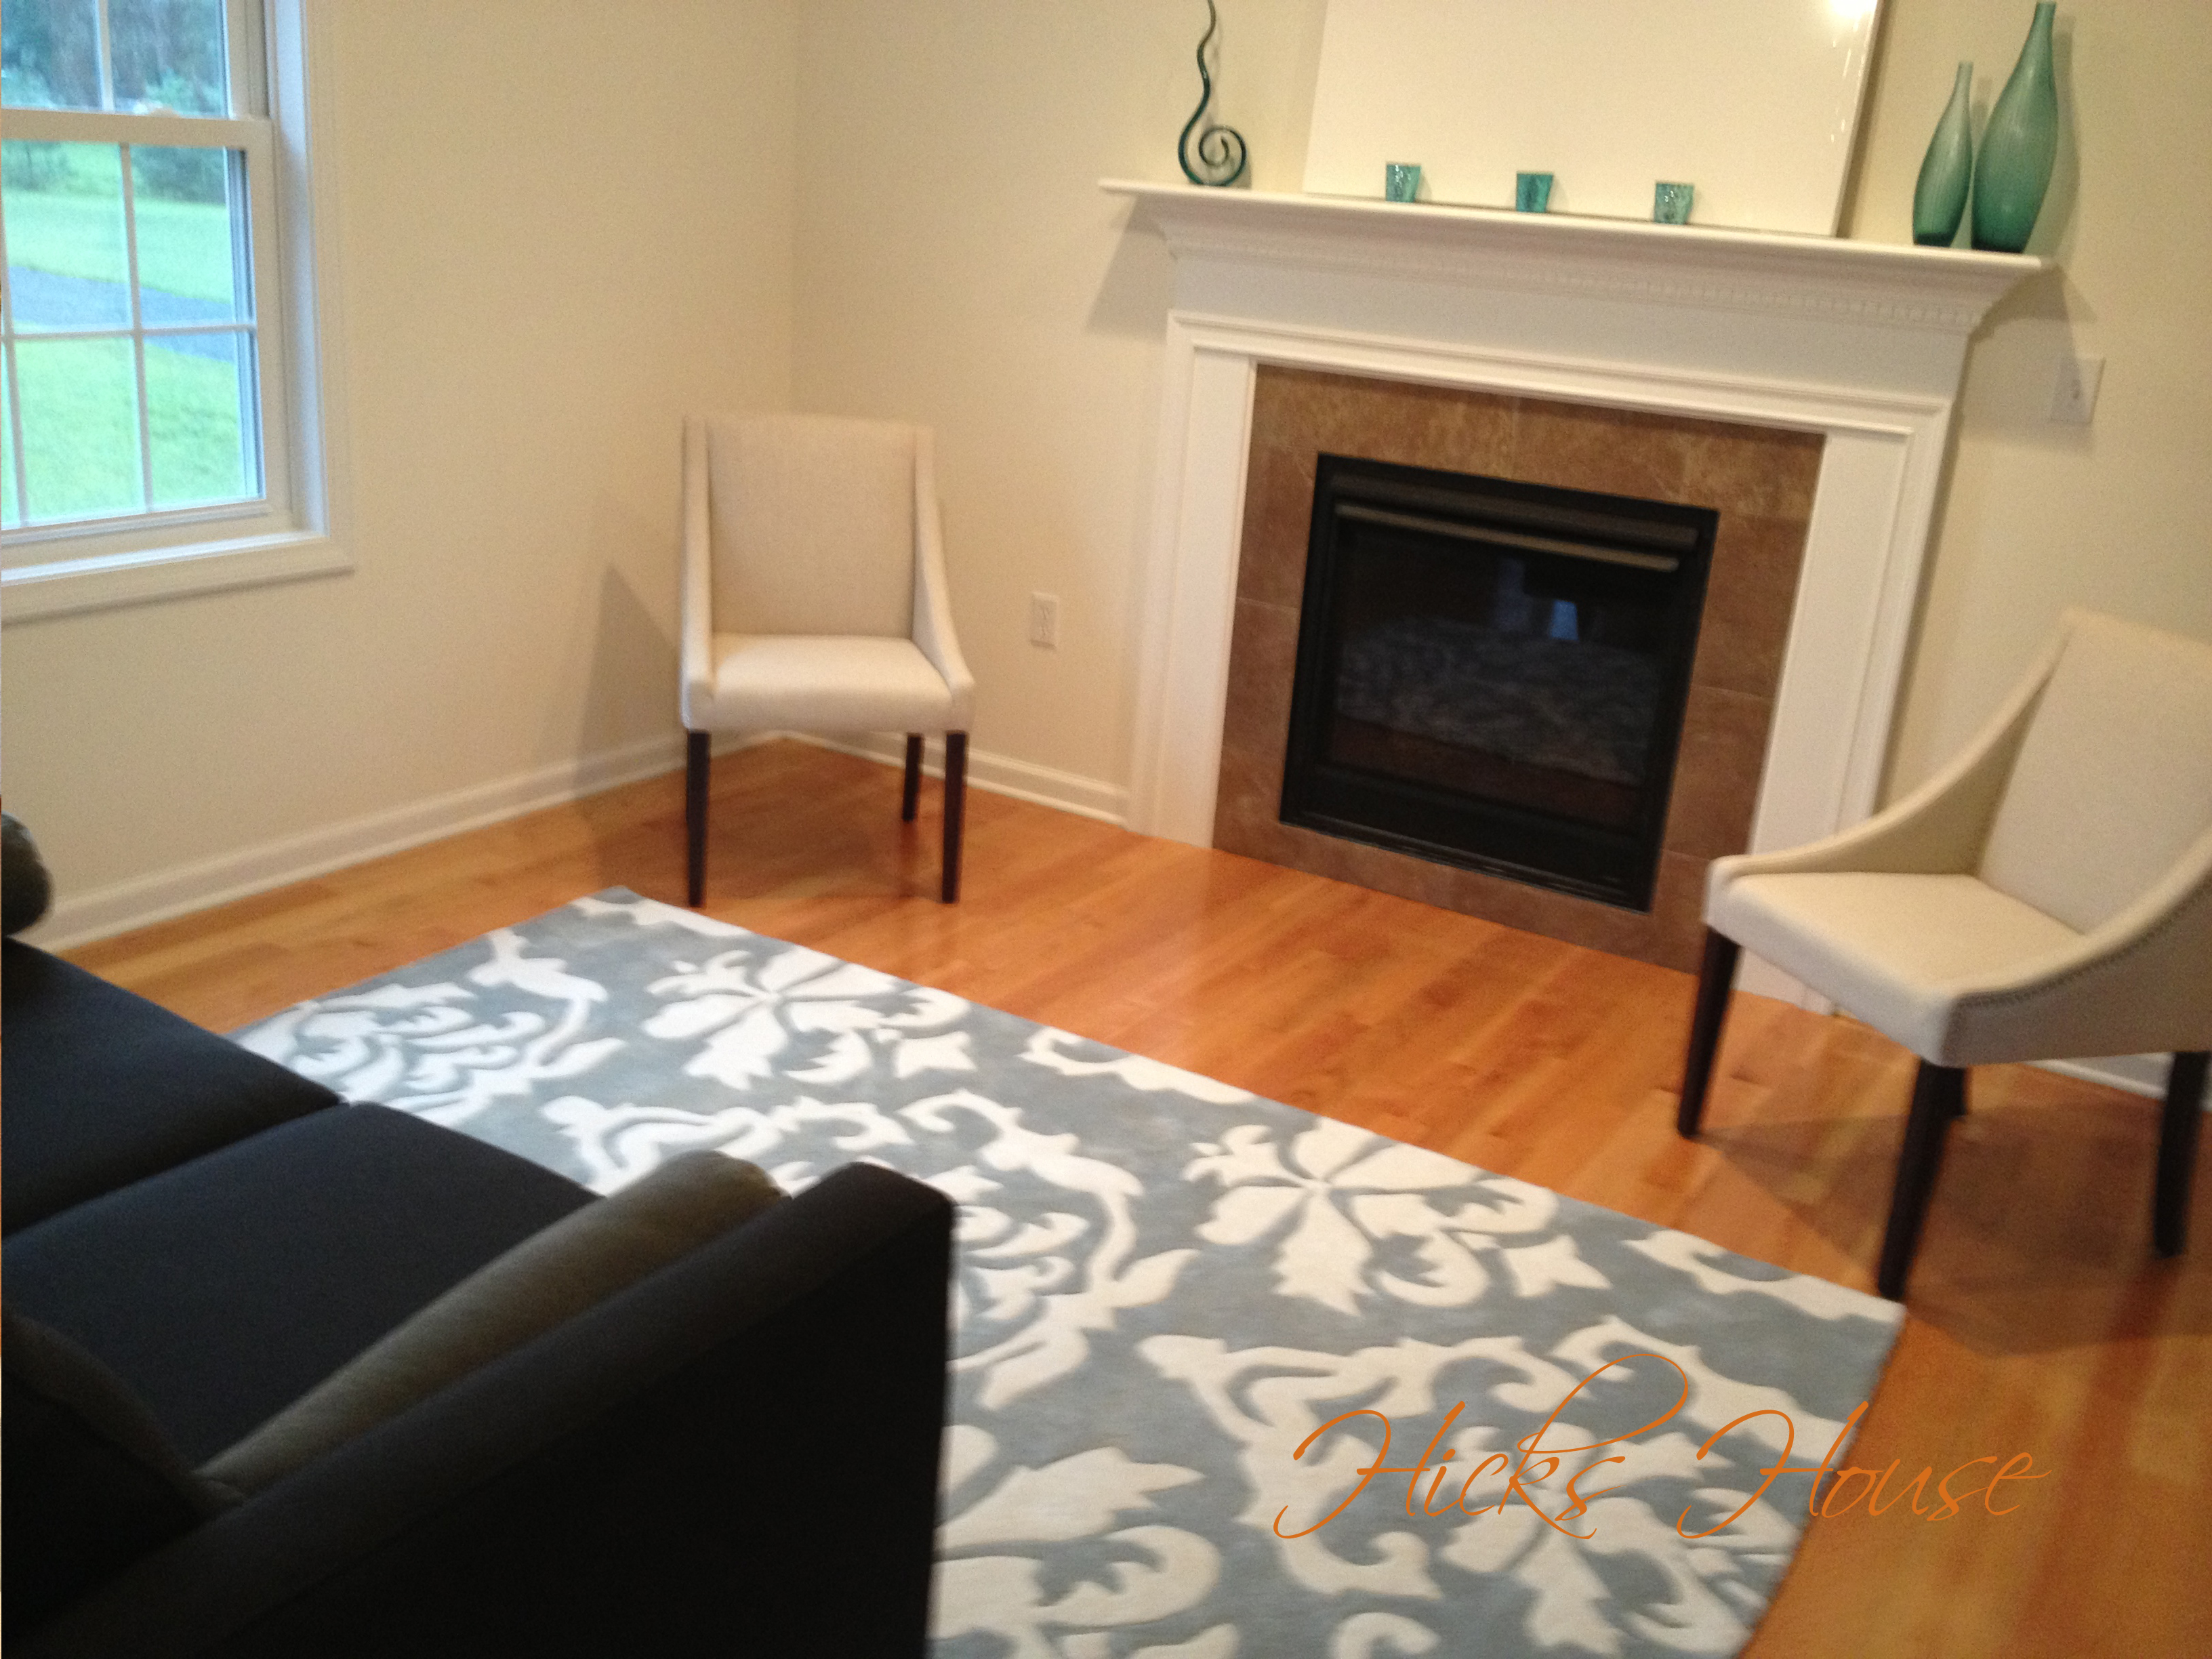
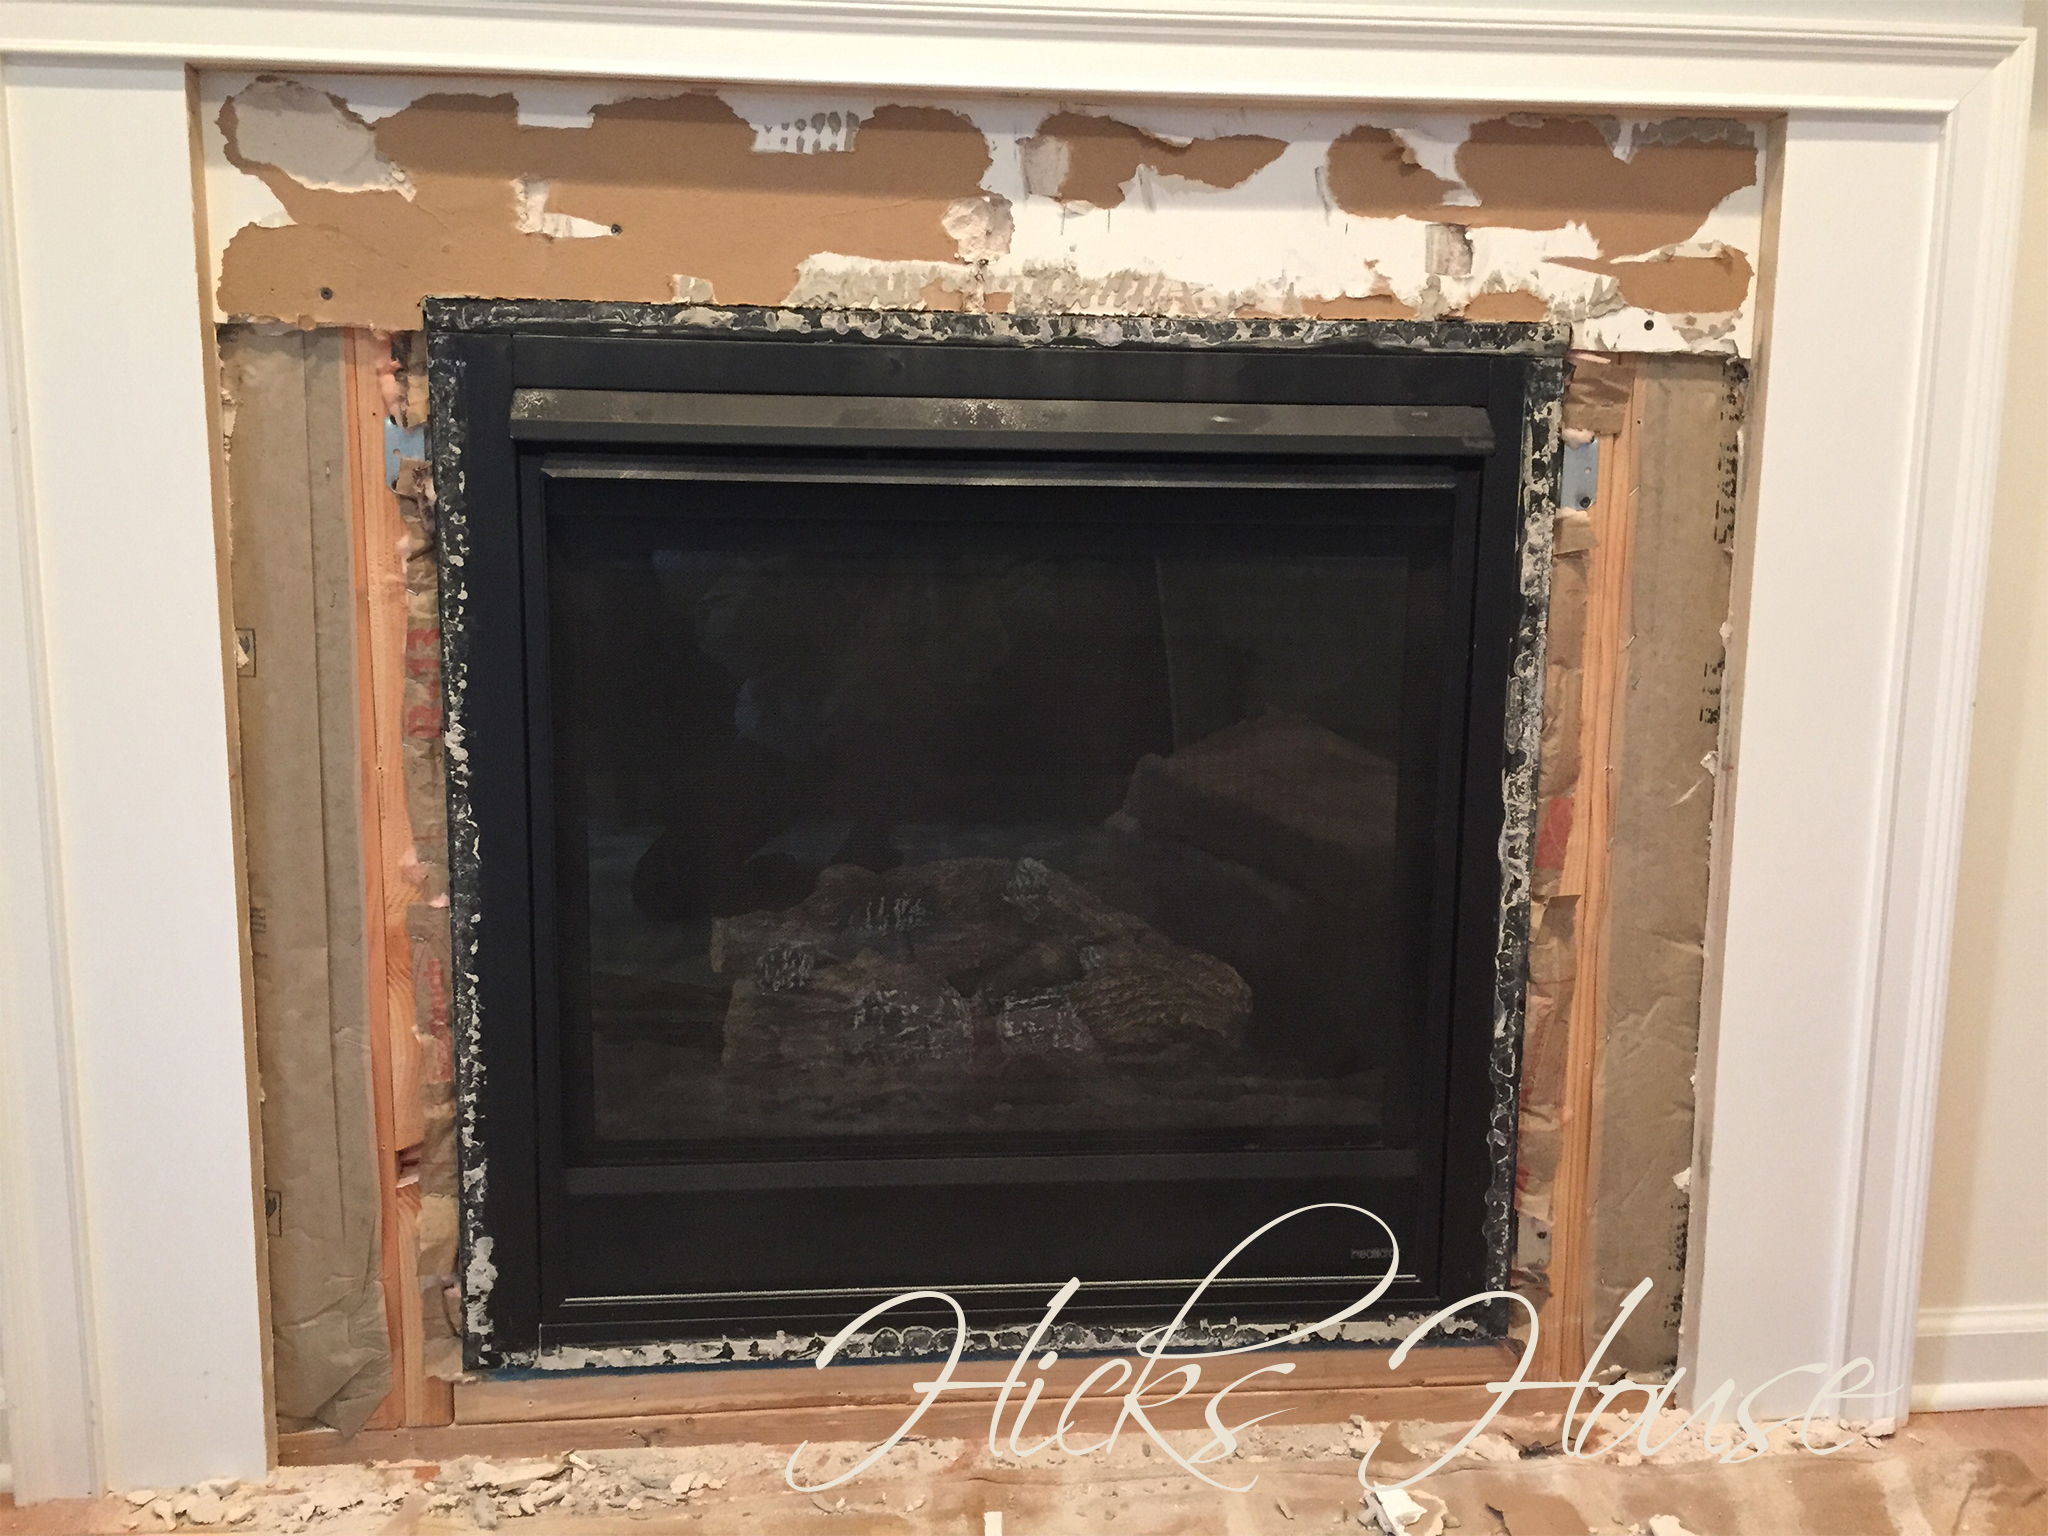
We were never huge fans of the “poop brown” tile. It just wasn’t our style and it didn’t fit our decor. But before we could put up the new… we had to take down the old. This was accomplished with the use of a mini jackhammer. Luckily it only took a few (of the most terrifying for Chloe) minutes.

Fireplace Re-Do | Hicks House

Unfortunately in the process, the drywall on the sides was damaged. Apparently it was secured very well (a rare thing to find around this house)

Fireplace Re-Do | Hicks House

However, this turned out to be a blessing in disguise, for when we removed the damaged drywall we found this:

Fireplace Re-Do | Hicks House

Yes, that’s a HOLE. A HOLE!!! ON BOTH SIDES!!! We had brought up to builder on several occasions that is was overly drafty over by the fireplace only to be told repeatedly that that was how fireplaces were because they are vented through the back outside. This explanation never jived well wih us, because it just didn’t seem to explain why there were cold spots.

So before we replaced the drywall we took advantage of this moment to fill the holes with some insulation, then used some leftover pieces of drywall we had in the basement to patch up the holes. It didn’t need to be perfect, it was getting tiled over anyway.

Fireplace Re-Do | Hicks House
Fireplace Re-do | Hicks House

Then the magical moment of tiling began…

Fireplace Re-Do | Hicks House

The top tiles were extremely heavy and had to be held in place with some painters tape overnight. After everything dried it was grouted with the same grout we used in the kitchen and the room was put back together.

Marble Fireplace Surround | Hicks House

We LOVE LOVE LOVE it! It’s so classy and elegant and the gray veining in the tiles is so interesting. It’s such a dramatic difference I don’t know how we ever even considered keeping the old tile. It is probably our favorite update so far.

So what do you think? Do you love it as much as we do?

Hicks House


2 Comments

The Grommet Conglomerate

After our initial foray into window treatments for the dining room we could no longer hold out for all the walls to be painted before adding in the curtains for some other rooms. It just added so much more personality to the room.

The first set of curtains I actually purchased were for the living room so despite not yet being painted (it’s literally half the first floor as its “one” with the kitchen – kind of intimidating) we were ready to finally hang them. As the window in this room is a large double window it was extra important to hang the curtains higher and wider than the dining room allowed (hello stupid door frame touching the window frame).

The high and wide sounded great in theory… however there was a slight problem. I had purchased 84-inch curtains these from Target and letting out the bottom hem like I did to lengthen the dining room curtains wasn’t going to get me the length I needed.

After some debate on how best to do this the options were:

  • Add a panel of solid coordinating fabric
  • Try and return the 84 inch panels to the store and order the 95 inch panels online then shorten them
  • Undo the top AND bottom hems and add grommets to the top

From the title of this post I’m sure you can guess which option we decided to go with. We also we’re really liking the look of the grommeted panels in the dining room and how they fold back and forth as opposed to the traditional rod pocket panels, so even if we went for option two we would want to grommet them anyway.

So I undid the top and bottom hems and resewed a 1/2 inch seam like I did here and ordered two sets of this grommet kit online.

Adding Grommets to Curtains | Hicks House

We then laid the panel out on the floor to have a flat work surface and followed marked evenly spaced dots across the panel about 2 inches down from the top. You have to leave enough space from the top to fit the entire grommet which is 2 3/8″ total diameter.

Adding Grommets to Curtains | Hicks House

The grommet kit came with a “hole” template. You simply line the center up with each of your dots and trace.

Adding Grommets to Curtains | Hicks House

It leaves circles down your panel that look like this:

Adding Grommets to Curtains | Hicks House

Take a pair of scissors then cut them out. The individual grommets come in two pieces, we you line one of the pieces up with the hole you cut…

Attaching Grommets | Hicks House

line the other piece up and press till it snaps on. I was super paranoid that I was going to press to hard and crack the grommet. Luckily for me they are either incredibly sturdy or I’m not nearly as super-human strong as I think I am. Actually it’s possible both of those statements are true.

Adding Grommets to Curtains | Hicks House

That’s it! Just hang them up and enjoy the more contemporary look the grommets provide.

Adding Grommets to Curtains | Hicks House

It’s a great way to add a bit of customization to bargain curtains, while still being cheaper than total custom curtains.


What do you think?  Do you prefer the look and the way grommeted curtains hang or are you loving the more traditional rod pocket look?